Product Showcase
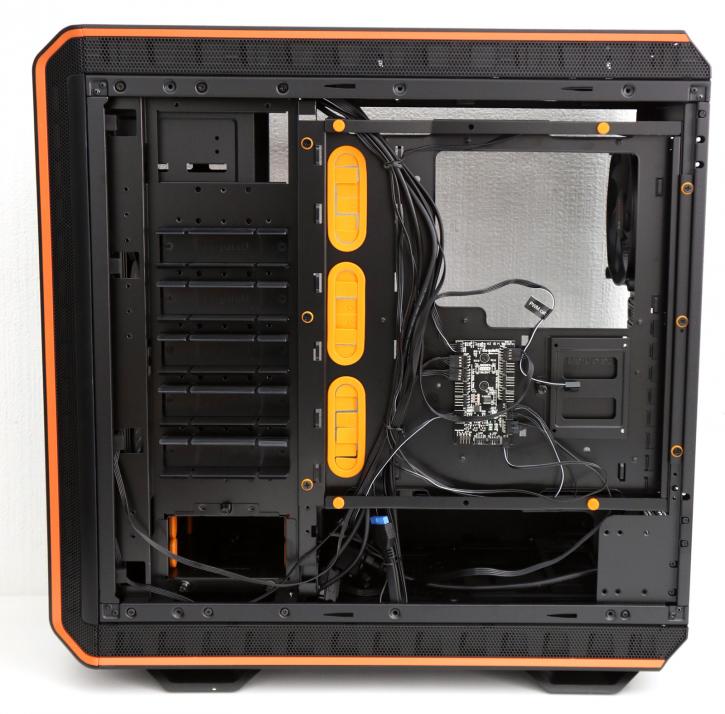
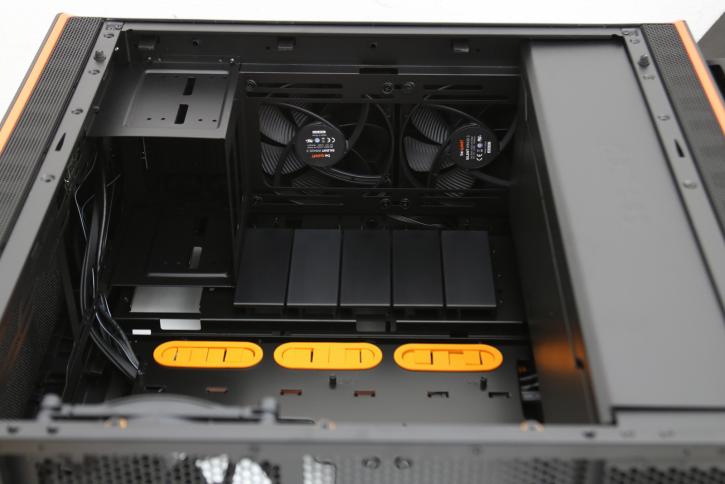
A lovely big motherboard cutout so you can easily install a new cooler. Below that gap, we see a PCB with lots of connectors. We've reached our next destination to discuss.
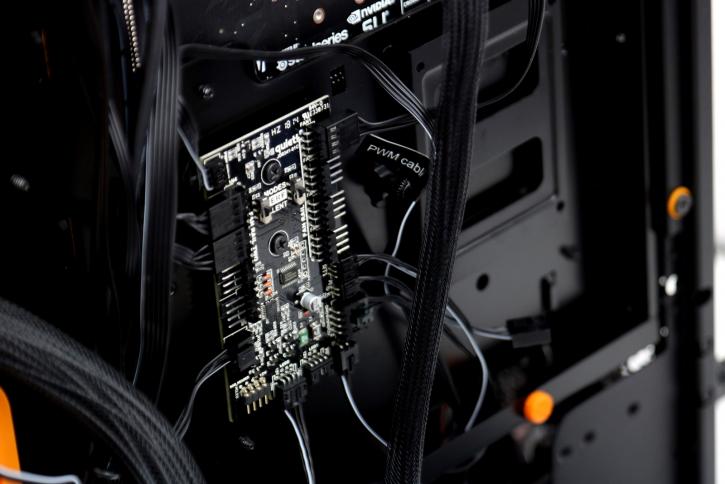
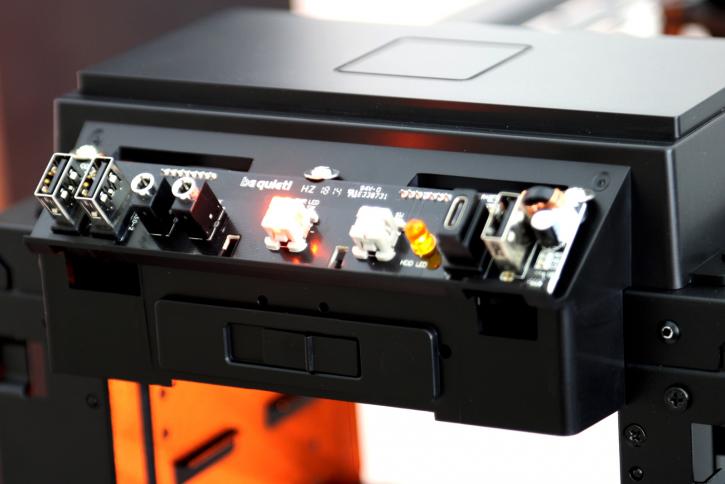
This PCB is, in fact, a fan HUB for the three included fans. The PRO models get four connectors for you to use. All of them are now PWM based, RPM can be regulated by the fan controller located at the front side just behind the door panel. Also, if you purchased the PRO model chassis you can connect two extra LED strips (RGB) here as well. You power this unit with a SATA power connector. BTW next to the fan controller in the front there is a button, this can be used to select preset colors for the LED RGB lighting (also fed by a SATA connector). New is the ability to link and sync with your motherboard RGB header. However, lighting can be controlled with the internal controller.
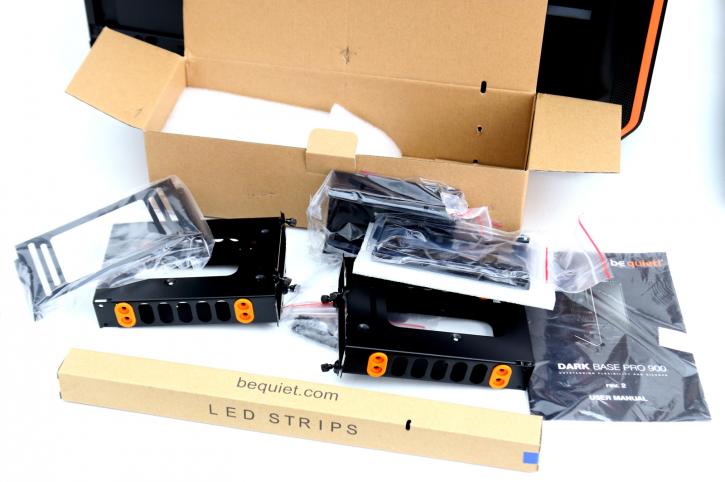
Included in the carton box is a manual, some tie-wraps / Velcro and a toolbox containing a wide variety of assorted screws and the rubber strips/pads for HDD mounting. The two metal brackets are handy and can be used to mount a water pump or reservoir. The mount to the left can be used to mount a third fan on the front side of the chassis. The PRO models get two LED strips (RGB) that can be regulated. These are glued to a stiff adhesive and have sticky tape applied so you can mount them easily to your preferred position. Each LED strip has a cable that you will need to lead towards the FAN / LED hub located on the backside of the motherboard tray, again these have been updated towards 12V.
Here is a side angled view of the inside front of the chassis. There is a decent amount of space to work with inside the chassis mainly due to the large dimensions. Nice to see are the properly rubberized grommet holes, the good stuff that stays in place if you lead a wire/cable through it. You can see the last two Silent Wings 3 fans and at the top the placeholder for optical units (a rare and dying breed inside chassis).

At the front panel, you can control the LEDs btw, hint look for the small button that resembles a light bulb ;) You can see a type C USB 3.1 Gen 2 connector as well.
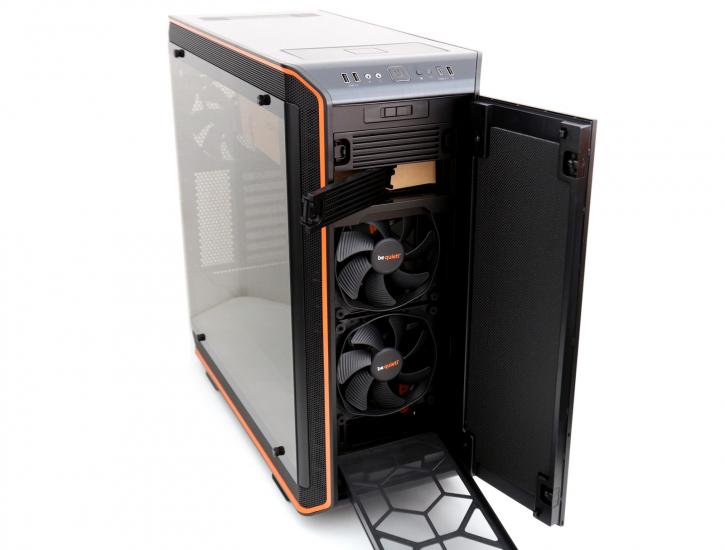
So I've mentioned the fan and LED controller a couple of times now, open the front door, and just above the optical units you can see a slider. The slider (left to right) is used to in/decrease and regulate the fan RPM. The PCB is set to silent mode as default, and yes ... that is silent. We'll measure that later on and show it in the benchmark session of this review.