Product Gallery
To install the storage units you need to remove the front side panel (magnetic secured). You then push a lever towards you and the tray can now be removed for installation of an 2.5"/3.5" HDD or 2.5" SSD. The HDD units btw are hot-swappable. So if you set up a RAID array, and one drive fails you can hot-swap the drive and exchange it.
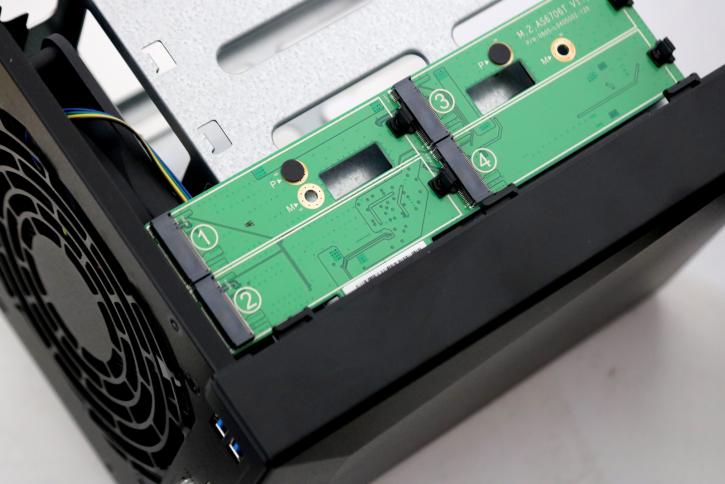
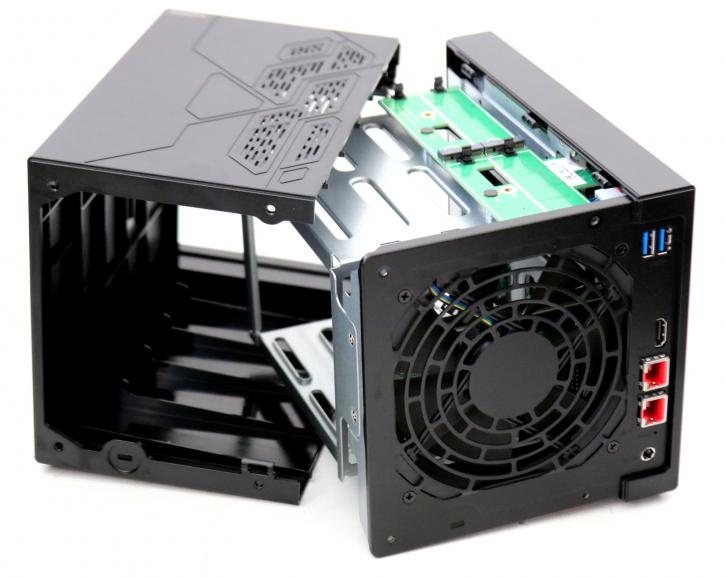
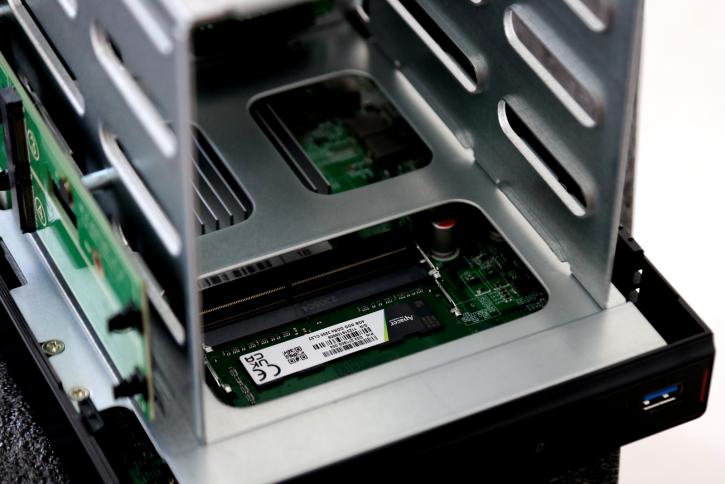
Remove the four screws at the backside, gently slide away the housing and you'll see the internals, at the top side, you'll notice four NVMe M.2. slots rated PCI 3.0 with one lane.
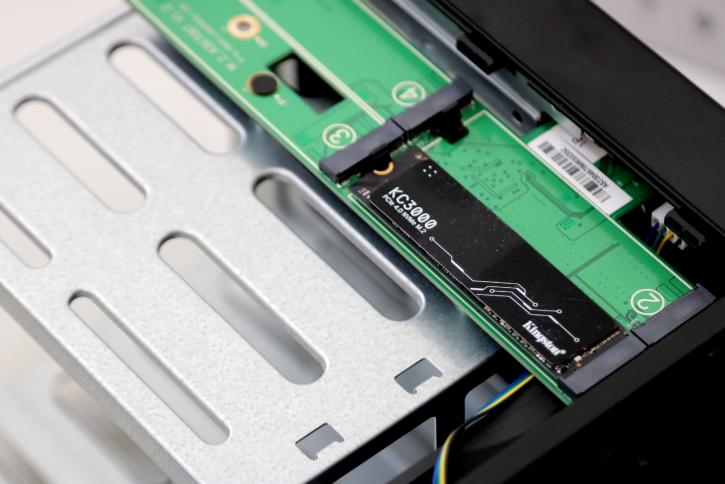
You might see that as a disadvantage in today's PC possibilities and realism, but realistically, you're going push no more than 280 MB/sec through that ethernet cable anyway. However, you do benefit massively from the increased IO values. Another advantage, you can pick less expensive SSDs as well. You can put four in there, RAID them, stripe them, mirror them or leave them standalone.
As mentioned you can upgrade this NAS towards 8GB DDR4 (SODIMMS), pop in a compatible module, and you're good to go, now in a dual-channel configuration as well. Realistically unless you're doing heavy database/web functionality, the 4 GB is by far enough due to the extremely low overhead the ADM software suite utilizes.

At, well in, the rear of the NAS we see the SATA3 connectors, four of them. If you are going to install HDDs, please check the ASUSTOR QVL list of supported units. Most of them will all work fine up-to 20 TB. But in the past, I installed four really old HDDs, and when the NAS dropped out of sleep mode I heard all kinds of weird noises. Two of them regained to active status and one was stuck somehow between hot/sleep. Not ASUSTOR's fault of course, but this is why you always need to check the QVL list for supported storage units.
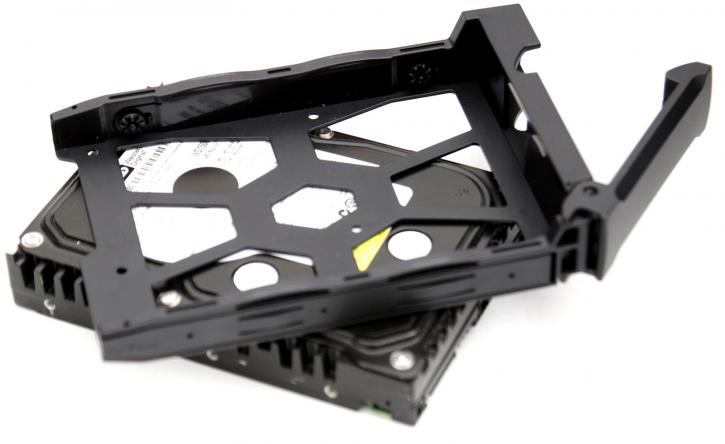
The NAS supports hot-swappable hard disks and comes with proper disk tray locks. These have been upgraded btw, no need for screws, just pup out the side retention clip, seat the HDD, put it back in and your tool free installation is done.
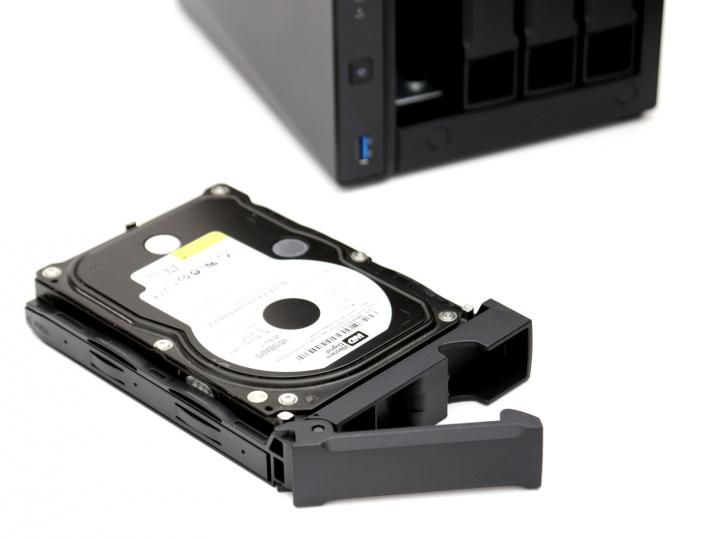
ASUSTOR has an advanced and easy to use tray system, actually very easy to use. You can mount your HDD, secure it and slide it into the tray. By pushing the handle inwards the HDD is mounted and locked securely.
