Product installation
Product installation
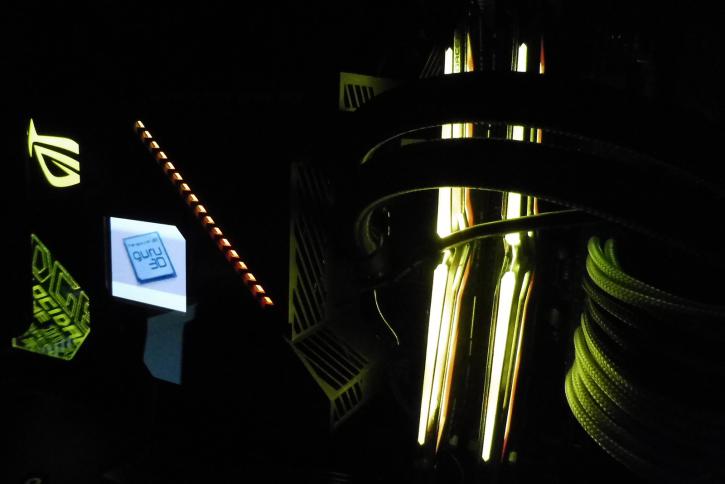
We are testing the cooler in a case in order to recreate a real-life scenario. Here you can see how many wires you will need to manage.
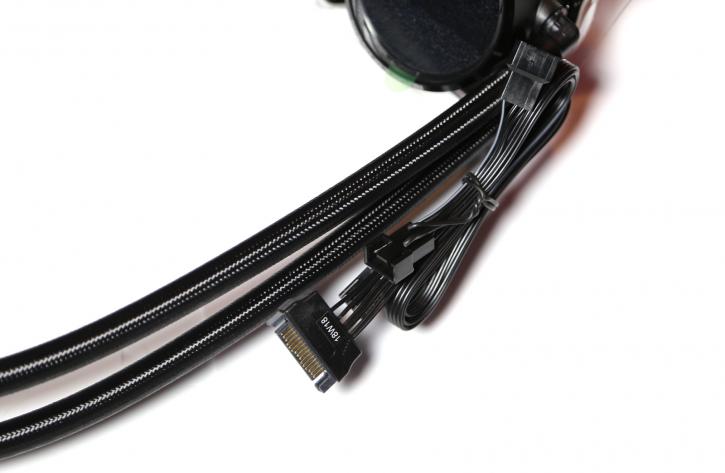
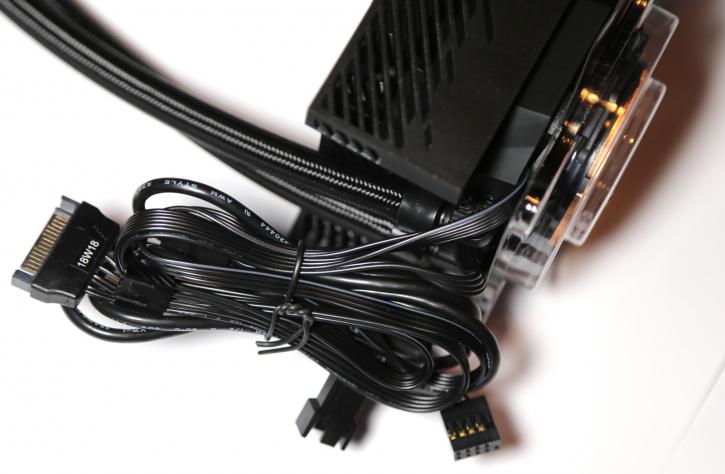
The micro USB cable goes to the USB 2.0 header on the motherboard. Then there is a 4-pin cable that normally should go to the AIO header. Another thing to plug in is the SATA power cable, to have enough juice for the pump. There’s also an option to use a Y-Split fan header for the fans attached to the radiator. This is a feature, not a must.
The pressure of the block is very good. The tubing is flexible, and its position can easily be adjusted.
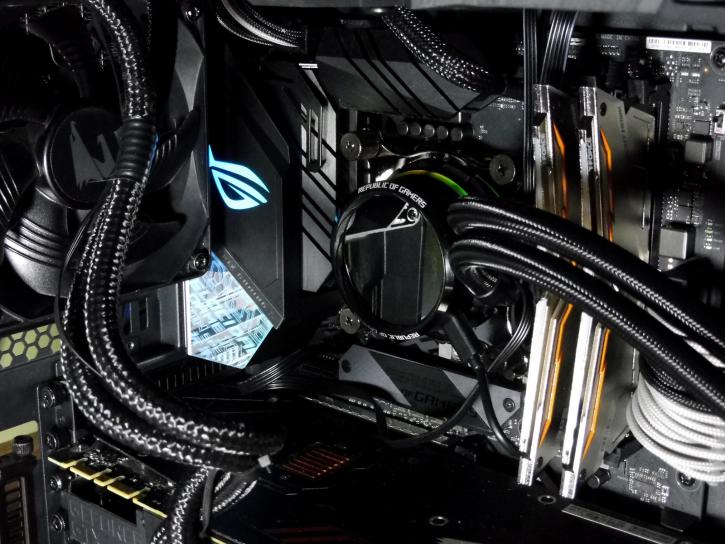
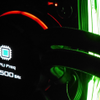
A small teaser of what the Ryujin looks like after booting. Do you want more? Then head to the next pages.