Product Installation
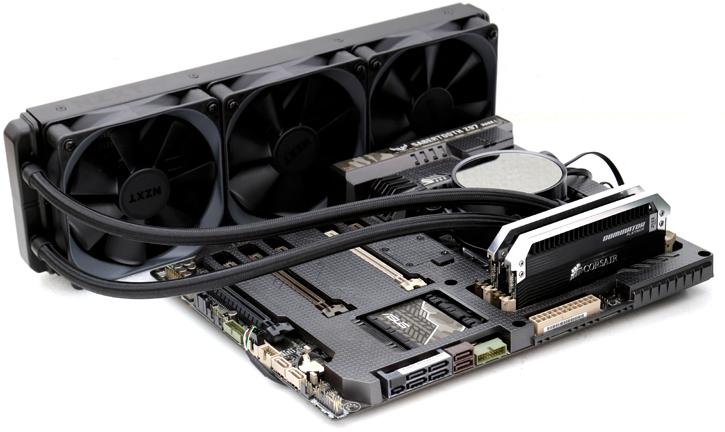
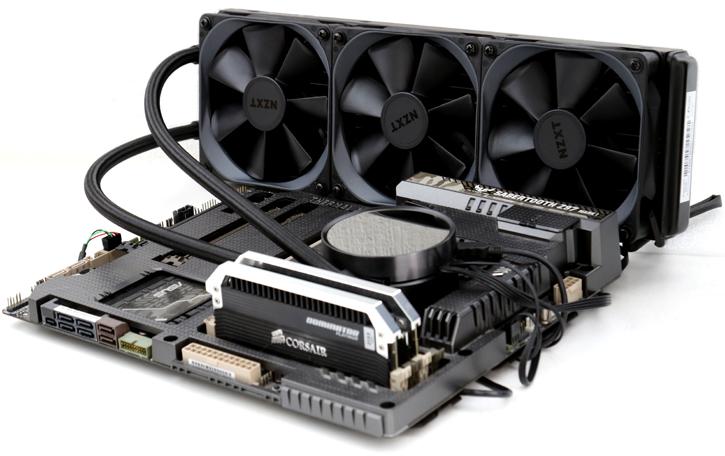
We are testing the cooler externally but you get the idea here. As mentioned there is a quite a bit of wiring to manage, so I wanted to show you that a little better on this page.
To the top-right basically you can spot the USB CAM LINK cable, to the right the other cable is connected. That's a flat pin connector that leads to a y-splitter lead for the FANs, one PWM leads to the mobo and one cable needs to be connected towards a SATA power connector for the power.
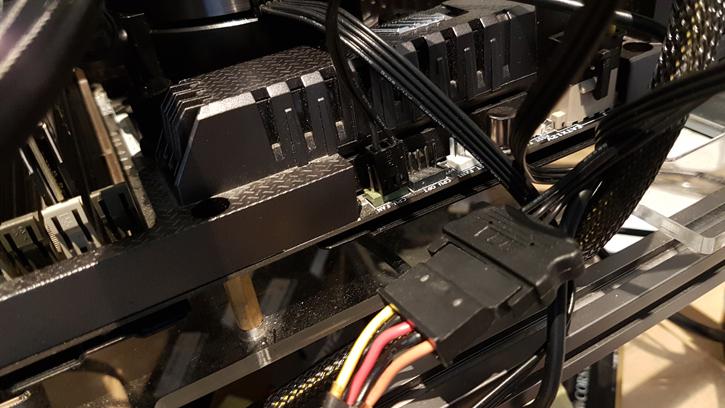
A USB cable being connected to the motherboard. Then there is one more cable that leads to both the mobo CPU fan headers to get its juice and then one cable you need to connect towards a SATA power connector. Yup - the one thing that end-users might dislike definitely is the number of wires leading in and out of the block. It kind of ruins the clean looks a little if you do not hide them with a certain amount of subtlety.
Here you can see that a little better. There's just a lot, maybe too much, going on cables wise. We'll leave that to you to judge though. We really like the new sleeved wide diameter tubing BTW. And yes, we just powered her up.
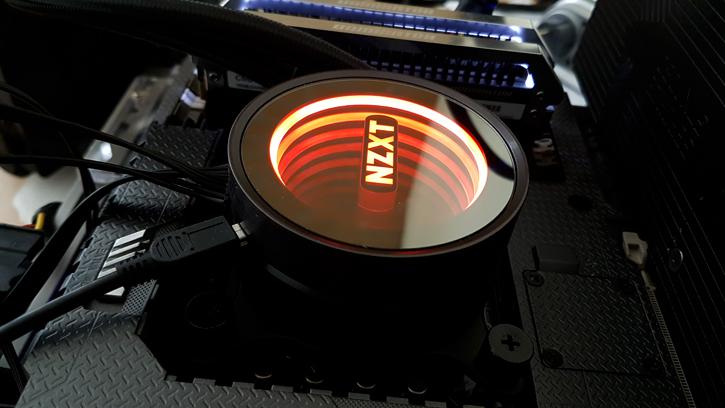
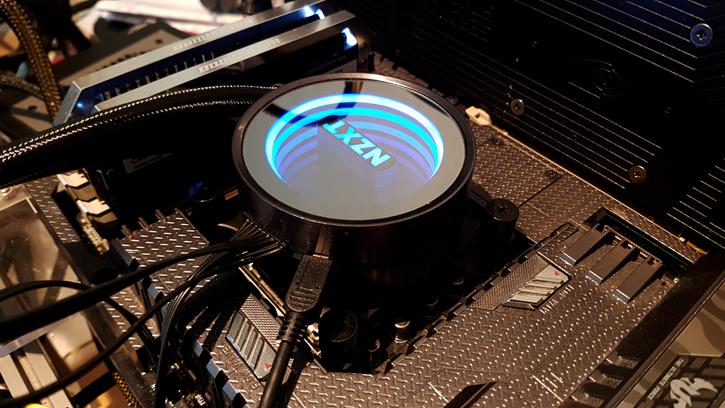
Once powered on you'll notice that the NZXT logo lights up with a LED and a mirror effect. Well in fact that is configurable as it's a RGB LED solution. Both the mirror 'rings' that you can see as well as the NZXT logo can be configured independently from each other. Thus you can turn off that NZXT logo.
.jpg)
Many RGB options are available to you. Based on temperature the coloring can change, you may also simply select a dedicated color of preference to you liking with the CAM software as well as combination of colors versus several animations. Have a look at the video that we recorded, it'll get the message across.
