
Product Showcase CPU Cooler
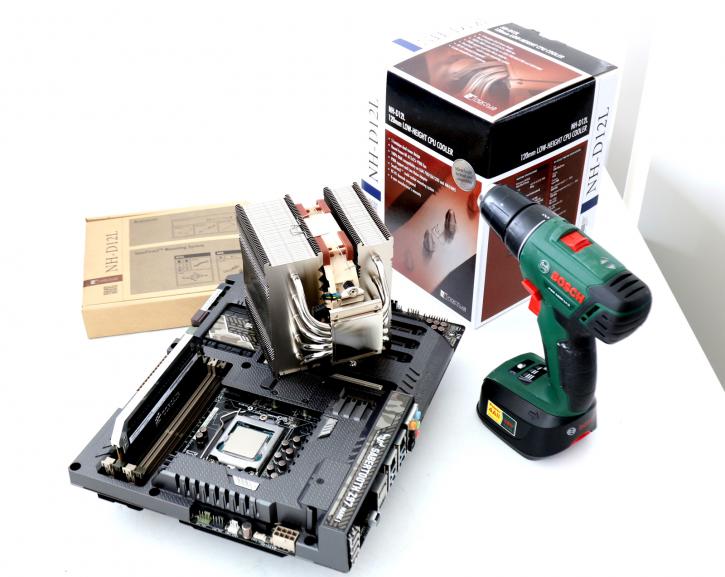
So now we're at the stage where we're progressively putting together a test setup. Everything you need is included, and we believe the Noctua mounting kit is among the best on the market. It is simple and painless to set up.
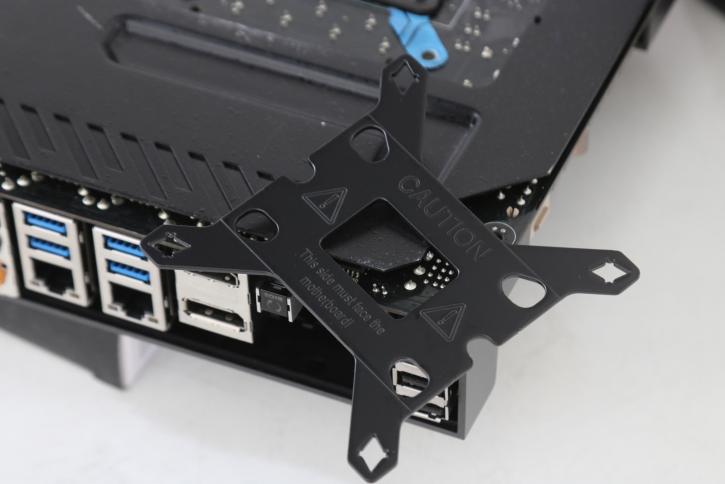
Mounting the cooler is a very easy thing to do, the secufirm2 mounting kit is sturdy, handy, and really easy to install. Though the motherboard needs to come out of the chassis unless you have a chassis with a back-plate cutout.

First, prepare and insert the rear plate (in our instance, Socket 1150). Simply match the three gaps/holes with the motherboard socket screws.
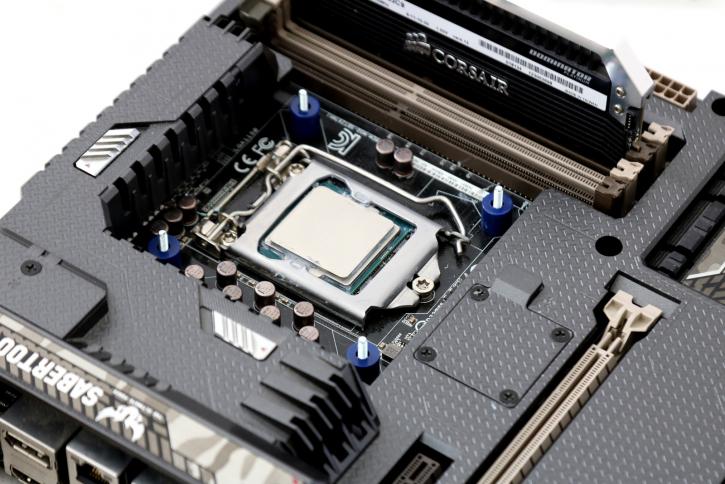
Place the thick black risers/standoffs over the screws and apply a drop of thermal paste (included) to the surface of the thermal paste. The blue ones, on the other hand, are for Socket LGA1700.
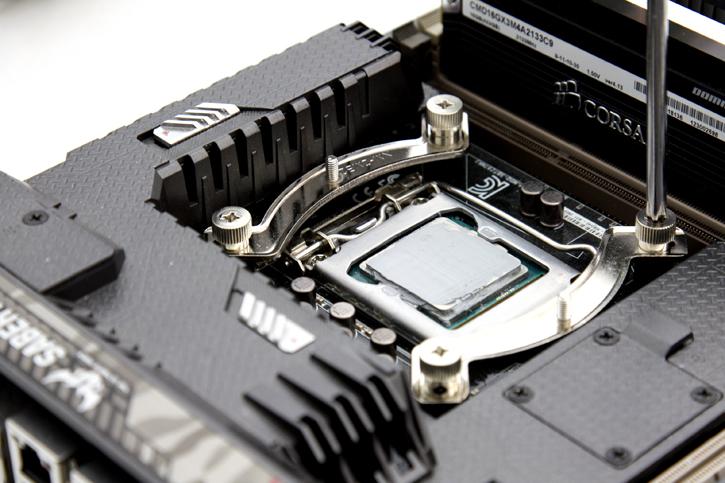
Then we attach two retention clips on the plastic risers and fasten them using thumbscrews. The cooler is now ready for mounting. Once the cooler is in place (remove the fan for installation), line it with the two screw threads. We can attach the screws using the provided screwdriver; just align the fan blades a bit and you can secure the cooler quickly. The fan must be removed for this, but it is readily reinstalled.
