Page 3
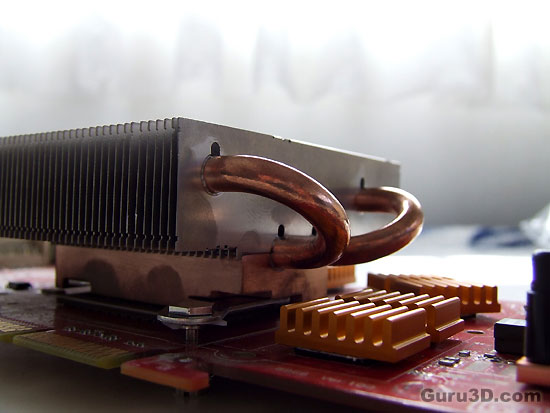
Heatsink mounted. As you can see, the design leaves a lot of room for cards with tall components. The base alone is 1CM tall.
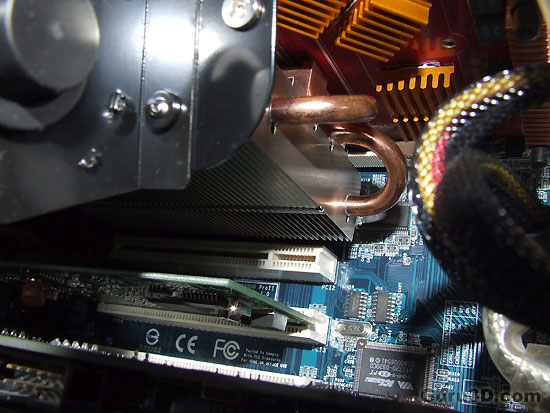
Good thing i have 2 empty PCI slots under the AGP. 1 slot is under the heatsink, and the other pretty close. If the card in the second slot doesn't have components on its back, or any big ones at least, there shouldn't be any problems.
Installation
Before you start make sure to ground yourself by touching the metal, unpainted frame of your PC, while your PC is off, but still connected to the mains, because the PC case is grounded. That would take care of static in your body.
The installation, while it may frighten those that havent tried anything like this before, isnt difficult. It is more of a fuss to take the reference cooler off I believe. (Talking about an nVIDIA 6800 cooler)
First you would need to remove the old cooler from the card of course. (The correct way to do this is to start Bolero De Ravel playing, and use the screwdriver as if you are conducting an orchestra. ~kidding you can listen to what ever you like; the outcome will most probably be the same.) For the reference nVIDIA 6800 cooler you first need to take off the metal plate on top that has the small screws. Then take the black heatsink that covers the RAM, (screws are on the back). Then the screws for the core heatsink. Now, for that, try to evenly undo the screws. Just undo each screw a bit at a time, then the next one and then again. This is so that you won't put much preasure on one side of the core. Just to be on the safe side.
Probably the only flat lady I think is sexy ;-)

Installing the RAM sinks. Since the main GPU heatsink doesn't cover the RAM, you need to use the sinks supplied. Take the sticker off, place the sink over the RAM, and squeeze evenly (just use your thumb on the sink).
Then, you would need to identify the correct metal links to use for your card. And this is the first minor problem that Ive noticed. There are 3 kind of metal links to use depending on your card. The ones for the ATi cards older than the X1*** series is fine, as it has A1 engraved on them.
However, the ones to be used for nVIDIA cards dont, and you need to identify them with the help of the manual, and need to be careful. The manual says that the link N1 is for the GeForce Ti, 5700, 5950, 6200, 6600 and the N2 is for GeForce 6800, 7800 and ATi X1***. However, you would need to look on the image in the manual and double check with the actual metal links. A small thing, but could confuse those that arent careful enough on small details.
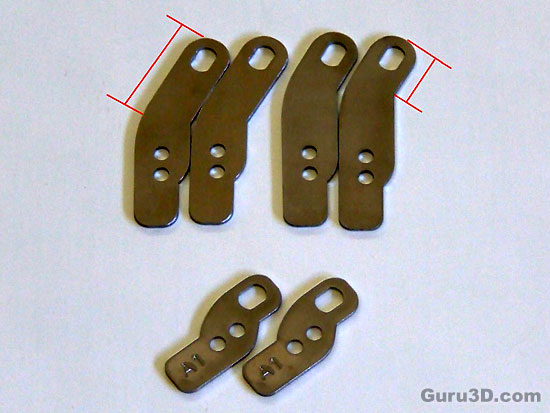
The metal clips. Top ones are for nVIDIA cards and the new line of ATi cards (X1***). The lower one is for ATi cards. As you can see, the top ones are not labeled like the bottom ones. And no, there is nothing on the other side either.
