Product Showcase - The Build
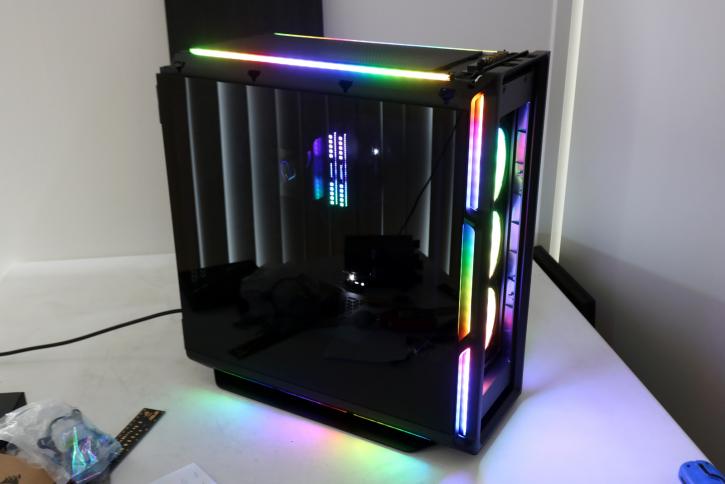
The Build
It's time to get some equipment and put together a computer for us. In terms of liquid cooling, I'm not going to go all out with elaborate and specialized liquid cooling, etc.; instead, we'll be designing a regular ATX system with one 360mm radiator mounted at the top side.
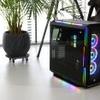
You can see how the power supply will be mounted, with plenty of room for cabling once again; however, for a standard-sized power supply, the drive cage will need to be removed; nevertheless, once the power supply has been mounted, the driver cage can be re-inserted. If you are not using hard disk drives, then any size will suffice, and you will have more space to tuck away wires as a result.
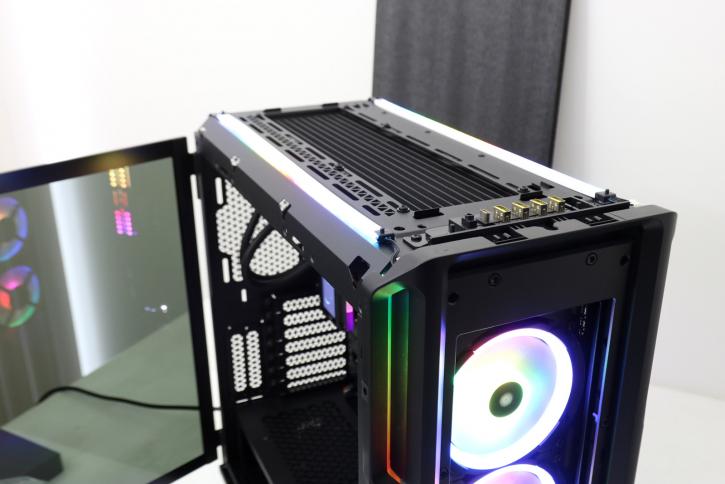
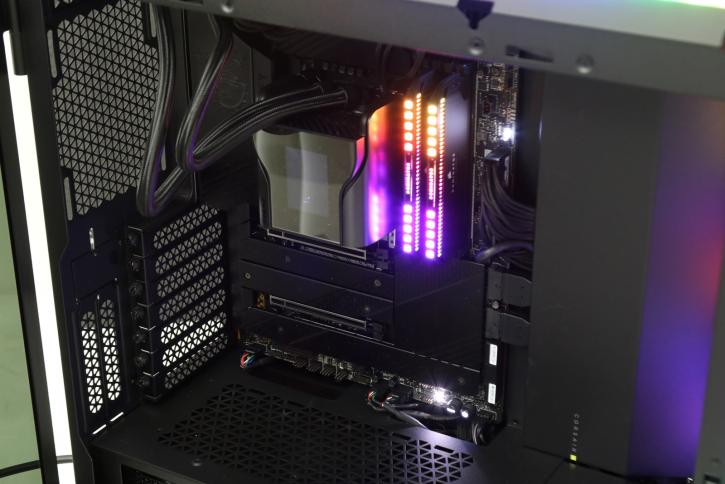
As you can see even if we'd go big, there is plenty of clearance to mount everything. You'll see plenty of grommet holes and that gutter and lots of gaps and space to tuck stuff away. The excess cables can be hidden really well. See how that cleaned up? At the top side, you can see the RGB strips, white because ... well light needs to bounce of white to get the best effect. Once the top side cover is in place, you'll no longer see the white elements.

The only issue I have with the chassis is that I don't have a small amount of extra space on the mobo's rear side that I would have used for wire routing. It's adequate, but there's enough to go around. If you'd use the motherboard 360mm radiator space, then you'd need to be very precise with cable routing. luckily there's roughly 3cm spacing between the panel en mobo tray.