Connecting the goods
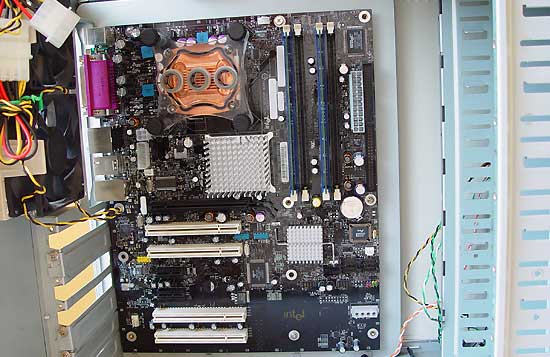
The mainboard has been seated securely into the case. As you can see I left out the PSU and drives to make sure we have lot's of space to work with here.
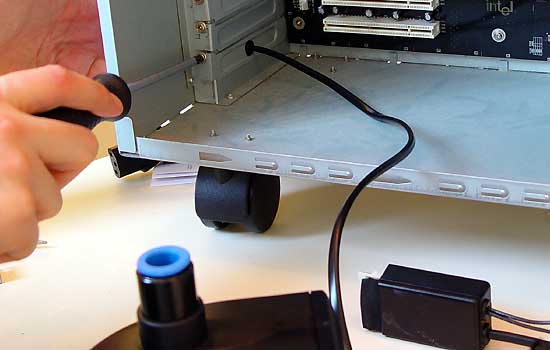
A 220 volts line goes inwards, let's install that the right away shall we? You do not want to do these things once you have all that stiff tubing connected in there that is rather hard to move around.

Next step, we cut a little tubing (with a sharp knife or scissors) and connect the pump to the water reservoir. Push on fitting people, you push it in and it's secure. It's as easy as saying quadruplet :)
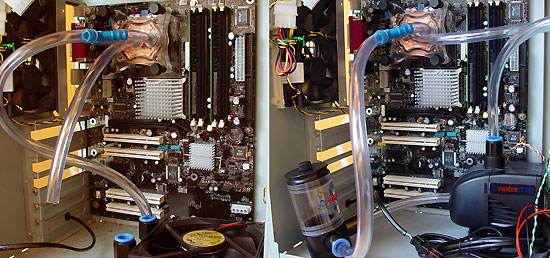
Here we prepare the rest of the tubing for the entire flow circuit. Our flow line, if we where able to use the entire kit, would be as follows:
reservoir -> pump -> radiator -> CPU -> GPU -> Chipset -> reservoir.
