My Precious!
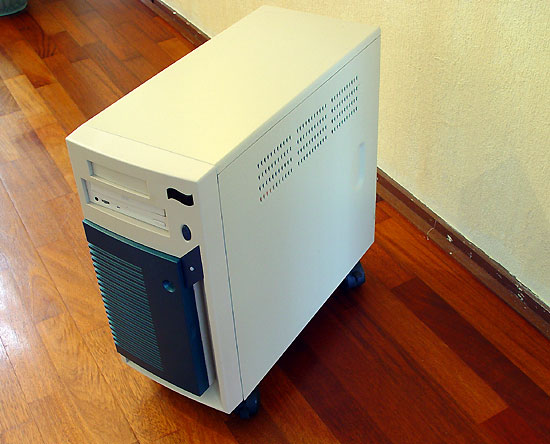
Sweet momma, pretty huh (sarcasm intended)? Now then, we actually have a new Lian-LI PC-V1000Plus casing inbound for this little watercooling project of ours yet it was taking too long to arrive.
And since Asetek's PR lady was inquiring about our review I decided to seek a temporary solution as I'd like to keep my reputation in reviewing quickly to be constant. So for the time being I'm using this old PC case that I had lying around. Quite frankly it actually is perfect for this Asetek kit as we can easily place the Radiator in there and have all the space we need.
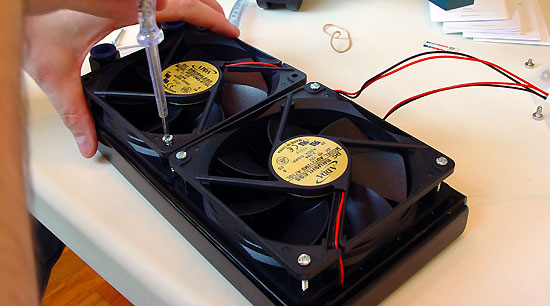
Let me show you why this case is so fantastic to use, first prep the radiator. Here we screw the fans onto the radiator.
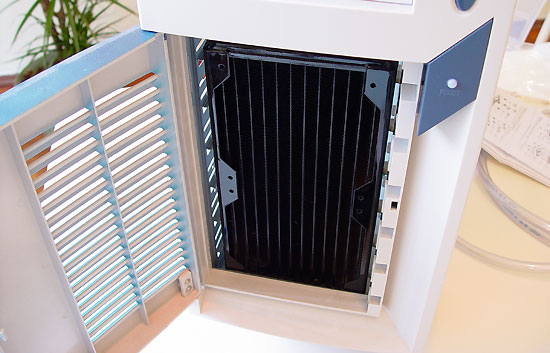
The radiators are the hardest thing to place as they are huge. A lot of people actually place it somewhere outside the case but as I already stated, this case is just perfect for it. I'm loosing some HD space here, but at the front cool air can be sucked into the radiator so that is a bit of a tradeoff here. I secured the radiator onto the PC casing with two screws. There is another advantage placing the radiator this way. The airflow from the sucked in cold air is (since the block is high performance) still not warm even after it's used to cool down the water. That airflow will blow over the mainboard additionally cooling down the PC.
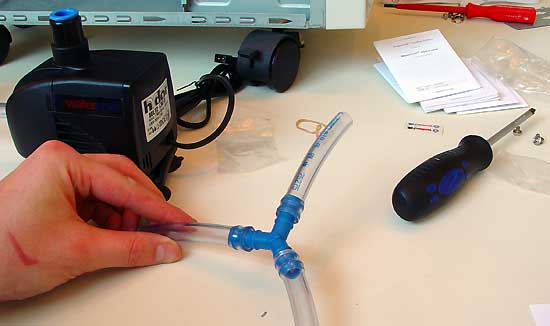
It's now getting time to slowly start and set up everything for connection. The next logical step is the place everything inside the case, decide how the water flow should go and prepare tubing. See these little white papers just above the screw-driver? Manuals, check them.
