Page 6
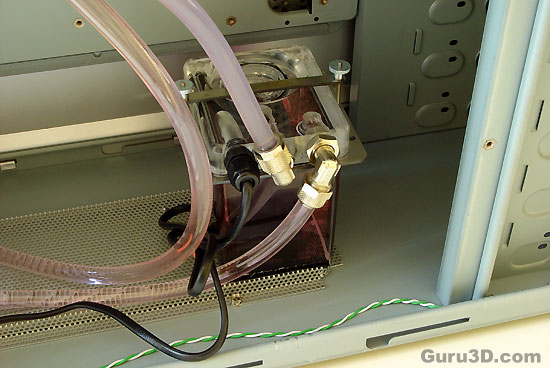
Here we see the Alphacool Cool Answer III 120 Compact 12V unit. Everything is prepared for you. Clearly visible is the pump which is an Eheim Compact 600 submerged pump and this has a delivery performance of 600 l/h as well as a lifting height of 130cm. The container is provided with 1/4" connections and can actually be equipped with various adapters.
Optionally you can buy a "power pack". You can connect the pump station directly to the power pack. The socket at the back of the PCI Slot card is meant for use of 12 Volts outside the case. No 230 Volts high voltage converter is needed this way. Highly recommended.
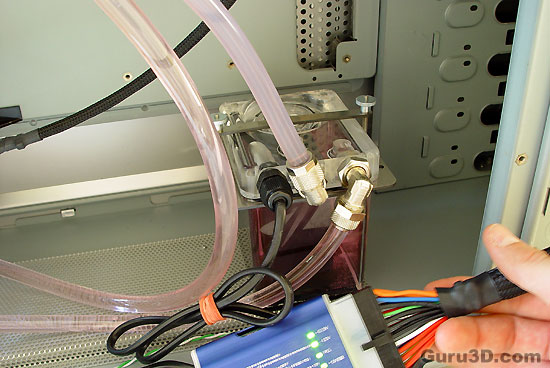
The first thing you want to do is connect a PSU to the pump and see if the pump is working. That's way you can check for leaks before you get your gear into the system and also residual air in the tubing will circulate back.
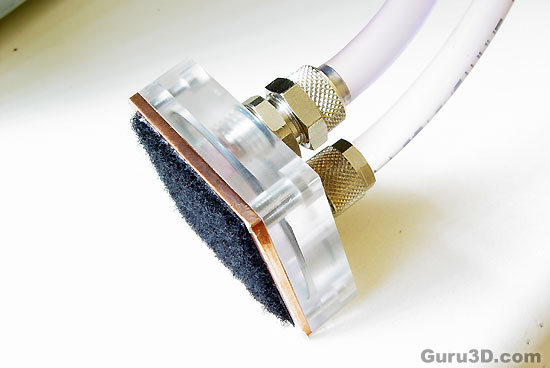
This by the way is the AlphaCool NexXxoS XP Light CPU waterblock. It has been designed with a plexi top hat to diminish weight and therefore strain on the motherboard. The bearing surface of the cooler really is flat and polished. BTW, you'll notice a small plastic foil + velcro over the cooler. Obviously to prevent scratching during transport. Do not forget to remove it during installation.
Let's move onwards to the actual installation. It's a reasonably fool proof installation, basically you need to take the following steps if you are upgrading your system with this new cooler:
- Perform the steps as described over the previous pages
- Install mainboard + CPU + Memory
- Apply a layer of (included) thermal compound on the CPU
- Choose the right CPU bracket mounting kit
- Mount the water block onto processor
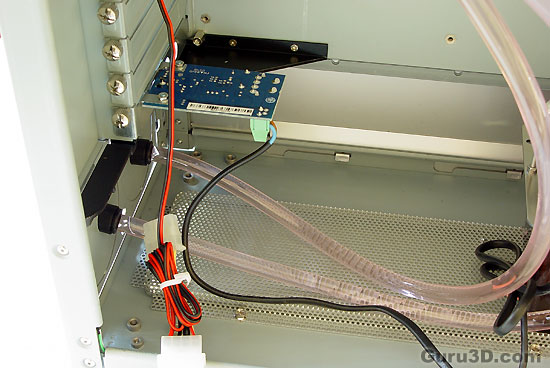
- Plug in the power PCI Bracket Molex to PSU
- Power on the Computer
- Check again for leaks
- Done !
Let's look at it in detail.
