Page 7
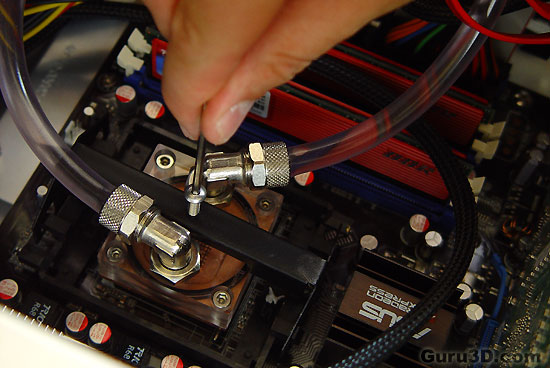
We place the bracket and secure it with a screw. Don't twist it massively shut. Just make sure there's enough pressure on the waterblock to keep it secure on the processor. We are almost done now.
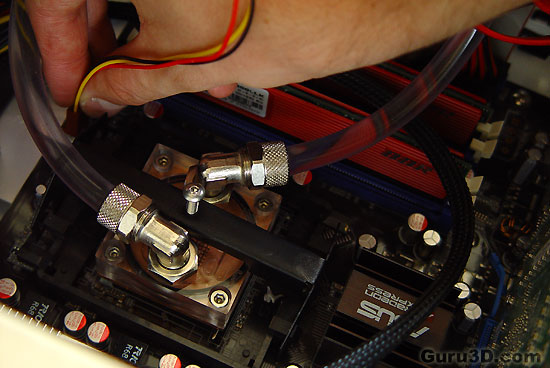
Last thing you should not forget is to connect the radiator fan towards the CPU Fan connector on your mainboard. It's now time to install the entire CoolAnswer unit secure into the casing.
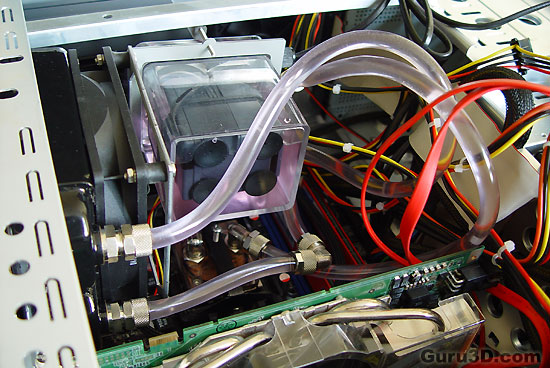
We slowly position the unit into the system, it's heavy so do this slowly.. Don't be afraid to do this with the case on it's side.
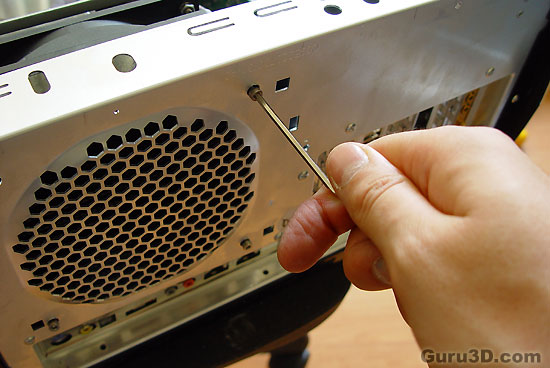
On the inside we have now lined up the radiator holes to with the casing fan mount holes. We insert the supplied screws and secure them. The allen key I'm using to secure them is delivered with the package.
