Page 6
Let's move onwards to the actual installation. I read somewhere that Alphacool states it can be done under ten minutes. Well .. not really as you'll probably be busy for 15 minutes to half an hour. But still, that's fast. It's a reasonably fool proof installation, basically you need to take the following steps if you are upgrading your system with this new cooler:
- First remove the existing processor cooler
- Eradicate thermal compound off the processor
- Apply a new layer of (included) thermal compound
- Check functionality of the Alphacool Cool Answer III
- Install power PCI bracket
- Mount the water block onto processor
- Plug in the power PCI Bracket Molex to PSU
- Plug the fan connector towards mainboard power connector
- Power on the Computer
- Check again for leaks
- Done !
Let's look at it in detail.
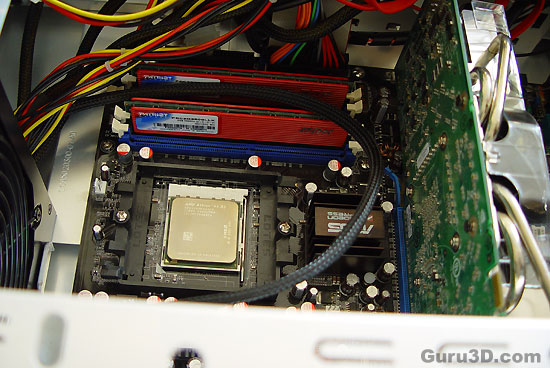
This is the PC we'll be chilling today. We first remove the old heatsink and remove the residual thermal paste.
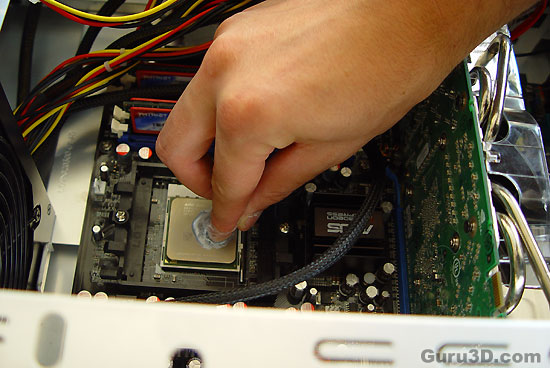
Now we use a few drops of the supplied thermal paste and smear a thin layer over the processor. I usually wrap a little plastic around my finger and this way can very evenly distribute the thermal paste.
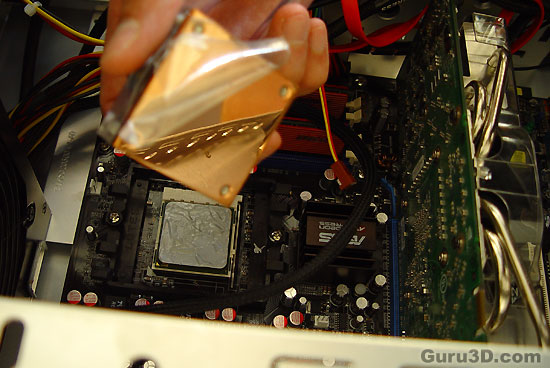
Below we see the processor prepped. Now don't forget to remove that layer of plastic protection foil from the waterblock.
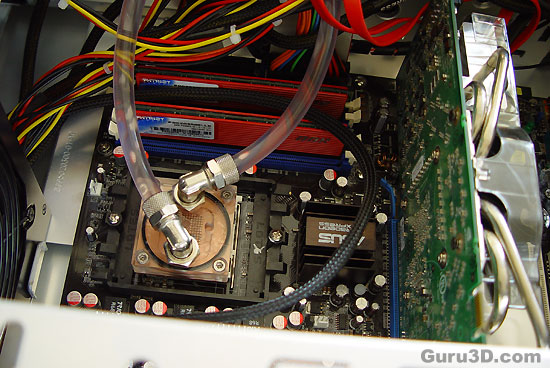
We position the tubing and align the waterblock to the right location.
