Product Installation
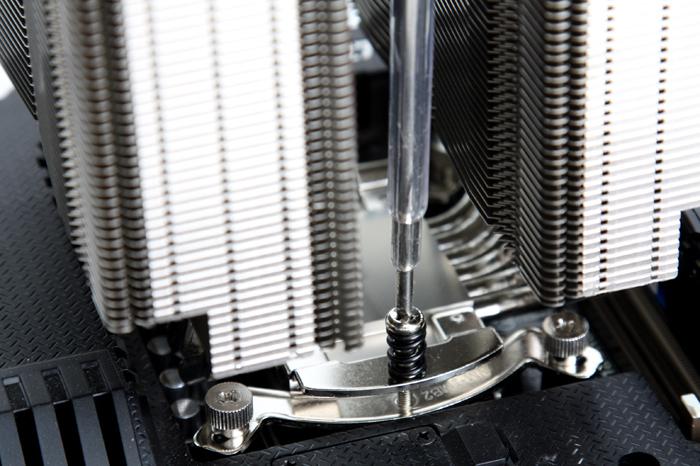
Once we seat the cooler in position you need to align it with the two screw threads. With the help of the supplied screwdriver we can secure the two screws. You need to remove the middle fan for this, but it is easily seated back.
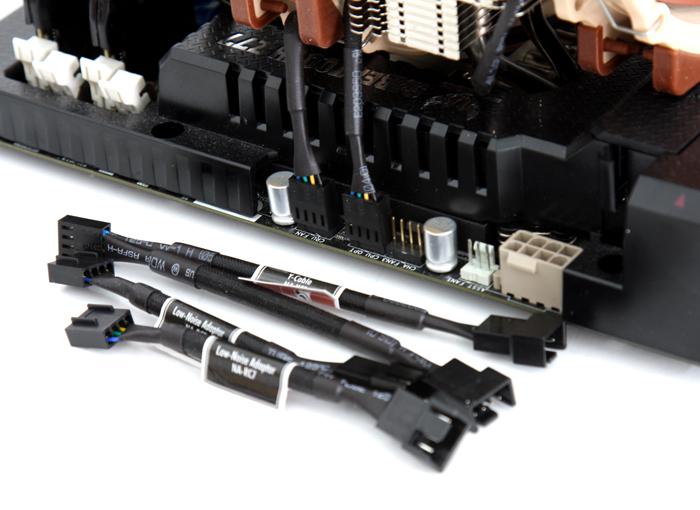
Once seated you can now connect the two fan power cables to either your motherboard CPU FAN headers or a FAN controller. So yeah, once the motherboard is out, 10 minutes of work maximum, we positioned the cooler and are ready for the first test run. It is totally up to you how you want to install the cooler, blowing air from or to the PCI card slots, or turn it 90 degrees facing the rear fan exit of the chassis. If you cannot PWM regulate the fans then please use the supplied resistor wires, tagged as 'low-noise' adapters. this will prevent the fans from spinning/rotating at the full 1500 RPM, and will restrict them to a silent 1200 RPM instead.
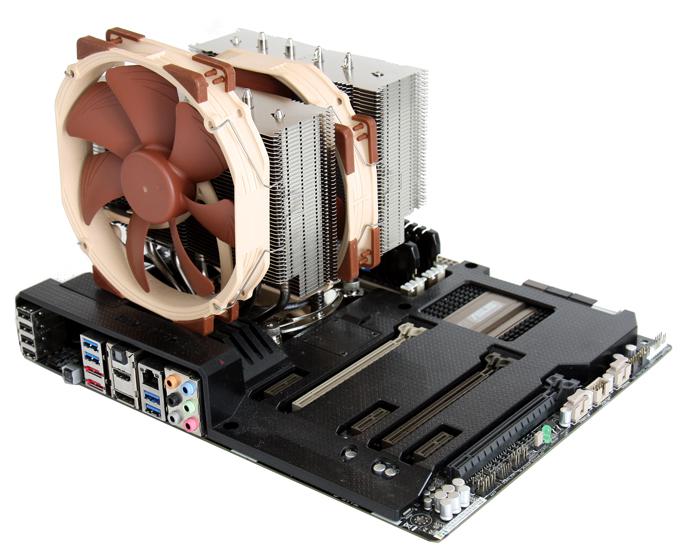
We deliberately installed it this way so that hot air will exit on the top rear of a chassis. We also did this to show that the high-profile memory DIMMS are not being blocked by the cooler radiator fins. So yes, that's all folks. The NH-D15 is definitely bulky, big and as always the brown/beige colors are the Noctua trademark. Like the looks or not, these are among the best coolers available on the globe. But let me demonstrate that and put these coolers through our test suite.
