
Product Installation
Product installation
The installation process is described in the included manual. First, you need to mount the fan on the radiator, using four screws per fan (washers/spacers are provided).
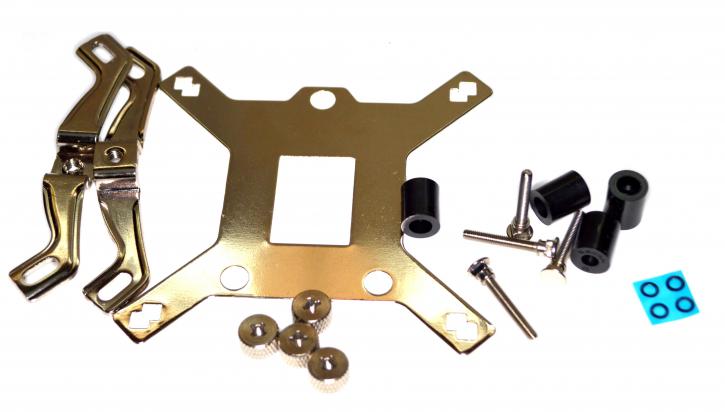
This is all you need for the AM4 installation. For the AMD platform - the stock backplate can stay but the plastic on the sides of the socket needs to be removed.

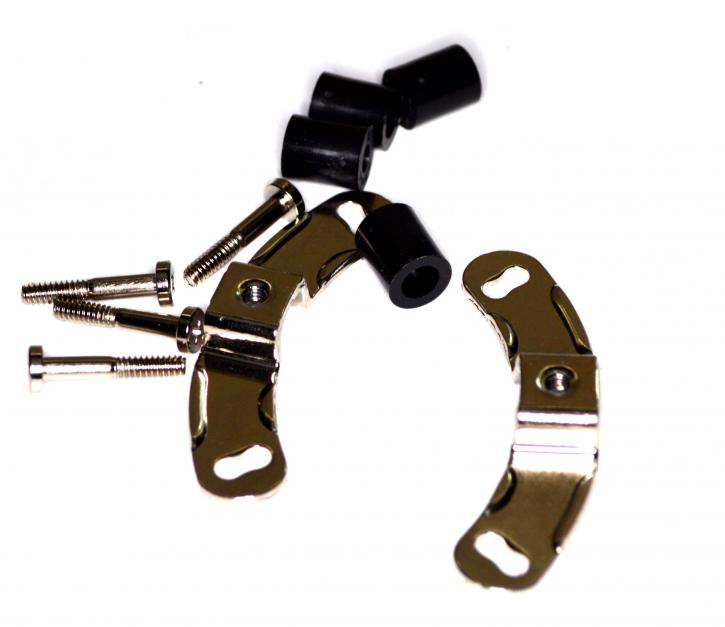
The nuts need to be aligned with the holes/threads in the board. Next up is the mounting bracket that needs to be secured by a total of four plastic pillars from the motherboard’s side. You need to screw in two metal “arms” to be able to secure the pump. Of course, you need to take off the plastic from the block first (there’s a thermal paste pre-applied). A spare tube of thermal paste is included (and we’ll check how it performs later), but for the sake of this review, we will also use Thermal Grizzly Kryonaut.
The last step is to secure the pump/block on standoff screws with two screws. You will need to use a Phillips screwdriver, and tighten it evenly (to even out the pressure on the CPU).
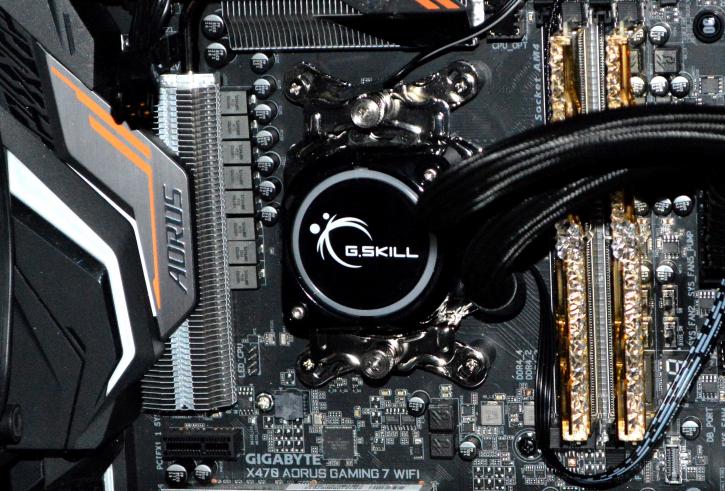
Here's how it looks like when installed/secured.
Mounting this kit on a socket 115x platform is much like any other All-In-One product. You start with the backplate. Most modern cases have a big cut-out for the CPU cooler, so there should be no need to pull the motherboard out to install the backplate.
