Product Installation
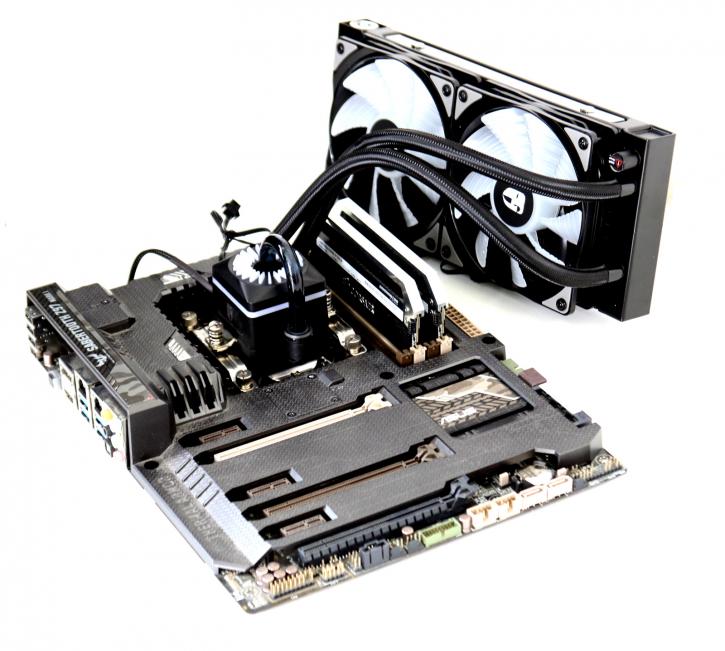
We are testing externally but you get the idea here. As mentioned there is a bit of wiring to manage, so I wanted to show you that a little better on this page.
One cable with fan HUB is connected to the CPU FAN header, these are the two fans combined with the Y-splitter HUB. Then we feed the pump with our optional CPU FAN header or ASST FAN1.
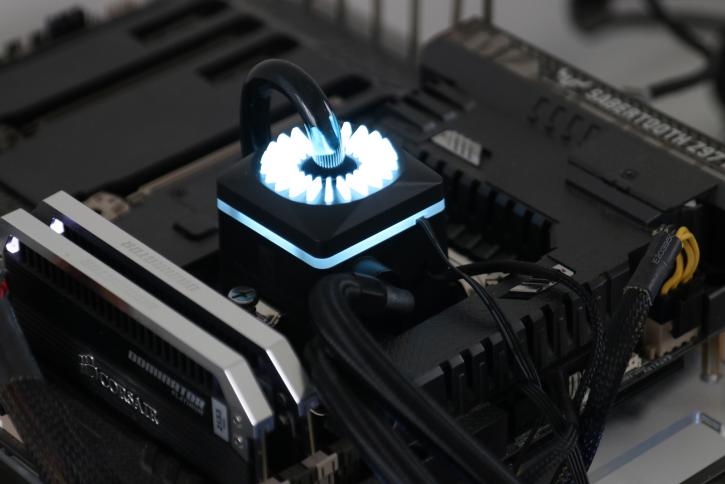
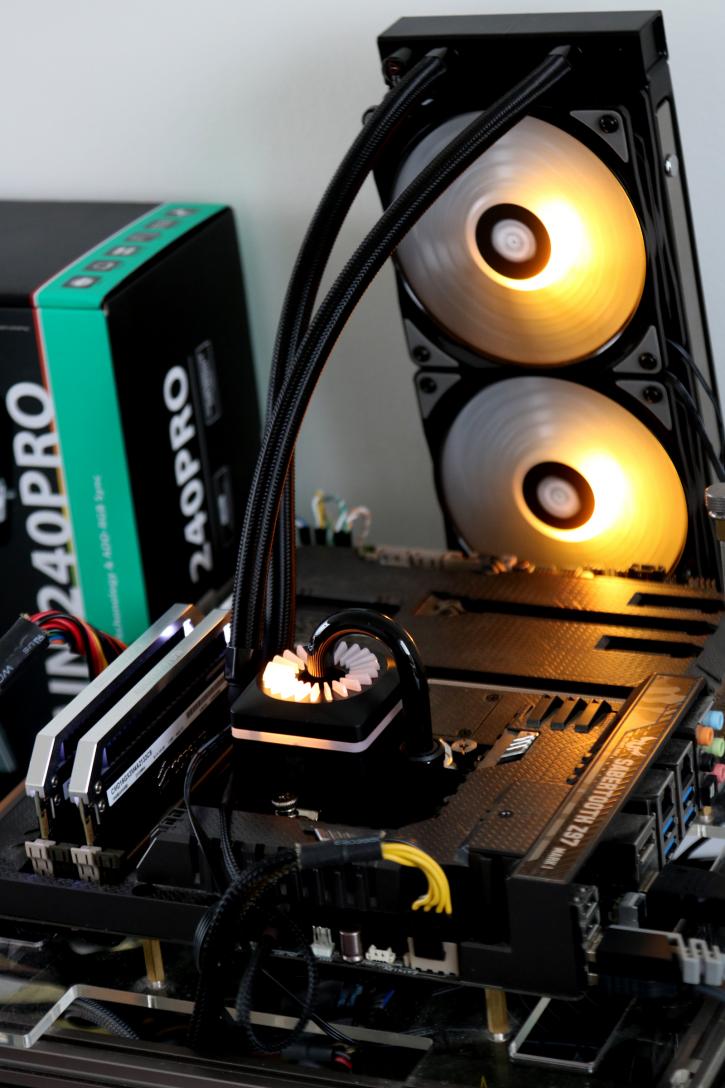
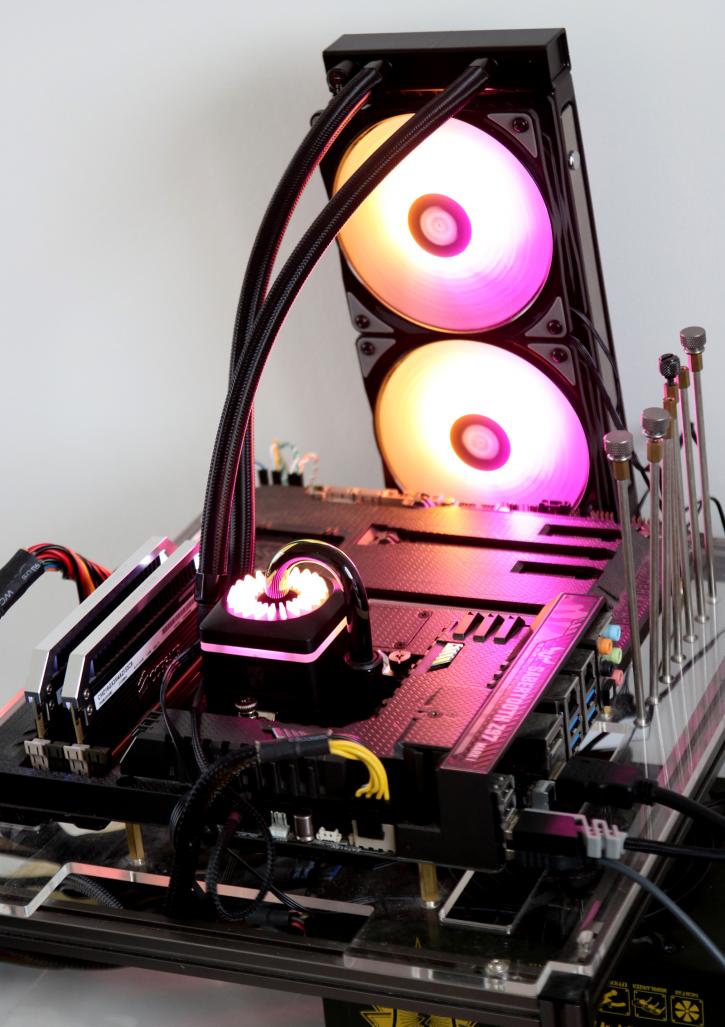
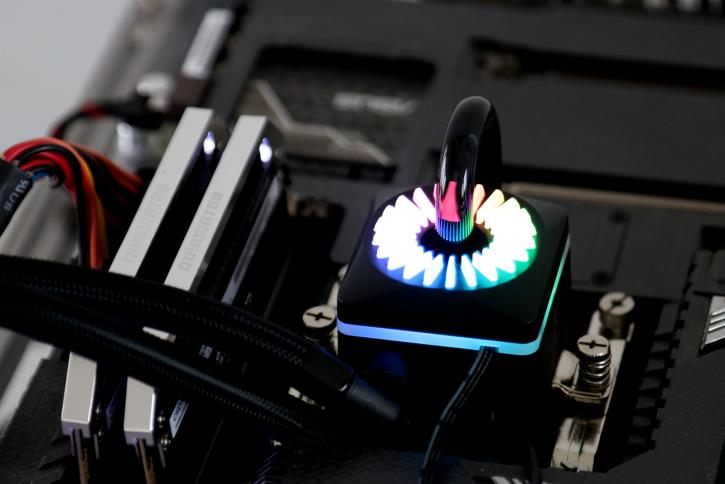
For RGB we are using the included controller, it has a plethora of animations, but also static lighting with a color of preference. The LED lighting system really looks gorgeous.
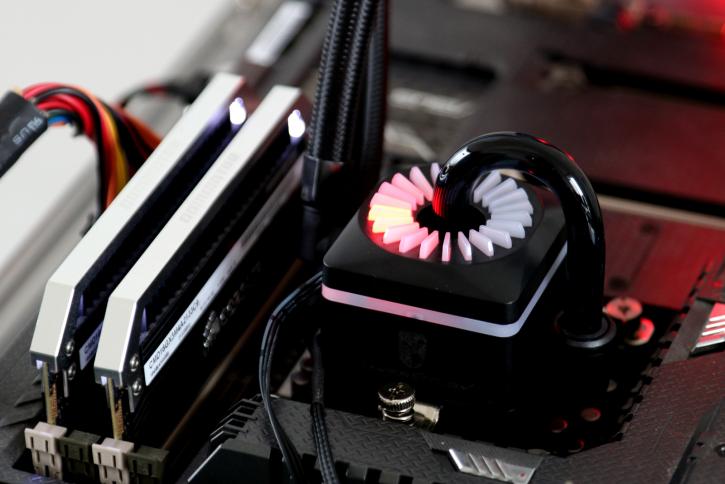
Once powered on you'll notice one LED at the water-pump, it fades in and out slowly. This is done so that you can see the pump is active and working. And yeah, installation wise that is all there is to it. A very simple and clean installation overall.