Product Gallery
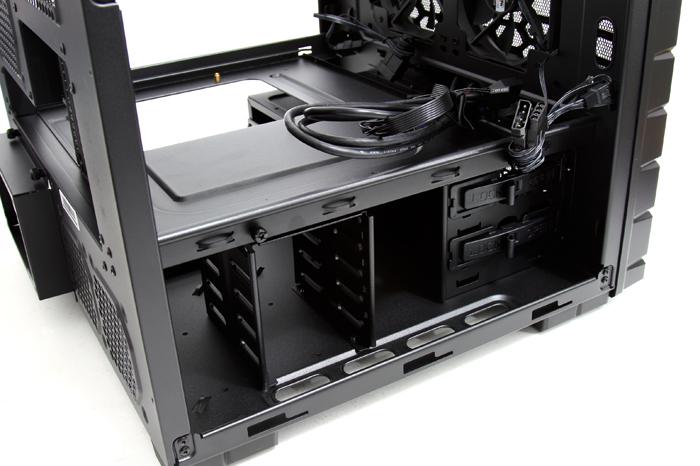
Cables for front-panel connectivity are orderly tied together for transport. Hey, we like details.
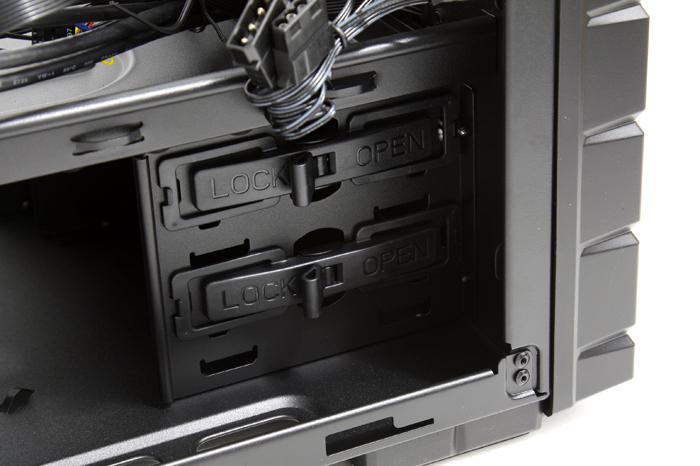
You will spot two optical drive bays (5.25") to choose from, each feature a latch that has an 'open' and 'lock' position. These latches are just great, mounting could not be any easier - just line up the holes on the optical drive you just inserted into the case and flick the latch to 'lock', that's all.
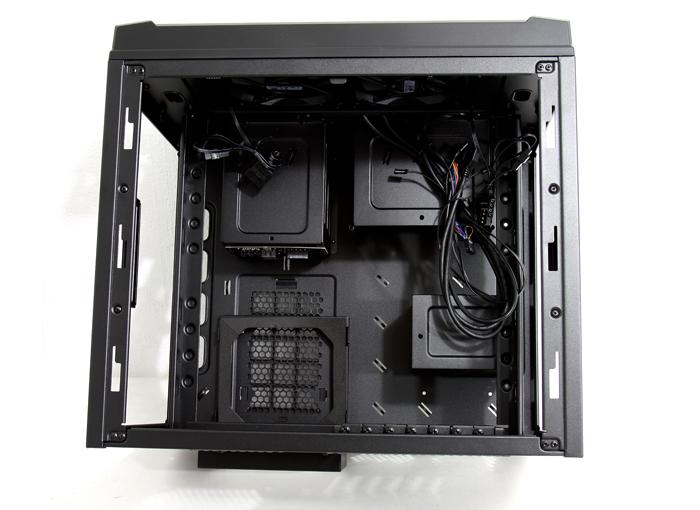
With the motherboard tray removed we reach the PSU location. We'd advise regular ATX form factor PSUs but ones that are a tiny bit longer won't be a problem either due to that extension on the outside. The bottom has a dust filter which is accessible at the bottom of the chassis.
So what of we want to install the PSU? Well, easy, we remove four thumbscrews and take out the motherboard tray as this is a two compartment chassis.
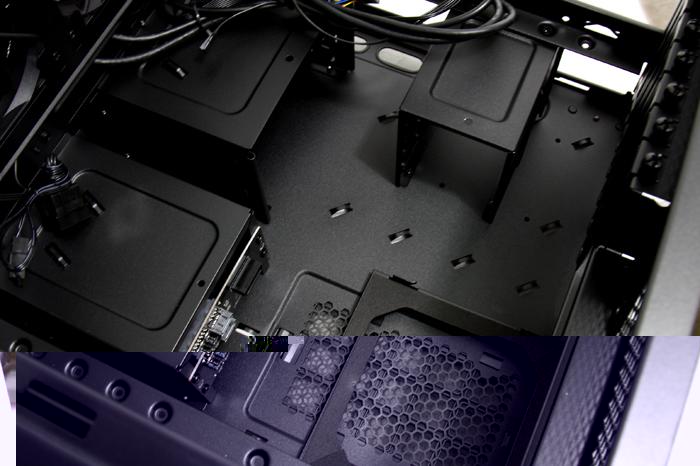
The photo got corrupted sorry, but here we look at the lower compartment, at the PSU location we see a small PCB.
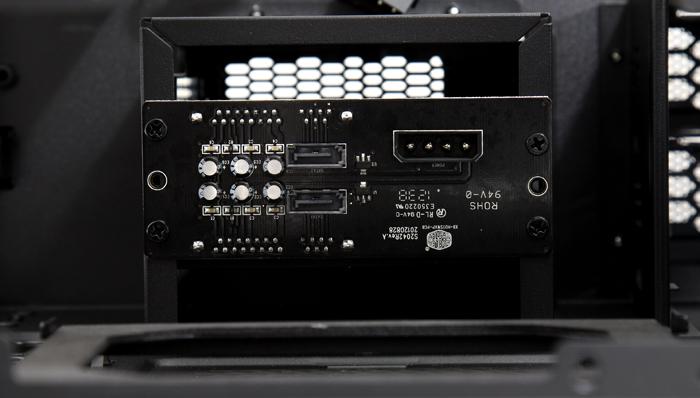
Once we look inwards through the PSU gap, we can see that the PCB is for the XDock functionality Pretty much you hook up one molex cable and two SATA cables to be able to use the hot swap drive cages.
