Software installation
Software installation
After installing your HDD(s), giving the unit power, connecting it to the Ethernet and powering it up, after a minute the HDD LEDs will lit up and you'll hear a beep. The device is ready for setup.
What you want to do is install the software supplied on the CDROM, it will detect and install the device. If you are a little more experienced, then you can scan your network (use your smartphone and install an app like Fing). Once your NAS unit will be listed with an IP you can access it by tying that IP in your browser.
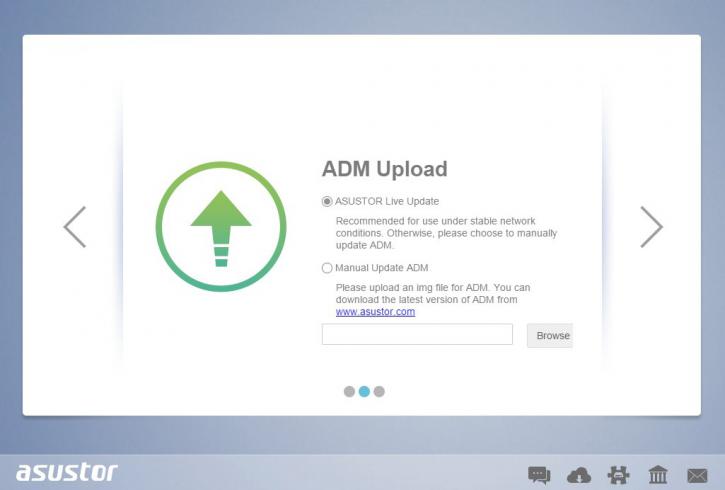
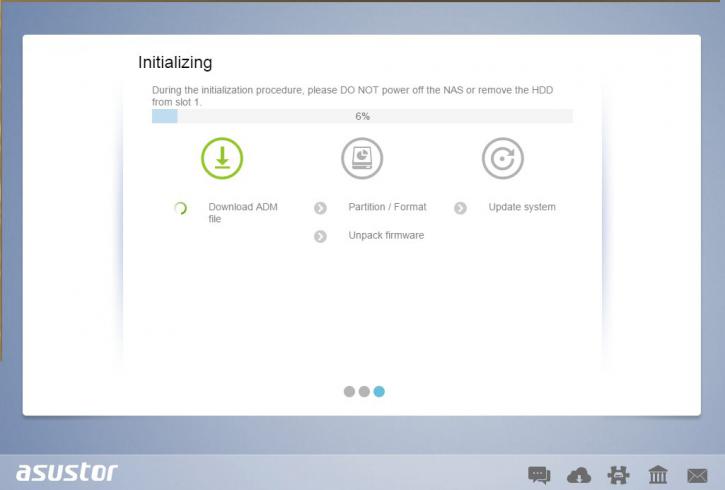
If (like 99% of you) have a router in your network providing DHCP based internet, your NAS will already have gotten an IP and Internet variables like DNS acquired. The first thing it'll do is to see if there is new firmware (ADM) available. You should update with the Live update function. The Firmware will automatically download and install. A process that takes merely a minute or so.
ALWAYS update your firmware to the latest revision when an update is ready. These updates not only introduce new software, they apply security and vulnerability fixes as well. If you make your NAS publicly available though http / ssh / mysql or FTP then always update.
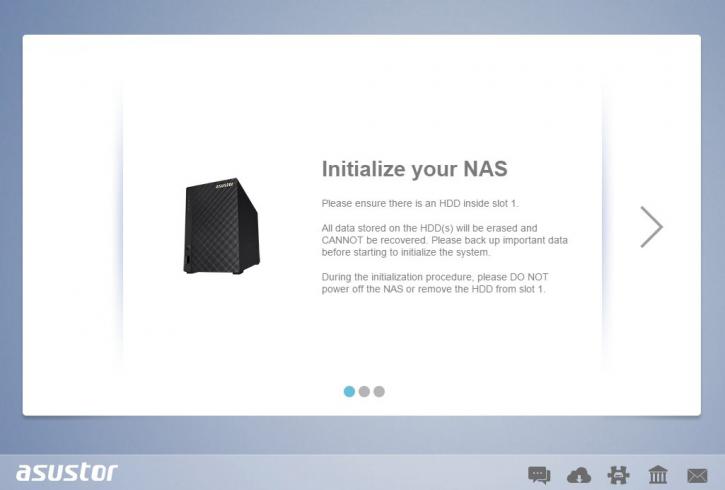
Once your NAS has installed the firmware and has rebooted it will continue in your browser. If not, type in the IP again.
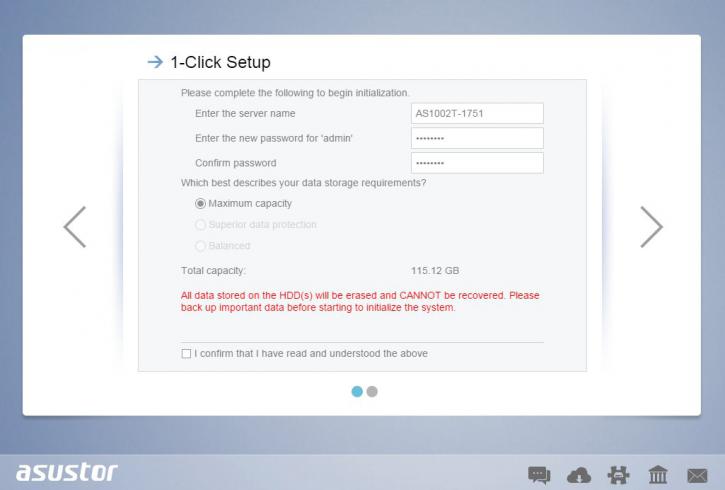
We now choose the 1-clock setup (which is tremendously easy) insert a NAS unit name and password, and from there on you can follow a simple wizard to setup your device and configure it in your network. Again, the NAS will detect and setup DHCP lease if it can and it will retain that assigned IP. You could manually configure it at a self set IP as well though - as you do not want your NAS unit located at another IP after each router restart, totally up to you of course.
On the topic of routers. Should you like to have your public web-content and say FTP available on the internet, then in the router setup open up TCP ports 80 and 21 for IP 192.168.0.xxx / 10.0.0.xxx after which your router will redirect all in and outgoing requests to the assigned IP.
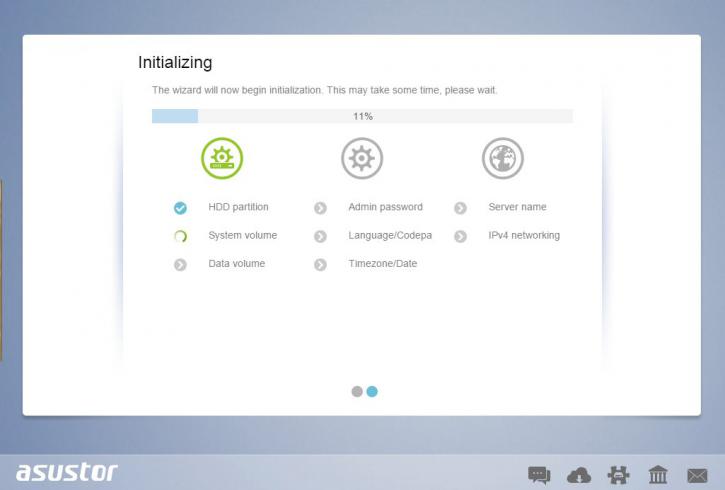
Once the automated setup is complete the unit will login to the admin interface.
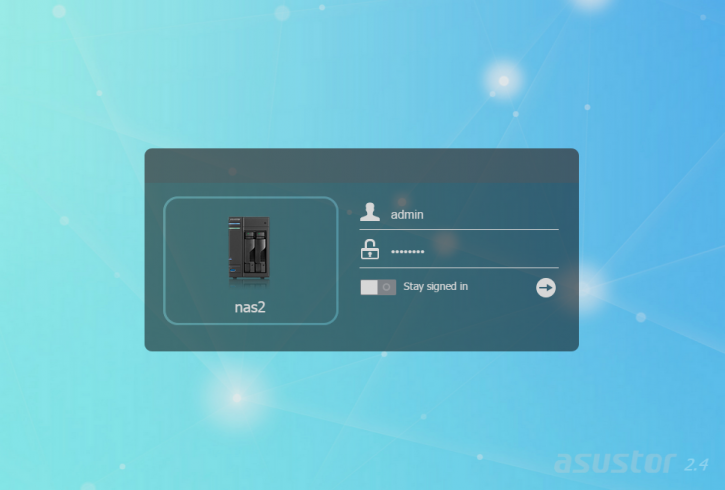
Once the NAS went through a couple of setup stages we can now login based on the admin logon password we just inserted.
