it's alive It's ALIVE !!!
Right then, after all that maddness we can do a little Frankenstein action. It's alive! It's ALIVE!! :)
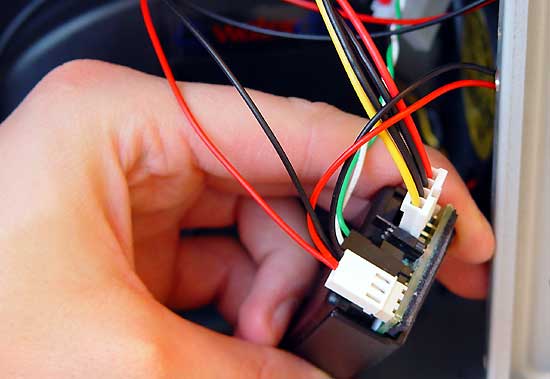
After we connected all tubing it's time to prepare the electronic circuit for the pump and fans. From the Power Supply we connect the small 4-pin FDD power connector, which supplies 12V to the control unit. By moving a jumper on the control unit you can switch the radiator fan from 7 to 12 volts. In our case 12 volts is the only option. We also have a little power LED connection on the control block, the white/green wire.
The control unit is hard to place somwhere in the case. I recommend you get some velcro with tape on each side and stick it into the casing somewhere not near the pump.
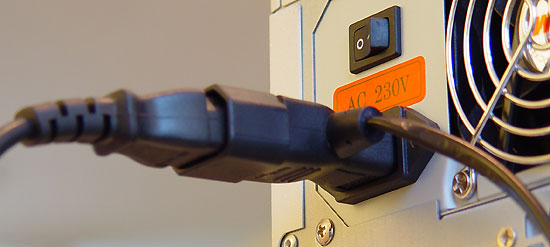
Clever, this is a power adapter plug, hook it up to your computers power supply and then the power cord plugs into the adapter.
It's time to fill the kit with some fluid but, you do not want to turn on your entire PC just yet. Make sure you disconnected your ATX power plug and remaining 4-pin power plug from your mainboard. We simply are going to bypass the electronics circuit for everything except the water-cooling pump and control unit.
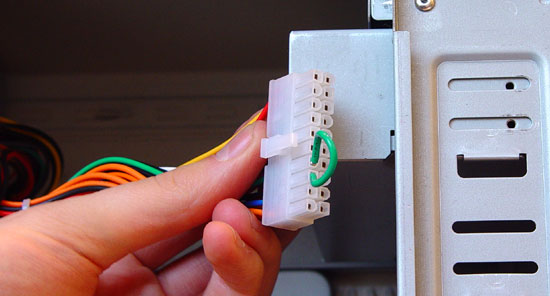
Now here's a trick I'm going to teach you, Guru style. Make sure that the only thing connected to the PSU is the water cooling pump/controller unit. Thus take the ATX power connector that normally mounts to your mainboard (see above picture) and bridge pin 13 and 14 (Black/Green) with a wire.
What happens is this, your PSU will now activate itself and your pump will start working. Shake the tubing, fill the reservoir with water and anti-algae fluid, etc. Do what you need to do to make sure there is no air in there and that the water is flowing.
