Page 12
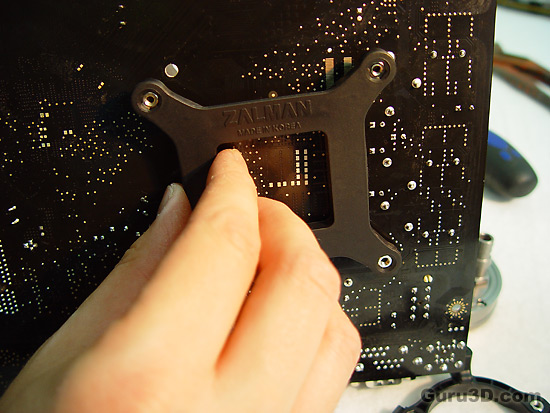
The first thing you need to do is the one downside with this kit; Zalman's socket connectors, you'll need to take out the mainboard as you need to access the backside to apply a backplate.
So at the back side of the mainboard we mounted that backplate, and at the frontside we install a plastic retention clip for Socket LGA775 which we secure with four screws. By the way, please remove the old residual thermal paste from the CPU as you want a flat surface. And then apply some new (supplied) thermal paste and evenly smear that out over the processor.
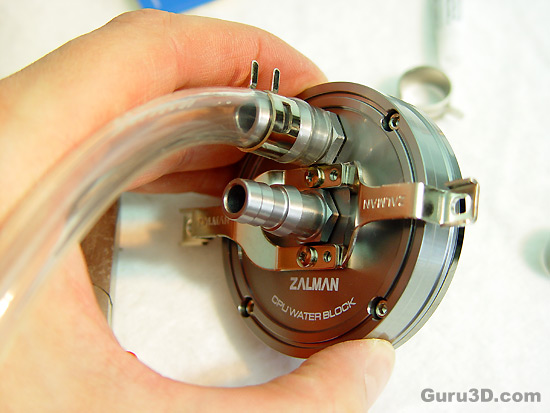
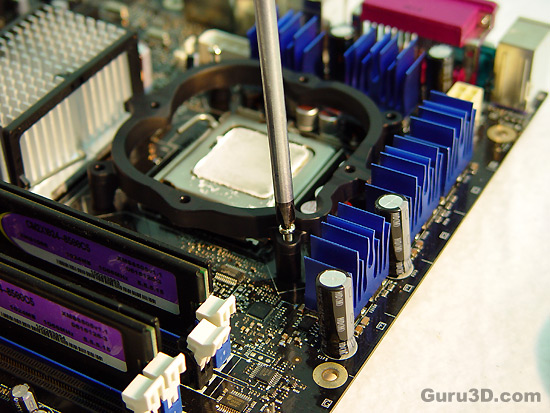
Now we'll prep the CPU water-block. Have a look at the manual, as this will be slightly different according to the socket you are using. Insert the tubing and clamp it. Then you need to secure the two brackets according to your socket specification in order to mount the CPU block onto the CPU socket and retention holder.
And please, before you mount the water-block on top of the CPU, be sure to secure the tubing. This is not a process you want to do once the water-block is mounted on top of the CPU. To much force is needed.
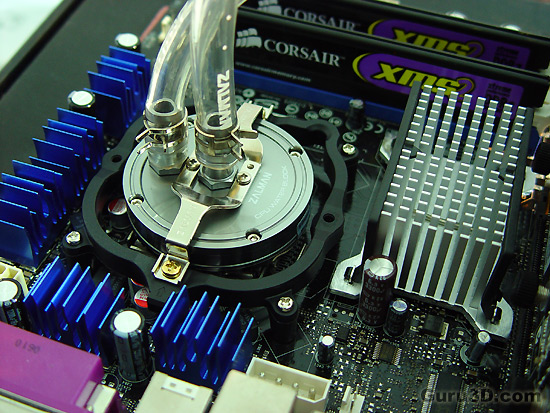
Now we place the water block on top of the CPU and screw it in securely with the help of the metal retention clip we just installed and two screws. You should now carefully place the mainboard back into the PC chassis.
