Product Installation
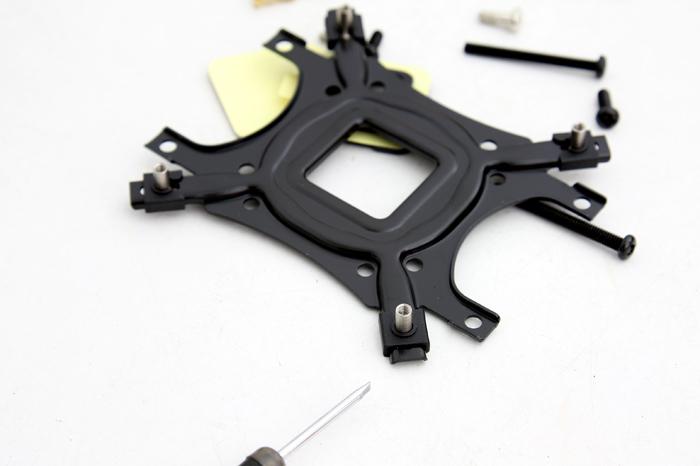
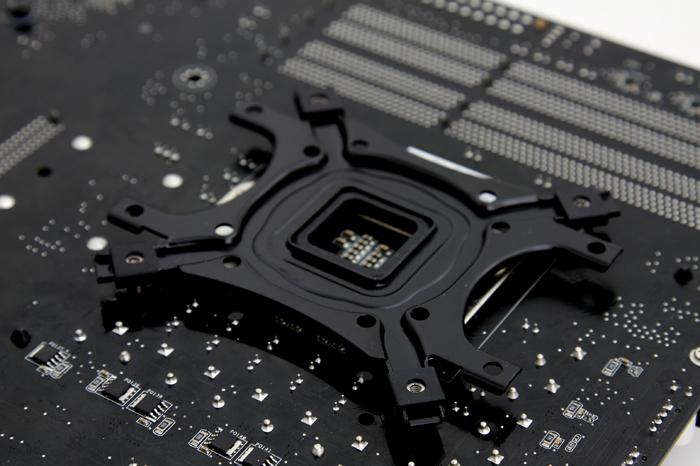
We start to prepare the actual installation. Here you are looking at a motherboard backplate that secures and mounts the cooling block. You should have already inserted your processor. You need to insert and align four bolts specific to your processor type and then lock them into place with the help of four nut-slide caps. Then for our socket we need to insert a plastic loading block after which we can mount the backplate.
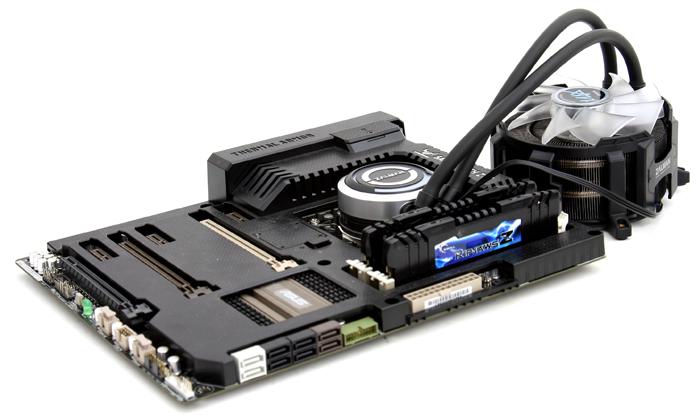
With the back-plate in place we can now install the cooling block. Mounting the cooler is a fairly easy thing to do, though the motherboard needs to come out of the chassis unless you have a chassis with a mainboard cutout for CPU cooling.
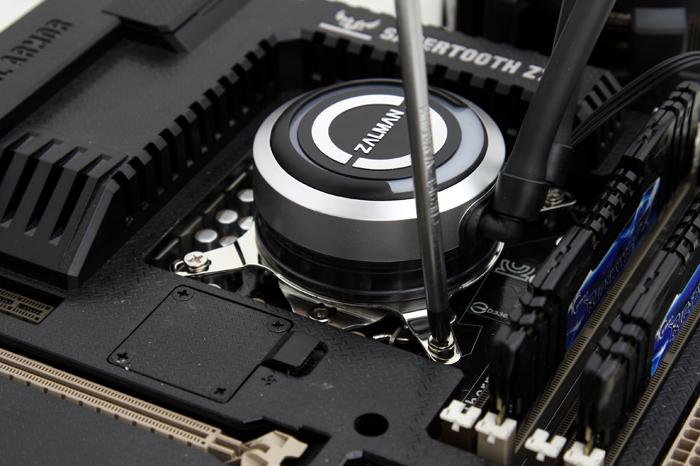
Once flipped around,the next step is to place the mounting bracket on the cooler and then secure it with four thumb screws. Once we seat the cooler in position it aligns up perfectly with four standoff screws. We can secure the four thumbscrews with the help of a screwdriver until they feel slightly tight.
Turn them tight until they can go no further. Once seated you can now connect the CPU lead to your motherboard CPU fan header. basically that's all, the installation process is a little annoying really as it could be so much morie user-friendly. AMD processor will require a bracket to be installed, but other then that, easy stuff as well. Right, once the motherboard was out, after a maximum of 15 minutes work we had positioned the cooler and were ready for the first test run.
