
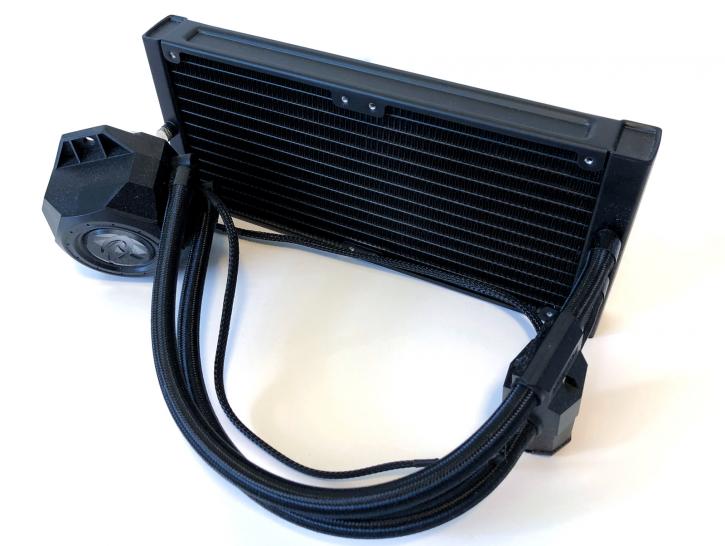
Continuing our investigation
Product Installation
I like to keep this section relatively brief, as rarely is the install of a product in the middle ground. Usually, it's a breeze or a pain from start to finish. AIOs tend to be in the former camp, so I hope the Orcus can match that. What is made up for in terms of not having to mount a potentially tall/heavy heatsink to your CPU is usually offset fairly well by awkwardly holding a large radiator in place. Normally, anyway.
Mounting compatibility for the Orcus 240 is very wide, encompassing all modern CPU sockets and nearly the full suite of older ones. In fact, the only ones you will not find here are Intel's legacy X58, X79, and X99. Other than that, all consumer grade sockets are covered, including LGA 201X and LGA 2066. Naturally, if you own any LGA 115X CPU, and even 1366 or 775, you are covered. AMD users should be equally pleased. Aside from the mammoth socket TR4, all modern and legacy AMD sockets are catered for. Good news for Ryzen users is that the Orcus 240 supports AM4 out of the box, with no need to order a bracket. As this is more than a year post-Ryzen Generation 1's launch, however, I would expect this of nearly any modern CPU cooler, whether released before AM4 or after it.
Raijintek provides a single top mounting bracket (much like their Leto) for the Orcus 240. Cutouts are in place for all sockets, included specialized ones for AMD AM4, given its unusual positioning relative to legacy AMD platforms. For AM4, simply remove the stock brackets and mounts, and line up the new backplate with the bare holes on the board. Thread four screws through the back of the motherboard, and then secure with washers, four nuts, and then mount the top plate where the screws are poking through. The top plate is then secured by way of four more smaller screws.
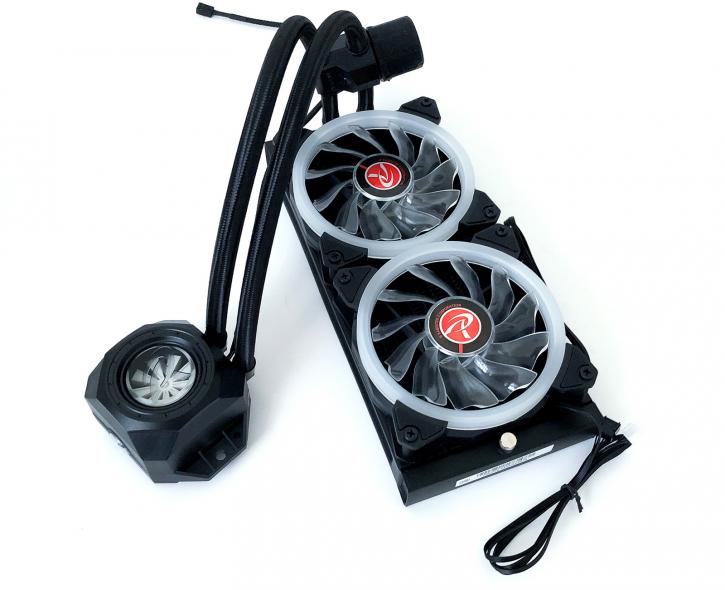
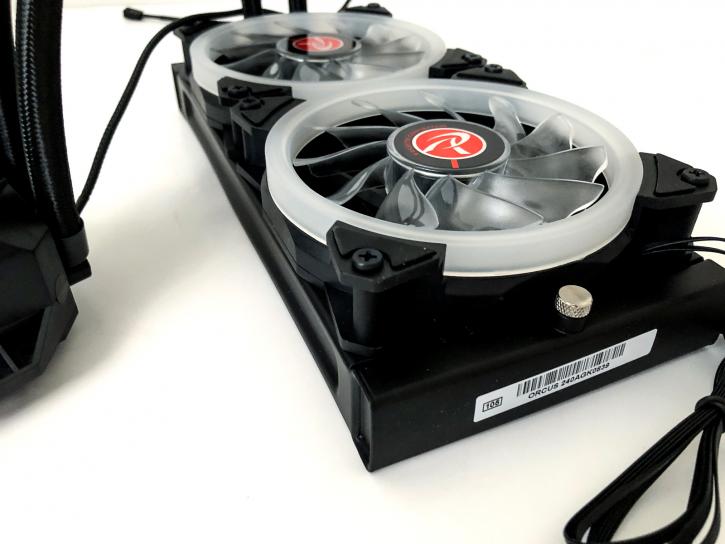
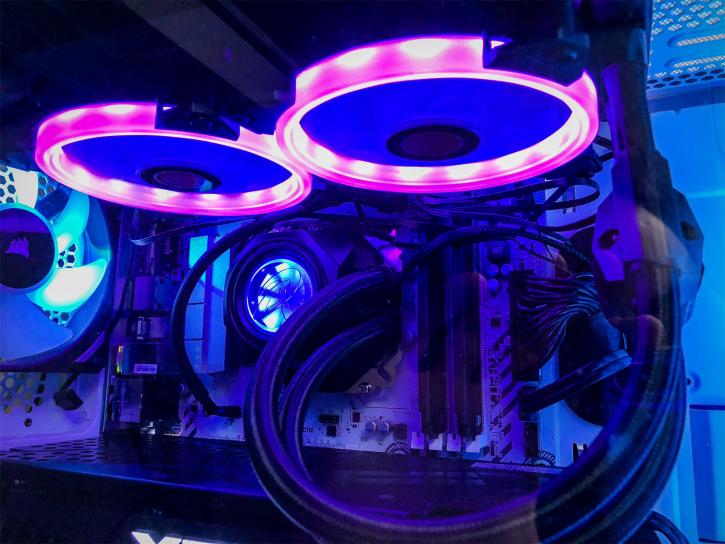
Next, we mount the fans. Installing them is done much like any other AIO out there. Four long screws per spinner are threaded through the holes on each corner of the fan. It is incredibly simple and the only reason I was even glancing at the manual was for the review's sake. A newcomer to the hobby will look at the manual, sure, but anybody who has mounted any AIO ever will know how to do this, likely just off the bat. The radiator can then be attached to the chassis using a further 8 small Phillips head screws. For this setup, the cooler is being mounted in a 'pull' configuration, exhausting air through the top of the case.
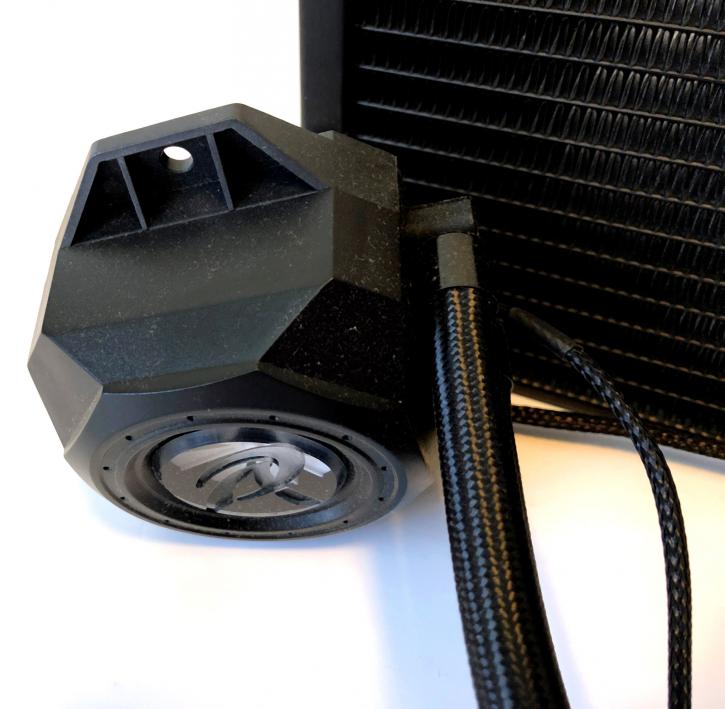
The blockhead can then be lined up with the top plate and secured into place with two final screws, taking care to tighten each one a few turns at a time, rather than each in turn. To those worried that two screws aren't enough to secure the head into place against the effects of gravity, rest assured that it is going absolutely nowhere. Again, I would prefer it if these parts were a little bigger. I know that the cooler is secure, but a newcomer might be a little uneasy? Just a thought. I appreciate that four large bolts or nuts like which we saw on the S24 would be more expensive to supply, however, so I get this decision and have no problem with it in principle. Why spend dollars on what could be R&D for no real reason? That is oversimplifying the market to a huge degree, but I digress.
Finally, connect the 3-pin DC pump cable to the CPU_FAN header on your motherboard, and you are good to go. Naturally, the DC pump means that it can only run at three speeds, but that is less of a problem for a pump as it would be for fans. All in all, the installation process of the Orcus 240 was extremely easy, but then again I expected nothing less. It is a very tried and true formula (backplate, occasionally a top plate, secure with bolts), and there is a reason that nobody has messed with it. It works.
I would certainly like to see Raijintek include an inbuilt fan hub (on the radiator perhaps) with their next AIO, or at least throw a 2 to 1 PWM adapter. Had I not had one lying around from my old Noctua cooler, I would have been entirely stuck for fan headers. I don't think it would be too much to ask, and it would another string to the Orcus' bow had it been considered. Other than that, the installation was exceptionally easy, and I really cannot fault any part of it.
Finally, we get to the bit you have all been waiting for (I would guess). We discuss the test system, methods used, and relevant stock/overclock settings.
