Product Installation
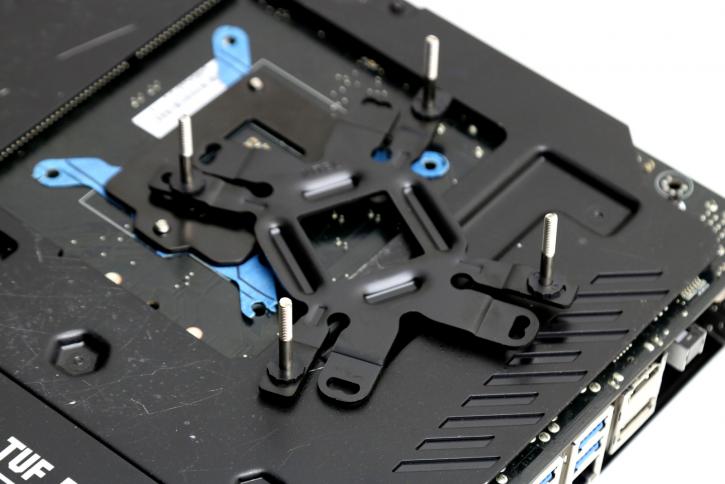
Mounting the cooler is a relatively easy thing to do, though the motherboard needs to come out of the chassis unless you have a chassis with a mainboard cutout for CPU cooling. Now you first prepare the backplate, four screws, and four plastic washers. For intel installation place the Intel logo side facing towards the motherboard and vice versa for AMD. And yeah that bracket looks a bit like a freakshow.
We first apply the backplate which we then line up and install at the backside of the motherboard. Just push it through there. The backplate is a bit wobbly to install though as the retention pins do not pass very deep through the motherboard holes.
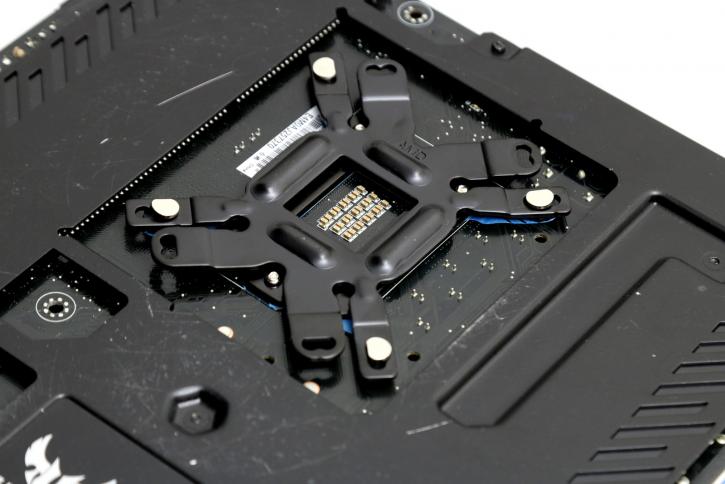
You can see the four holes surrounding the socket, here we insert four standoffs and then mount the CPU block. Mind you, prior to installing you' 'll need to mount two brackets to the CPU block with four screws.
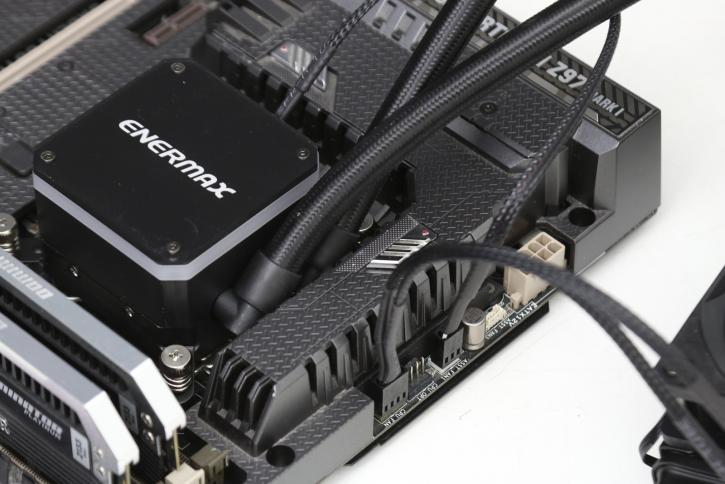
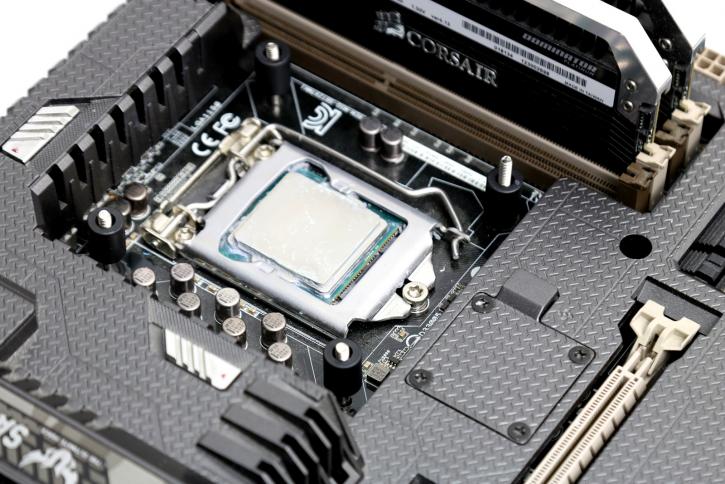
Once you seated the block you screw it secure with the four spring-based screws. Turn the screwdriver until it's tight and you are done. You need to connect the pump wire towards a secondary or dedicated pump FAN header and the fans towards a FAN header.
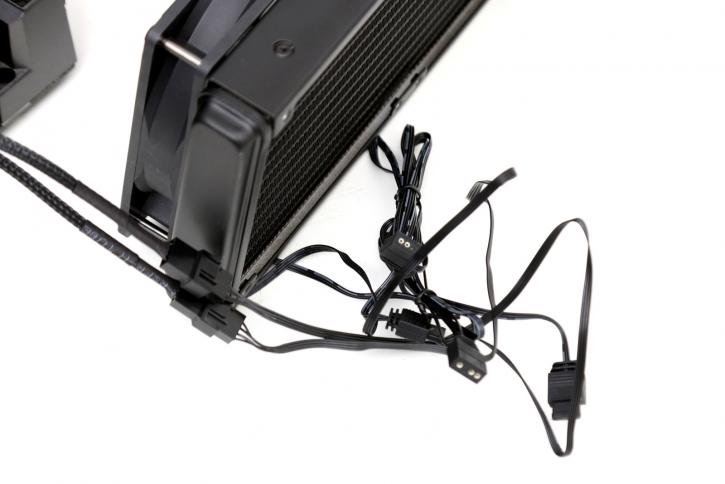
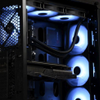
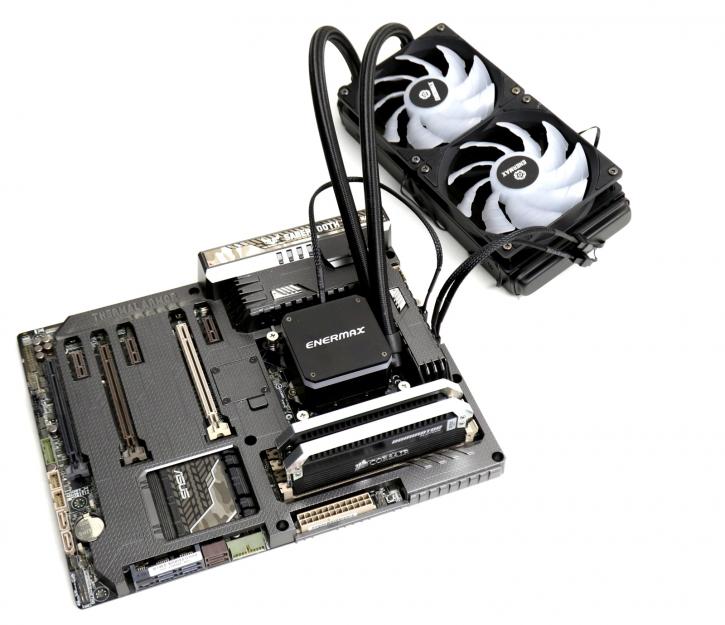
The fans (connected through the y-splitter you can lead to the CPU FAN header). All this is 15 minutes of work, we positioned the cooler and are ready for the first test run.
No RGB controller is included so hook bridge the aRGB cables and plug it into your 5v aRGB connector on the motherboards, alternatively purchase an RGB controller, or alternatively (2), leave RGB off.
