7 - Hydra Hardware (2) | Software Installation
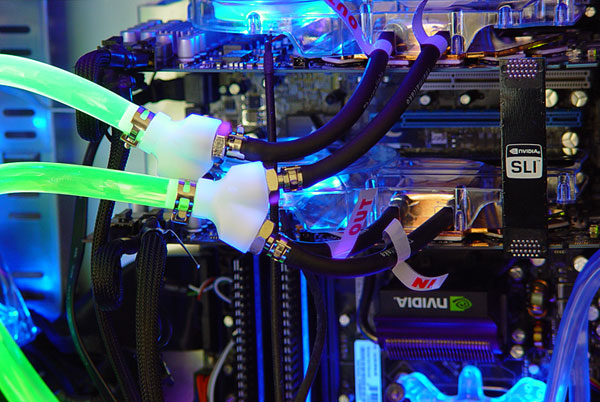
We now move the Thermaltake BigWater unit a little forward, and start filling it with coolant. Again something that is supplied in the kit. So there is no need to run of to the stores for distilled water.
Once you topped the unit off you can turn on the PC. The pump will start up and coolant will flow through the system. Keep filling the reservoir until all air has been removed from the circuitry. This will merely take seconds, don't be afraid for overheating the GPUs as again, this will take only seconds. You'll use up roughly 3/4th of the bottle.
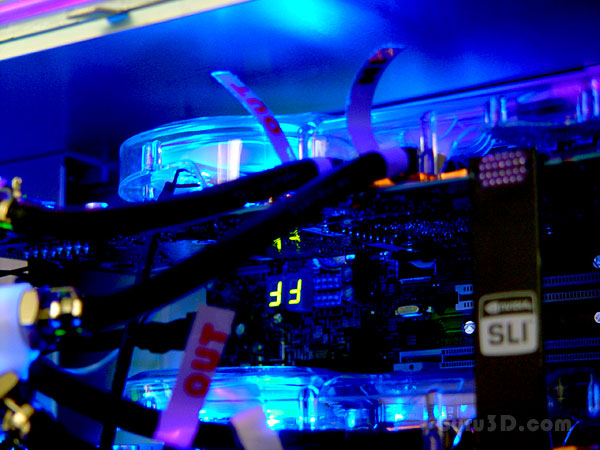
In the first half hour always look for leaks. The kit is however pretty fool-proof, yet facts remain .. on occasion it can happen. If so, turn off the PC, check tubing and clamps and try again. We had no issues whatsoever with leaks.
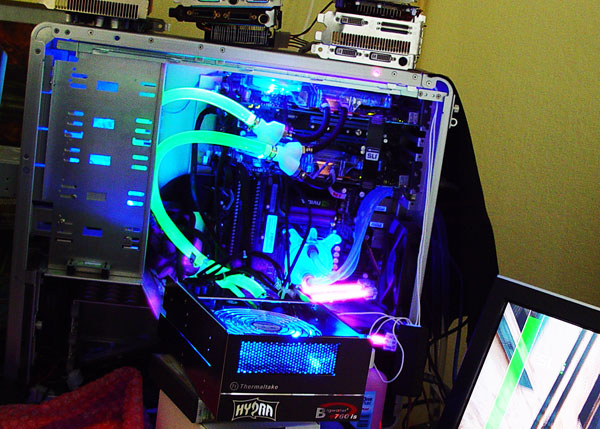
Horrible photo, and sorry for the mess. But this is the big picture. The kit completely connected and activated. make sure you pick up some UV lighting, cold cathode tubes cost like 5 bucks and make the kit a much more pleasing experience.
Software Installation
After the hardware installation part is done, it gets easy. Just boot into windows. Make sure you properly uninstalled your previous graphics card drivers. Once we are in windows, install the latest available driver for the GTX+, after the installation is finished you'll be asked to reboot. Please do so. On the next boot into windows you'll be asked by the NVIDIA sentinel that you have a SLI capable setup, of course you want to confirm that you want to use it.
Once that is done .. you are good to go and experience game performance faster than the GeForce GTX 280 folks.
Let's check some variables like heat, power consumption and noise levels.
