Product Showcase - The Build
The Build
It is time to gather some gear and build us a PC. I am not going extraordinarily with extensive and custom liquid cooling etc. We'll be building a system that you guys would build at home.
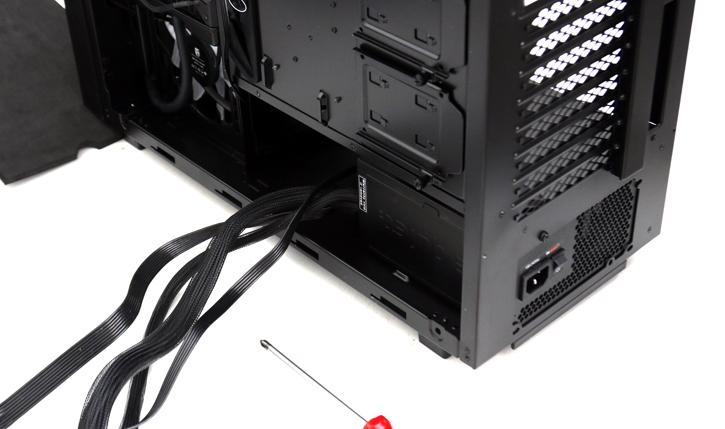
I always start with the PSU so you can get a grasp on the reach and routing of cables. Look at that space, that is pretty terrific clearances wise.

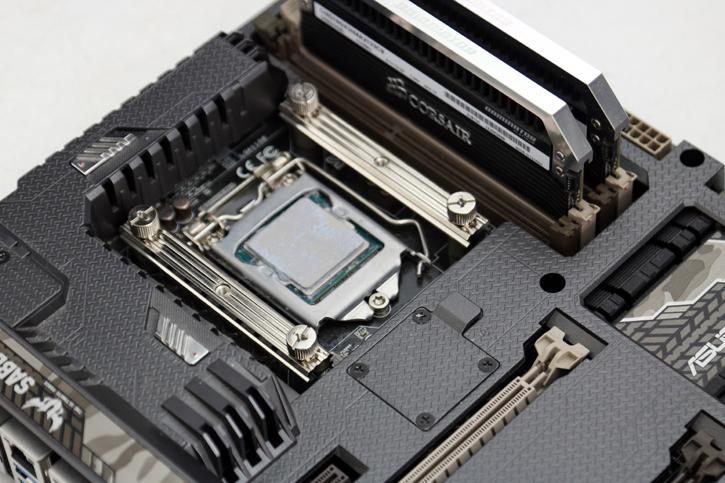
We'll be our trusty Z97 SaberTooth from ASUS. This is our standard kit for all our cooling reviews. And yeah - since we have a cooling solution to test, it'll have to do. We have fitted the motherboard with Devils Canyon, the Core i7 4790K processor.
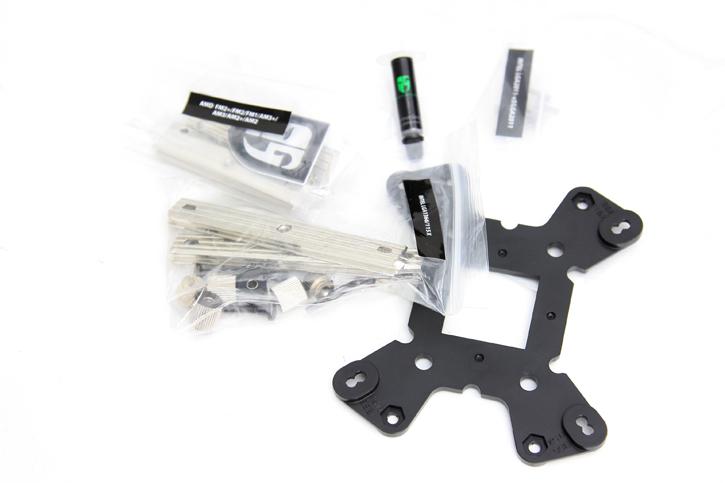
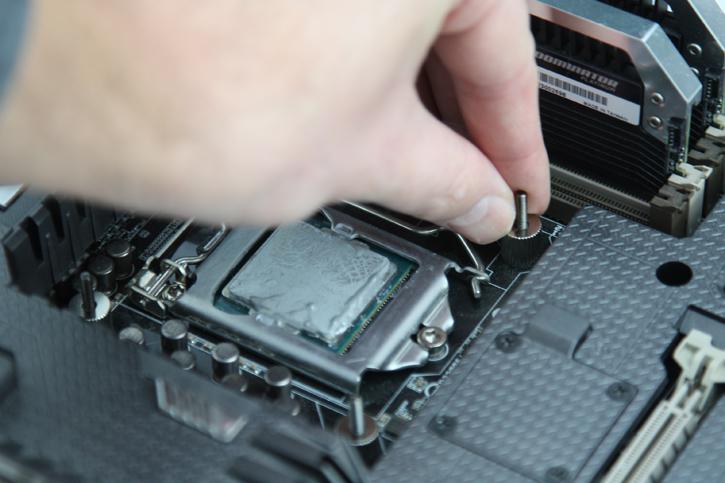
To prep the chassis and cooling we'll need to fit the motherboard with a back-plate. Installation for the DeepCool kit is relatively simple I must admit. The kit includes all brackets, screws and some thermal past you need as well as mounting kits for both any Intel and AMD (up-to AM4 but not Threadripper SP3) platforms.
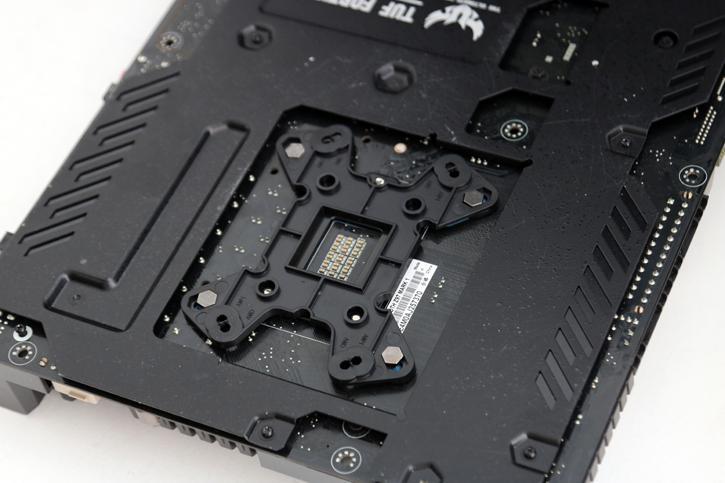
We first apply four long retention screws to the backplate which we then line up and install on the backside of the motherboard. Just push is through there.
With the backplate in position, we can now apply four screws at the top side, this way the mounting system and backplate rest secure and you can already mount the motherboard into the chassis.
At this point, it really is recommended to have your PSU installed inside the chassis, and route your cables prior to installing the motherboard. You can now secure your motherboard on the standoffs of the chassis.
