An ECO product gallery

Mounting is very simple. You do need to remove your motherboard as a back plate will need to be installed. Basically on the backside of the motherboard you place the back plate, then as shown above you screw down the four retention mounts by hand or screwdriver. Once the screws stop spinning, you are ready with the CPU block installation. Very easy. Now is a good time to mount the radiator/fan combo secure into the top dual 120mm exhaust of your chassis. Also a very easy job, with just four screws.
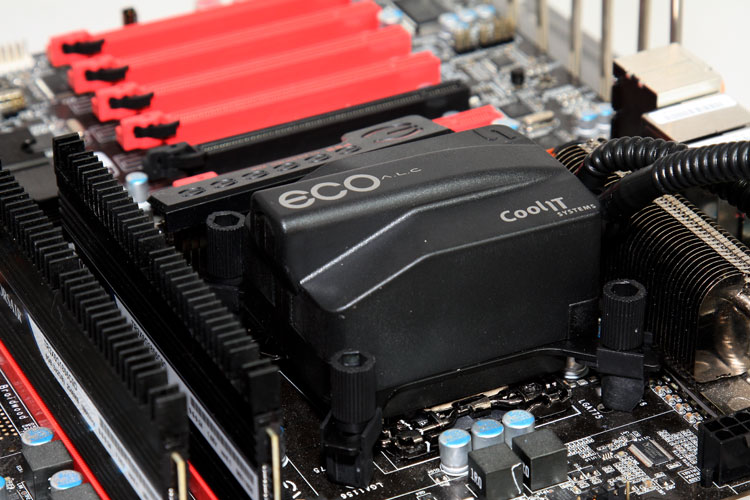
A quick power on test before we mount the motherboard into the PC. Here here we see the liquid cooling bock active and running, we got flow ... installation is impressively easy. The only downside is of course that you need to be able to access the backside of the mobo to place that back plate.
BTW screw the four mounts tight until you can turn them no further.

Alright, it's time to move this motherboard into the chassis. But you can already see how clean the CoolIT ALC units look inside a system. Heat pipe coolers have grown to become large and bulky, something a CPU cooling block like the ALC series uses completely obliterates.
