Page 5
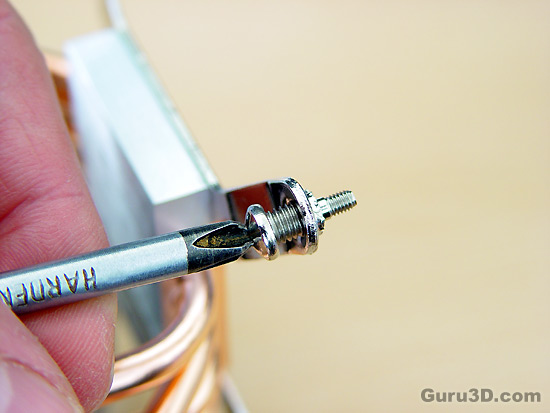
Once done we need to screw in four of the screws that you can see in the photo above. These screws will lead through the mainboard.
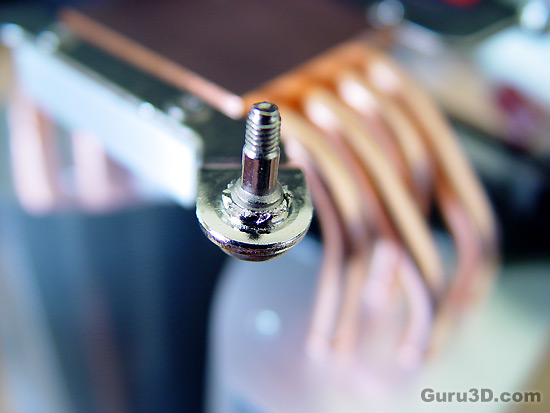
Don't you just love the macro function on our camera ?
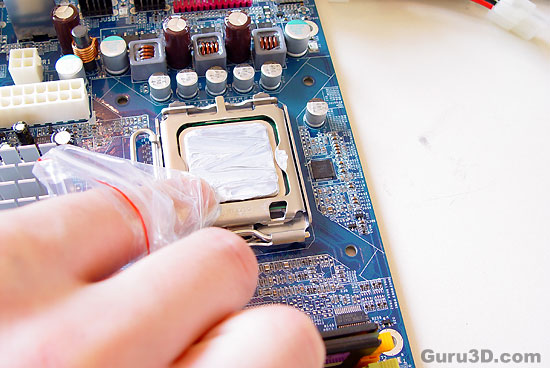
But first, please do not forget to clean the CPU and apply a little thermal paste (included with the Hyper 212). A little drop is enough, smear it out flat over the CPU. This is a photo for reference from another session by the way, not the mainboard and thermal paste we used in this review.
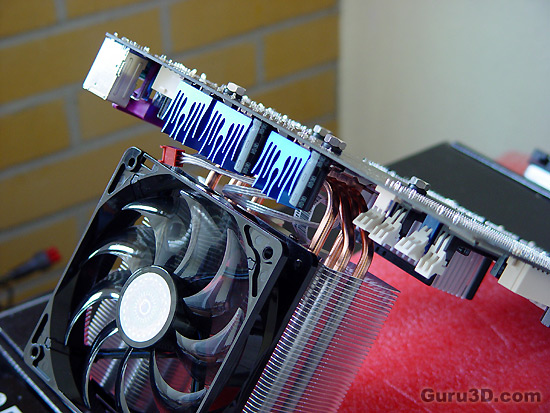
Now here's where things get a bit weird. We do not need a backplate for socket 775 CPU so attaching the cooler is a bit weird to do. I simply flipped the mainboard and cooler backwards.
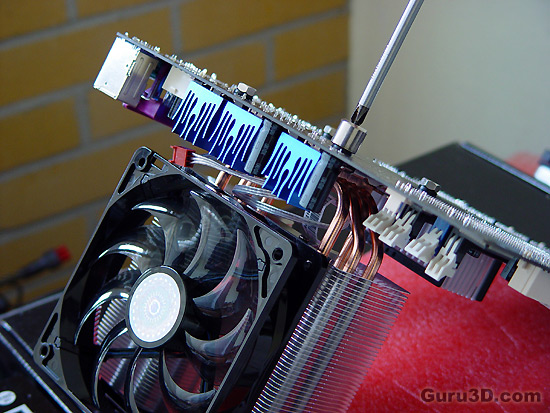
Once the screws are in place and the nuts on there we use a supplied Hexagonal wrench (hey I don't make the naming stuff up man) and secure the nuts.
This was not meant in any erotic manner!: Now don't screw the nuts too far in, it's just needs to be a little tight, you don't want to break the hardware now do you ? Gently, but firmly.
