
Product Showcase - Interior
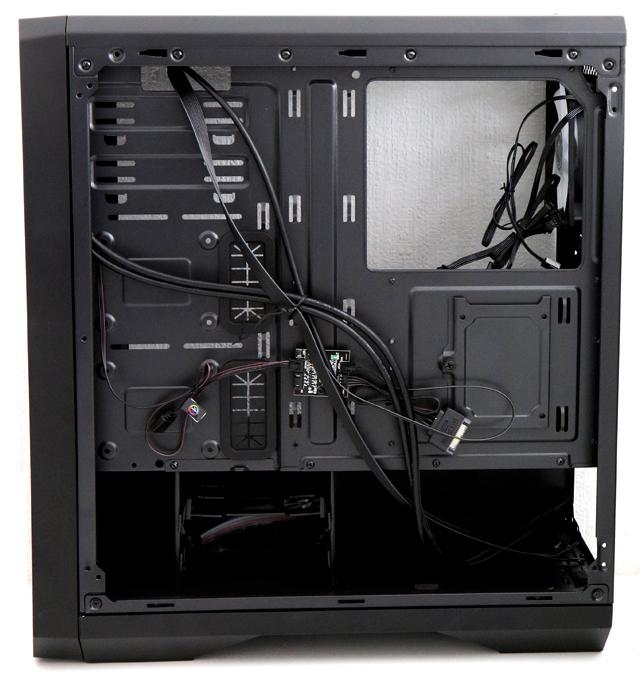
As you can see on the rear side, the Enso is equipped with backside SSD mounts and an HDD bay as well as the RGB LED controller.
To your lower left, a mounting place for an SSD. Further to the right side, you can mount an additional two SSDs.
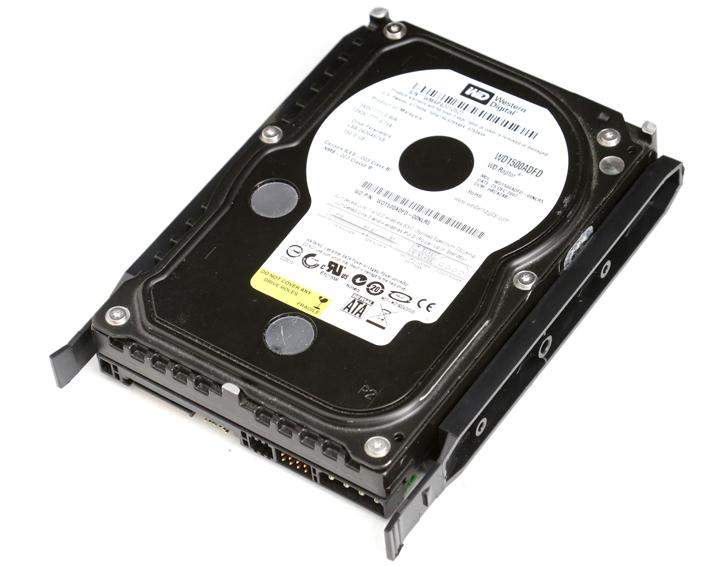
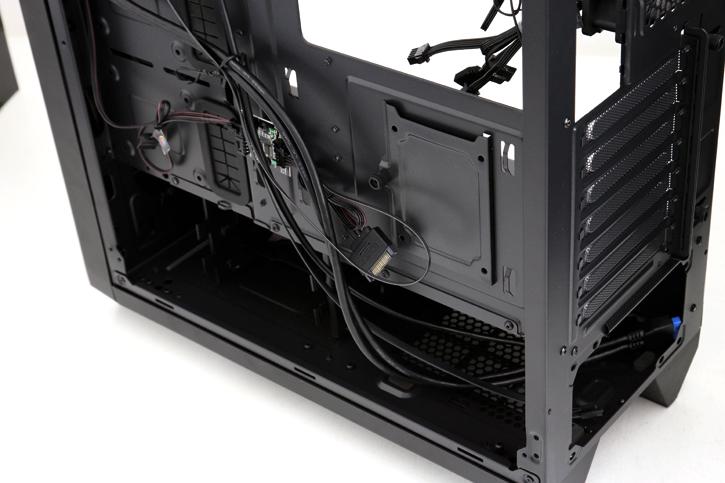
You'll find two tool-less drive trays that will support 3.5" drives ready to be inserted into the chassis. Installation of the HDDs is really easy. You secure the HDD and mount it onto the tray as shown below. No tools are required you just pop it in there.
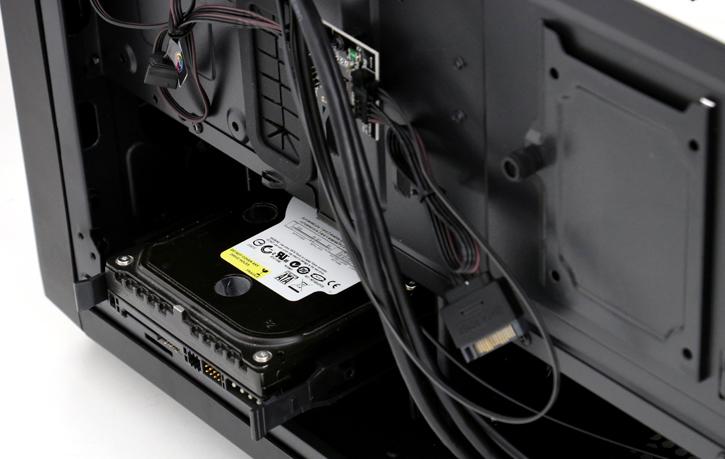
So your HDD(s) will be out of sight and the wiring nicely tucked at the backside. There is decent room for cable routing BTW.
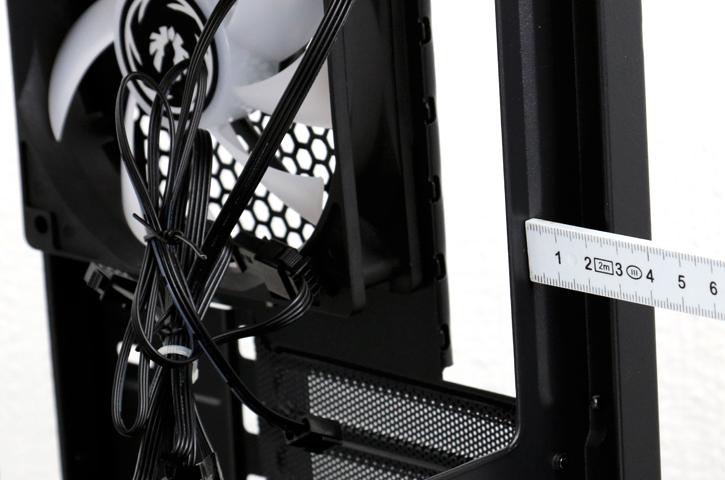
Cable routing is okay for this chassis series, we'll demonstrate that in the next few pages as well. But on the backside, a good 2cm of clearance is at your disposal.

Let me quickly move towards the backside of the motherboard tray again, here you can mount the SSD.
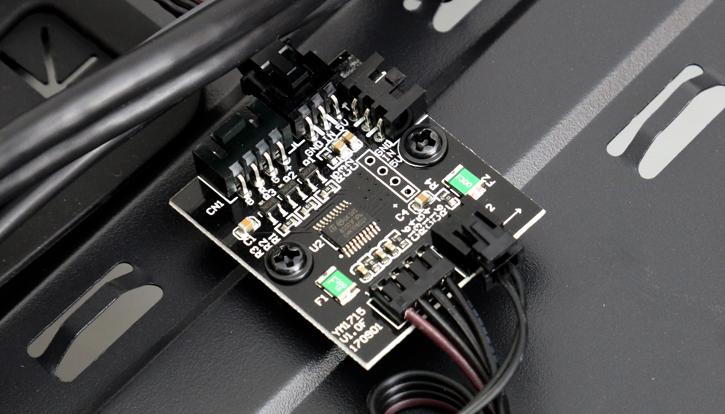
And above, the included LED controller. A simple unit you can use with pre-programmed colors and animations, but you can also make a bypass to ASUS SYNC. You need to feed this PCB with a SATA power cable.
