Product Installation
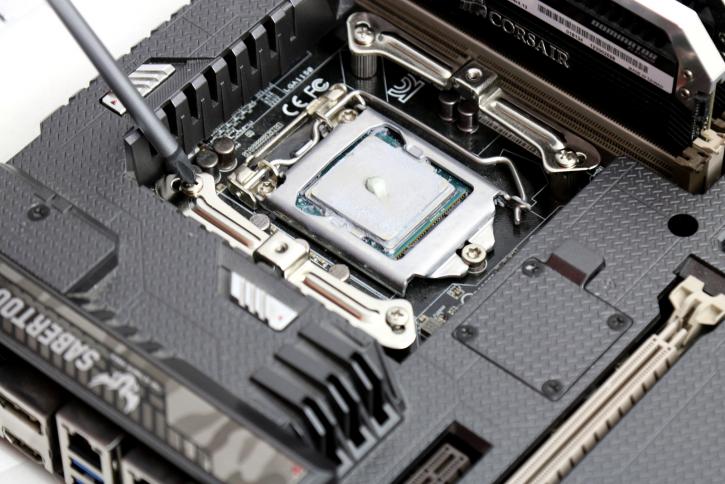
A small drop of thermal paste in the middle, and now you can place the cooler into its mounting position, we'll need to screw secure/shut two horizontal mounting brackets which then will hold the cooler.
You'll need a screwdriver (included in the package btw) with a magnetic head to be able to mount the cooler. Secure the last two screws, and you're done. As you can see in the photo above, first position the screw on the bracket, then push though the screwdriver to secure it.

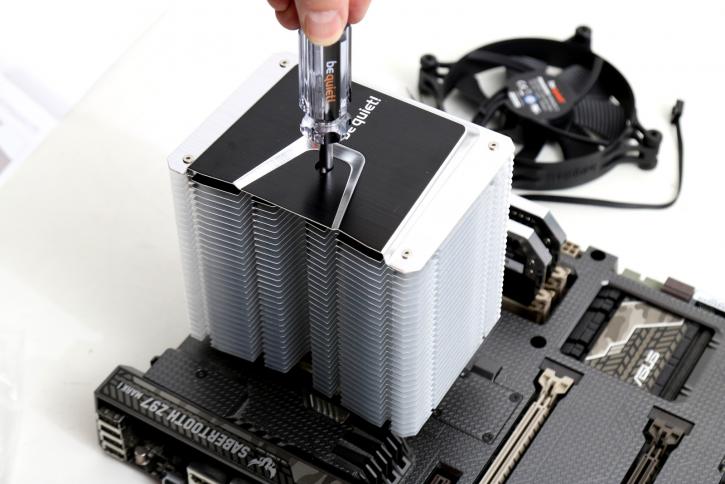
Basically, this is what you are looking at, yeah albeit taste (greatly) differs, it is not the sexiest looking product from be quiet! arguable. Secure it tightly, you'll notice that there is plenty of space for DDR4 DIMMs.

Once the cooler has been mounted, you can install the fan, tie it with the two metal clip. As you can see, we (still) use the Z97 Sabertooth, as it is one of the most difficult motherboards to use with all the shielding stuff from ASUS. The cooler fits like a glove though.
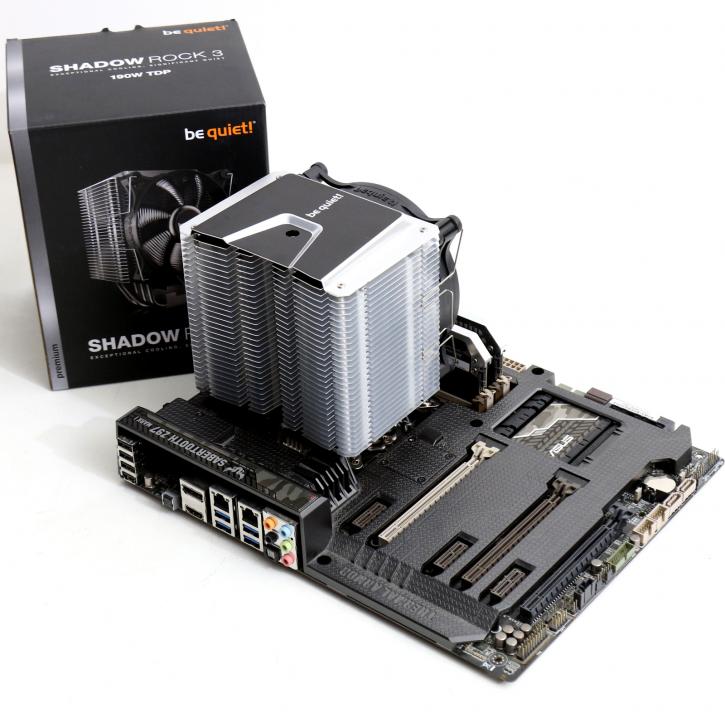
Two or four DIMMs will fit well, however as you can see I use really high-profile memory here, and the last slot can be used. Big CPU coolers sometimes have a tendency to strap space occupied by neighboring RAM, especially when your memory fills every available DIMM slot, including the ones that are nestled closest to the CPU socket. With the cooler and fans in place, take the fan cable, and connect it in the fan cable connector towards the CPU_FAN header on your motherboard and you're good to go.
