Product Showcase
All the way down we stumble into buttons. Let's focus in a little to the far right just under the DIMM slots, we spot the ASUS MemOK/GO button (if the system crashes, this will default the memory yet retain the overclock).
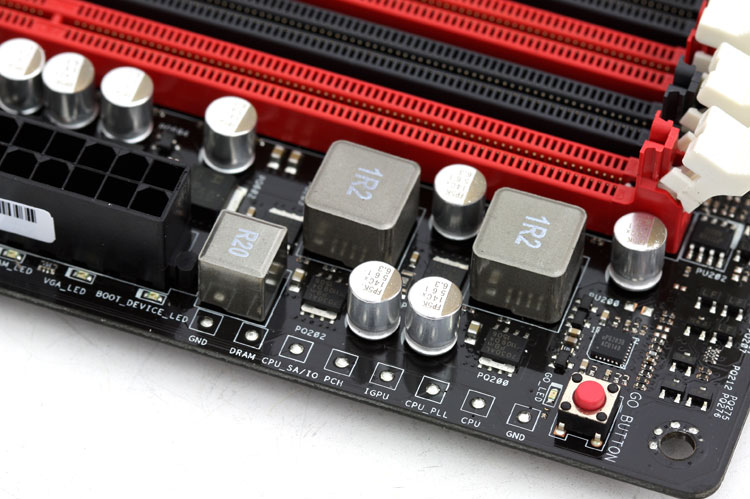
The small solder points are voltage check points, with a digital multi-meter you can tap ground and one of the options to see the current voltage of that choice.
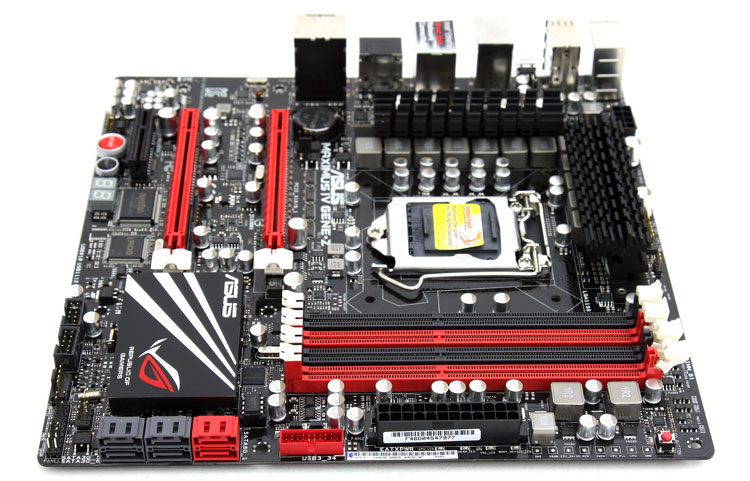
Overall board design is just great. Everything is positioned really well. Let's move onwards to the left side where we stumble into a bunch of SATA connectors, let's zoom in a little.
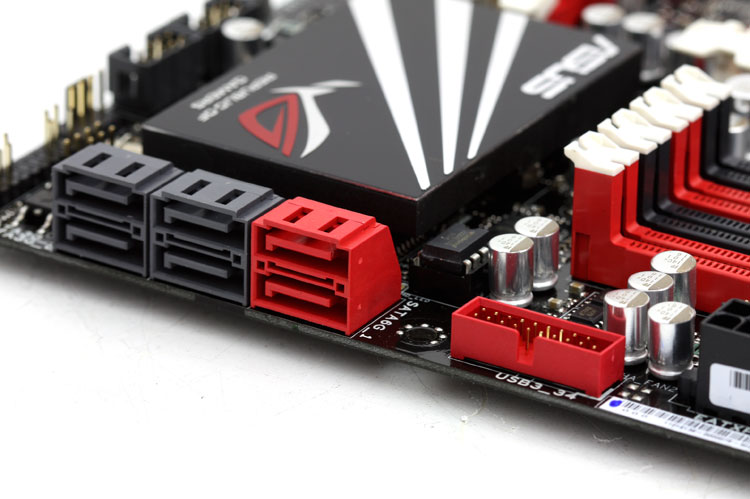
The motherboard features four right-angle SATA II (3Gb/s) ports which are supplied by the chipset and they support AHCI and RAID 0/1/5/10. In addition to the regular SATA II ports, colored in red we see two additional SATA 3 (6 GBit) ports.
Smack down in the middle again in red we spot the new USB 3.0 motherboard connector. Connect the supplied USB 3.0 bracket and you gain another two USB 3.0 ports.
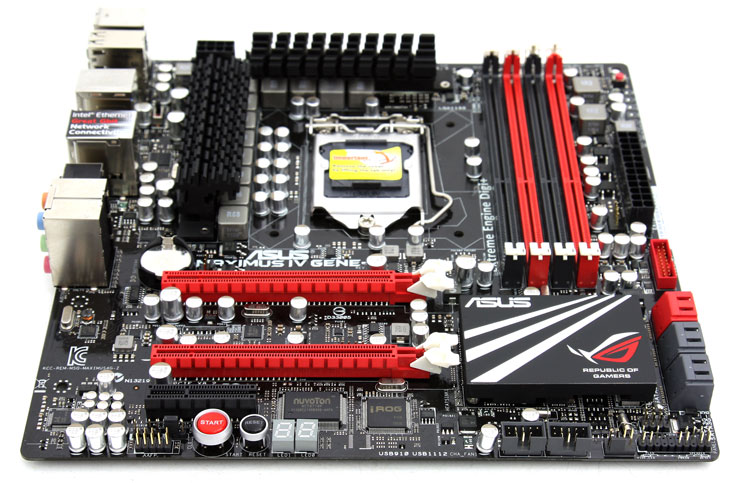
The lower side here is all about external connectivity like extra USB headers, front panel connectivity. But let's zoom in a little.
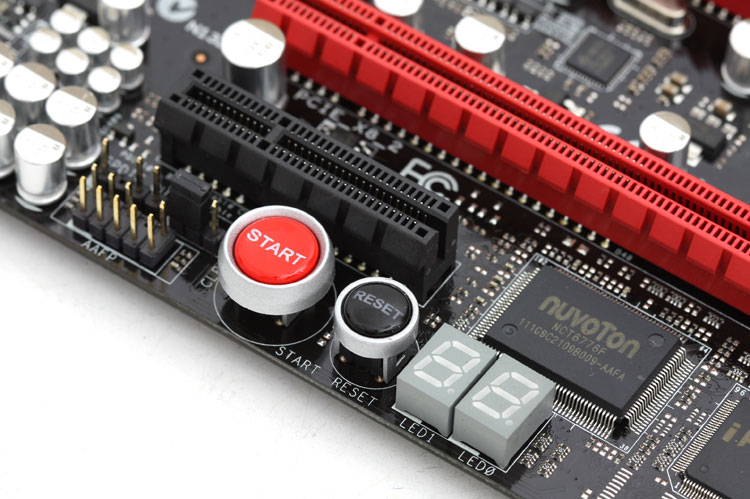
Yep you get a nice sized power and reset button. And there's a nice Diagnostic led present as well displaying status and error codes that will help you define in what state your motherboard is. These codes can be found in your manual by the way.
