Product showcase – interior
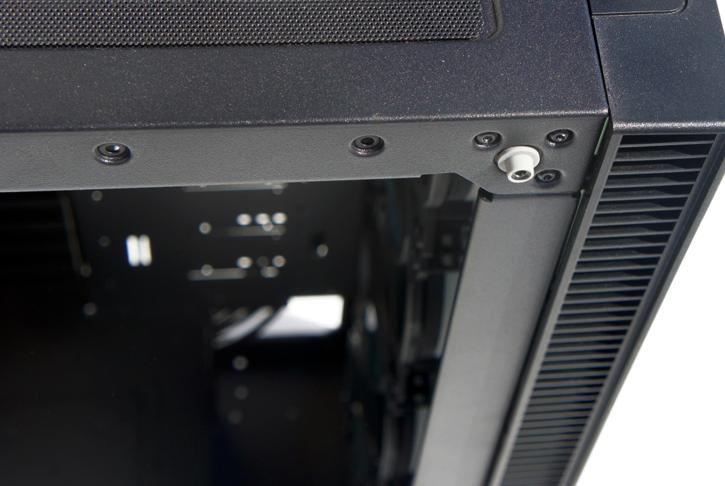
Each of the side panels is secured with eight flat thumbscrews.
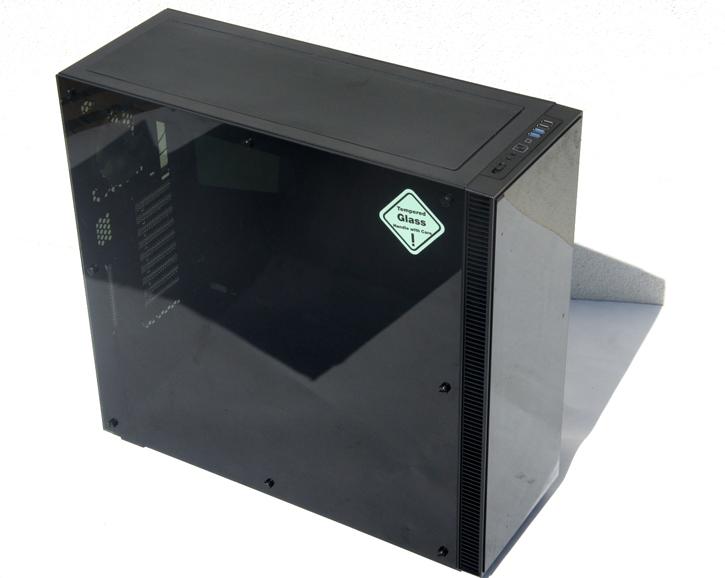
Each of them goes into a rubber base, for which you should watch out, because quite often these can pop-out when taking the panel off.
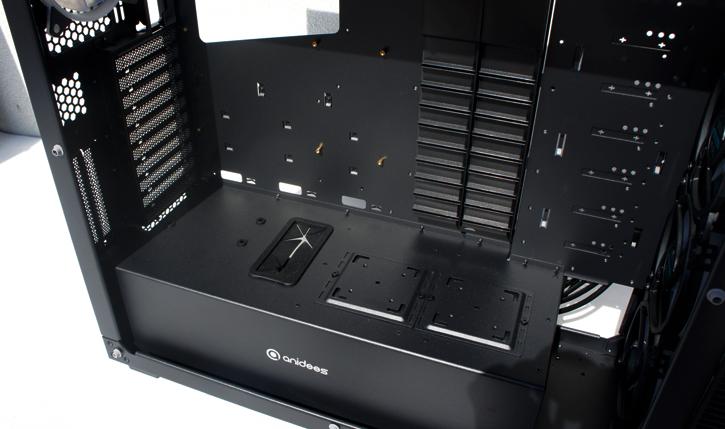
After removing thumbscrews, we can have a look at the interior. None of the management grommet holes on the main panel are rubberized, which is strange, considering the fact that there are three tempered glass panels and remote control. You can install SSD/HDDs in a rear mounted cage with the cabling leading through the backside. It enables you to hide the PSU and HDD trays. There is plenty enough space to access the motherboard and you can fit very big components. The chassis supports graphics cards up to 530 mm and, for the CPU cooler, up to 190 mm in height, so in fact there’s no real limit for these components. I would LOVE to see a 50 cm graphics card though.

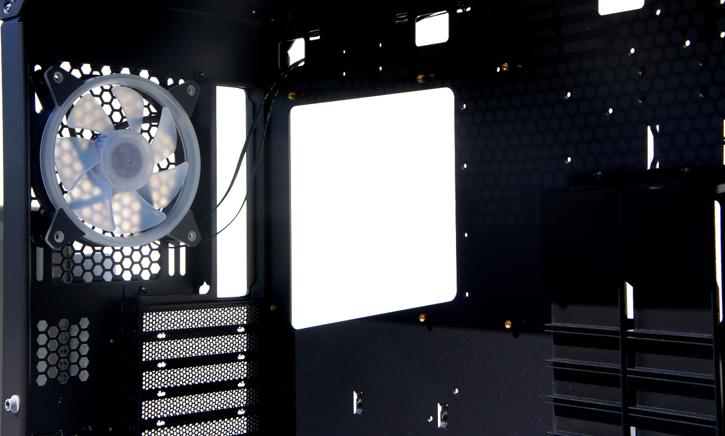
At the top there is a mesh, with one 120 mm exhaust fan installed, it’s a bit of a pity that it’s not 140 mm as standard. It could influence the airflow, but we’ll check that later. There is enough space to route cables, including the EPS one, which can be tricky in some other chassis, where it’s required to pre-route it before securing the motherboard.
Under the rear fan there are 10 PCI card slots and 2 vertical ones. Grommet holes at the space for the PSU catch attention, the same for the gaping hole for cooling solution backplates. The PSU can be 200 mm in length, but it’s better to have a shorter one (170, maybe 180 mm) to have the possibility to hide the cables. If you want more space, you’d have to remove one or two HDD cages. Also, it’s possible to mount two drives at the top of the PSU cover.
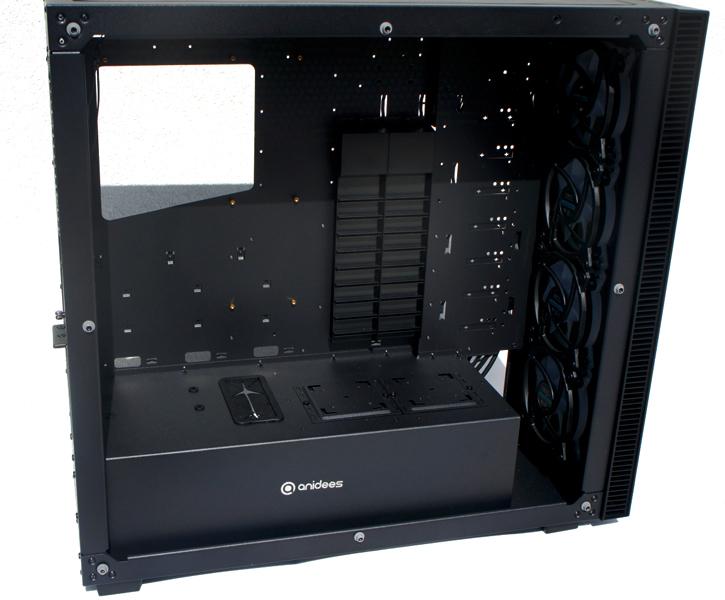
In the motherboard tray the holes have two black covers. It’s perfect to suit to your motherboard format, to make the cable management as efficient and clean looking, as it can be. This is a simple, but good idea.