Packaging
Packaging
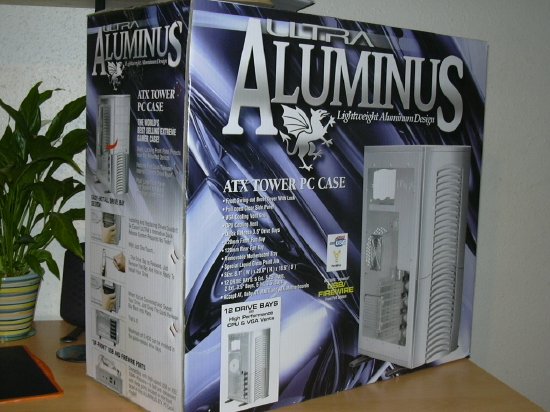
The box is large, but then so is the case. :-P The packaging Ultra have chosen to use quite simply lists every possible feature the case has. The diagrams explain what goes where and how to do it, it's like having a miniature manual on the box itself.
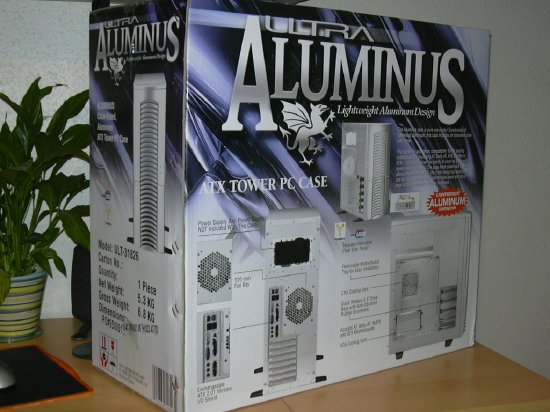
The rear of the box again shows more details and yet more diagrams. Ultra have put a lot of effort into this packaging and I can appreciate that. I don't have a shot of the interior of the box as I didn't think it was particularly interesting, but the case was well protected and everything arrived in pristine condition. I do however pity the UPS guy who had to stumble up my drive with this.
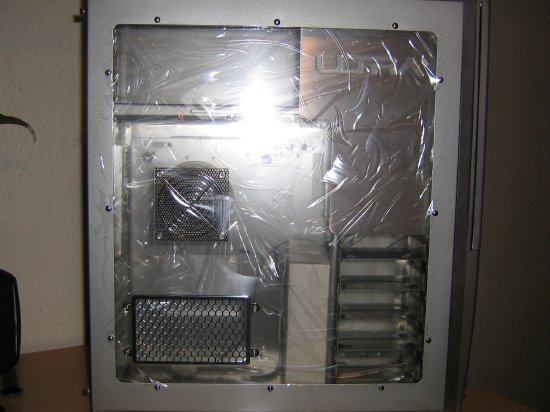
Once removed from the box, you can see that great care has been taken to make sure the case arrives a-ok. The box inside is strapped to the HDD racks so it won't fly around, and the window is covered on both sides with a protective sheet of plastic so that it doesn't get scratched before you have even started using the case.
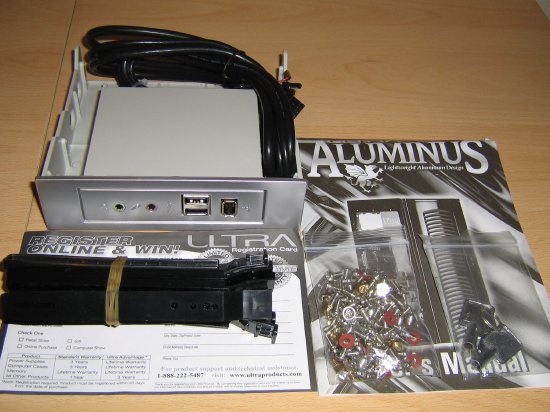
Inside that box, you'll find the accessories. What you can see there is the manual, a selection of screws, two keys, drive rails, a registration card and a front access port.
The manual is a little brief, and doesn't tell you exactly what to do at every stage. This will generally be okay, but for example it didn't tell you that you have the ability to remove the black fan mount at the front of the case for easy installation of the front 120mm case fan. I don't know, maybe I lack initiative, but I honestly didn't think of removing it as it looked pretty attached to the case. I was wondering why Ultra didn't include long enough screws, but then it dawned on me. It would have been a lot easier if the manual had mentioned this and other small details like it.
With the screws, there are a variety of lengths and head sizes, and you'll just have to use a bit of trial and error to see which ones fit best where. The drive rails are for attaching to your 5.25" devices, DVD drives and such like. You'll see these attached later. These bays use a screwless design, or rather once the rails have been set in place by screws they become screwless. The keys are for locking the front bezel of the case.
The front access port consists of a microphone and a headphone jack, as well as USB and firewire. These can be connected to the appropriate headers on your motherboard to give you the added conveniance of being able to plug devices such as flash based memory sticks or MP3 players into the front of the case rather than having to dig around the back. This box can be adjusted to fit in either a 3.5" (floppy drive) bay, or a 5.25" (CDROM) bay.
Finally, the registration card. That card holds the key to Ultra's lifetime warranty service. Simply registering your product with Ultra will automatically upgrade you from a 3 year warranty to a lifetime warranty, so it's well worth filling it out. The fact that Ultra offer a lifetime warranty on all their products is very impressive indeed. They obviously have a lot of faith in their products and this in turn inspires confidence from their customers.
