User Groups & Users
User Groups & Users
This NAS server (it really is a low-power server) is shipped with its own customized operating system (Linux port). The OS contains the standard NAS storage features such as a backup server, FTP server, file server, storage management and access control along with the added 'Package center' that allows users to expand the functionality of their NAS by adding applications for features such as download tools, cloud backup, multimedia server, etc.
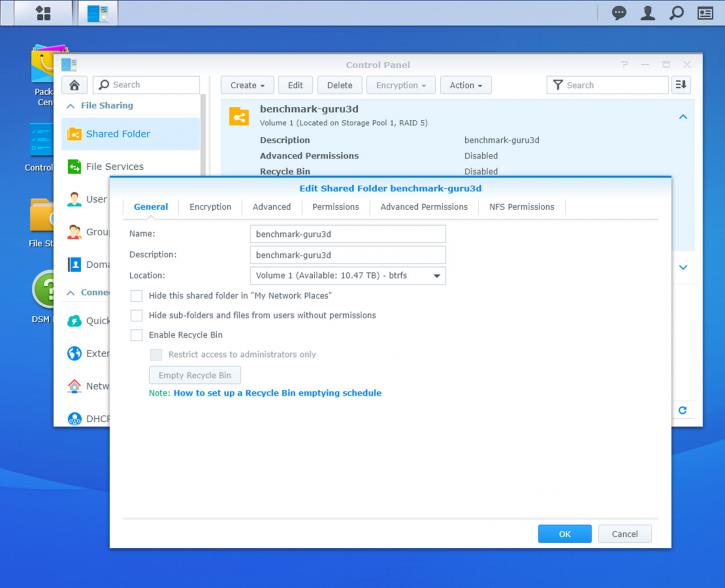
Once you are logged into the NAS, you get access to the admin interface. From here we can configure the NAS to everything we need. FTP, Web server, SSH, Applications like CMS and on and on can be configured from here. But also new network shares, user and group control and everything related to that, let's make one. We start with user control and can see that our storage unit already has gotten several directory shares accessible by admin and guest status. We have added a directory share just for benchmarks.
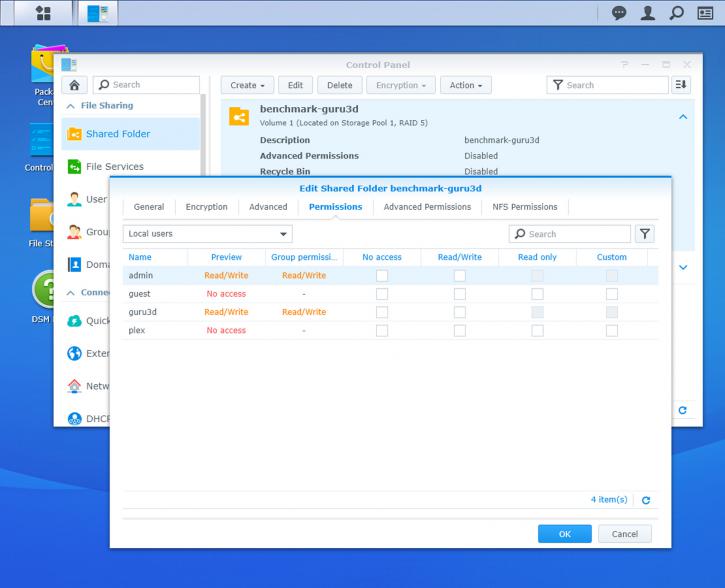
One fundamental feature and nature of a NAS unit is the fact that you can assign drive partitions and network shares to users and/or user groups. This greatly helps out allocating certain security and accessibility features. You can stick to your admin account, or create a new user with admin rights yourself. Give it a try, see if you can access your NAS server with it. If you have properly set up a name and password and alternatively assigned new paths to your account or user group, you should be able to access them after you enter the unit with that login and password in windows.
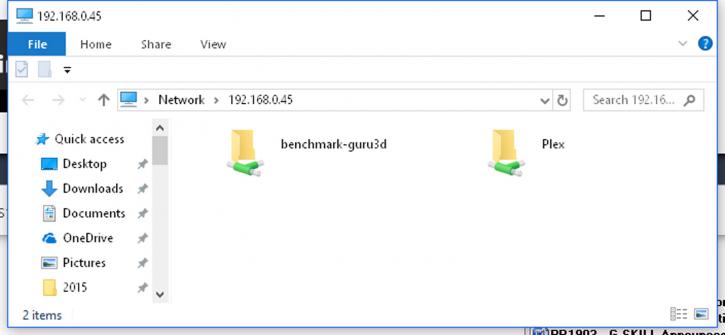
If your NAS is not detected, open up a command prompt and type \\192.168.0.xx or whatever your NAS IP is. It should be detected after you access it with the name and password you can add a network share in windows.
Keep in mind that after making a new directory share you can give the USER and/or GROUPS certain permissions like no access, read-only or full read/write capability. Once the network share is set up with the click of a button you can share it in Windows and assign a drive letter to it. Again would you like to access a secure map in Windows and mount it? Just type \\nasname (or enter \\IP), then enter the USER login and password assigned to it, and you can access the user based and assigned shares.
