Product Installation
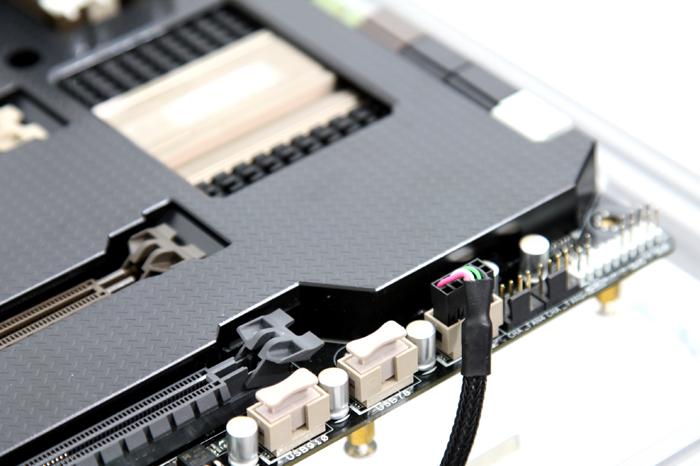
Once you have seated the liquid cooling block it is time to route the cables and connect them. To be able to use the control software we connect a USB cable to the motherboard. Mind you that you should FIRST install the control software and then connect the USB header. Don't worry you can start-up the system with out the USB connector connected, the fans will spin at 100% though, very noisy, don't get scared.
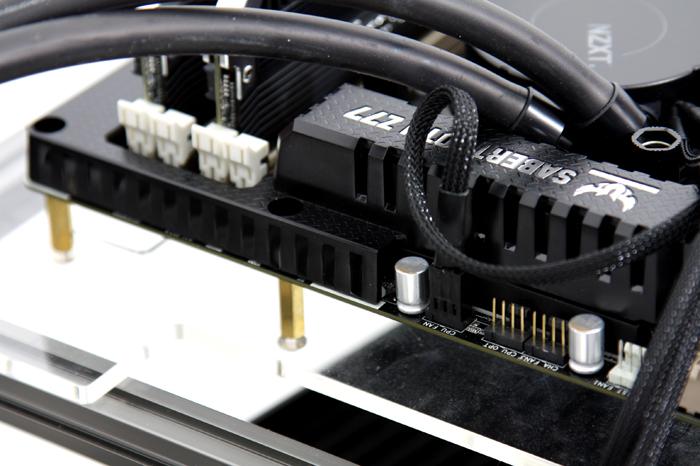
Then there's a fan connector, this one feeds the pump so connect it to your CPU_FAN header, also make sure that in the BIOS this FAN feed gets 100% volts/RPM.
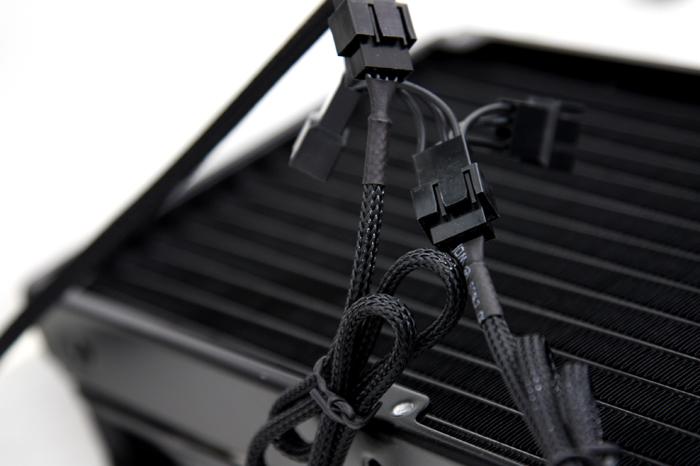
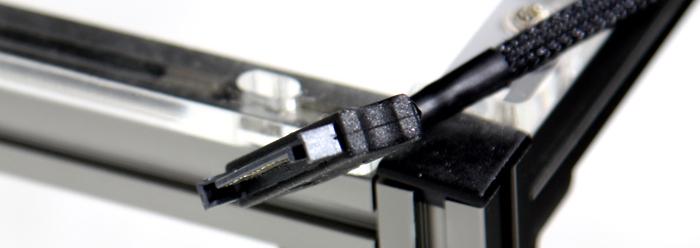
Then if you have two fans installed you can connect the two FAN headers. There are four in total, so if you desire a four fan push-pull configuration, you may use the two extra fan connectors. Mind you that all cables have been individually sleeved in a nice black cloth coating. That looks really good.
The last wire you need to connect is a SATA power connector, just connect it towards your PSU, this one feeds then entire LCS kit.
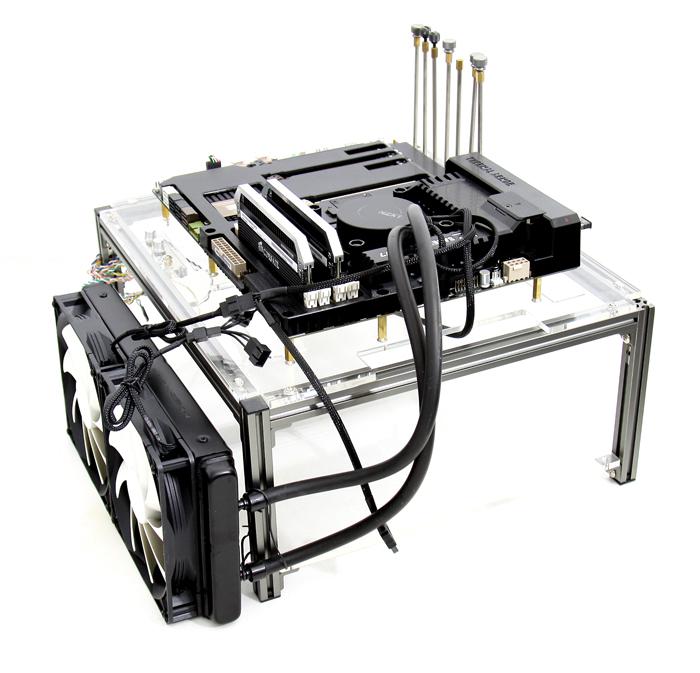
And that's it, all cables now have been connected. We are ready to move forwards. But first let's have a peek at some other stuff.
