.jpg)
Product Showcase
Product Showcase
Let's peek at what the GOODRAM IRDM PRO M.2 SSD SSD looks like.
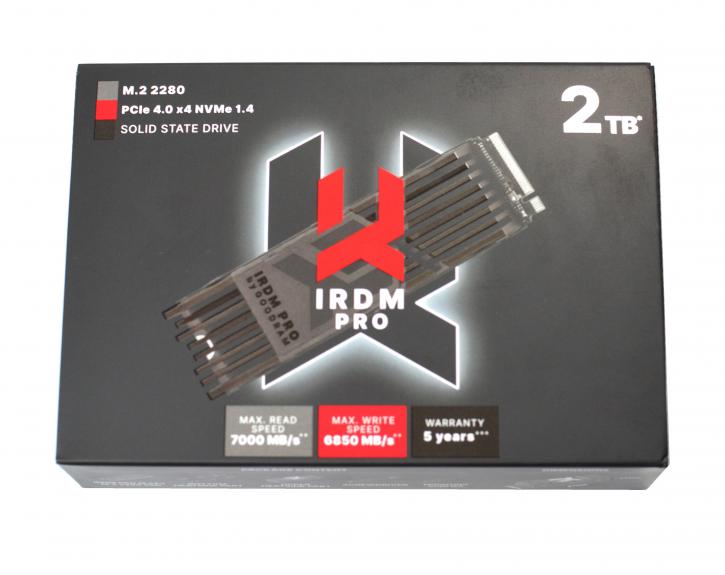

The package is much more than standard (but more about it below). You can find a list of the overall features on the back side, so nothing fancy or new here. The performance of the 2 TB variant is listed as 7000 MB/s for reads and 6850 MB/sec for writes.

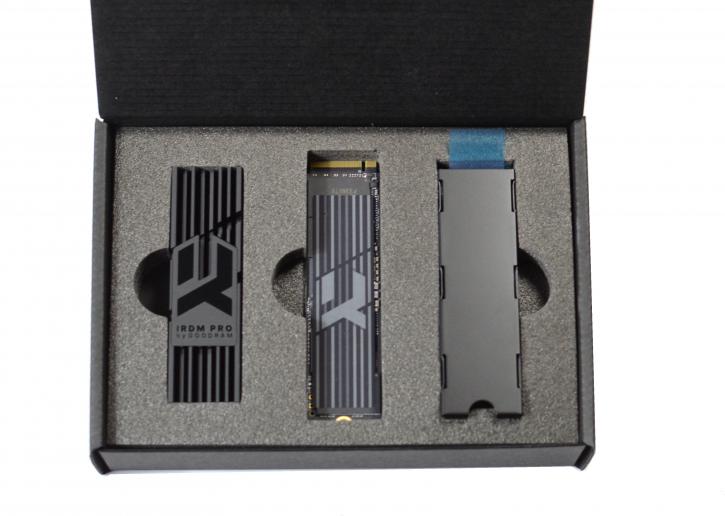
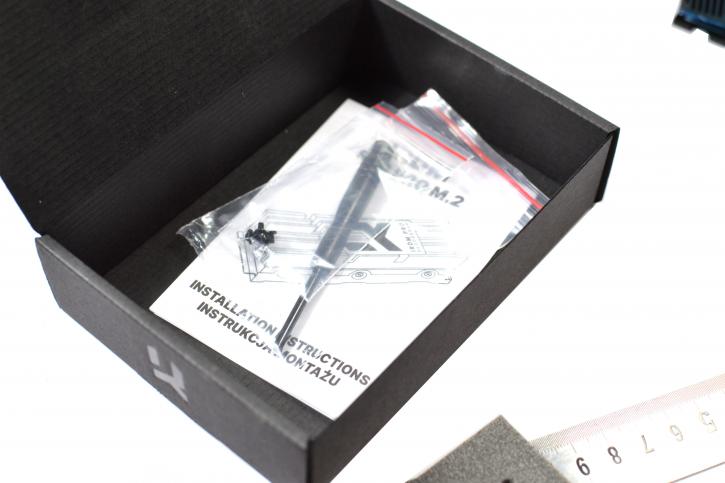
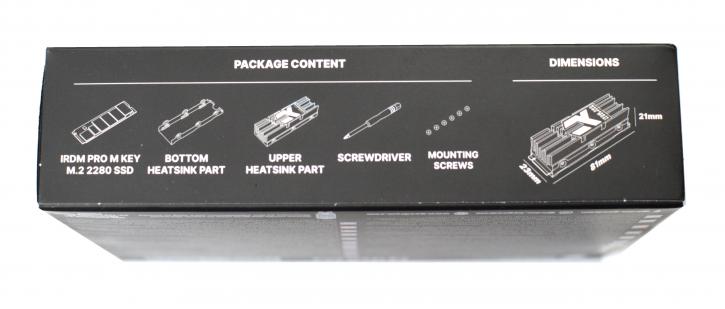
Instead of a simple cardboard box and a plastic molding, the manufacturer has provided a solid box with foam covers, which, in addition to the hard disk drive, has an optional heat sink, good quality stickers, a magnetized screwdriver, a thank you card and a user manual.
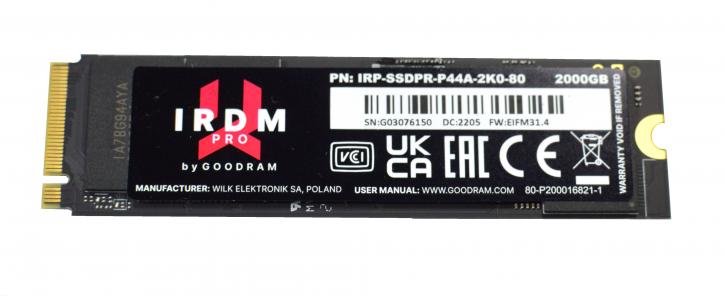
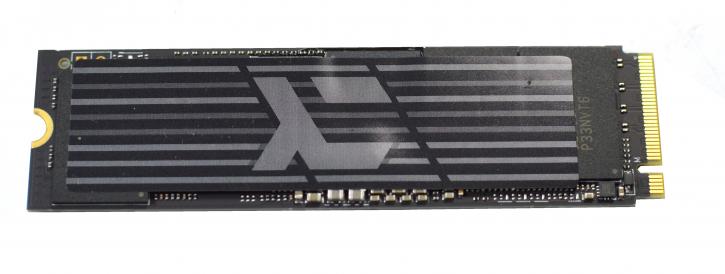
Here's the drive itself. GOODRAM decided to fill both sides of the traditional laminate in the M.2 2280 disk format. The PCS is back and includes 176-layer NAND Flash TLC B47 chips from Micron and 2 GB DRAM DDR4 SK Hynix H5AN8G6NCJ cache in two 1 GB modules.
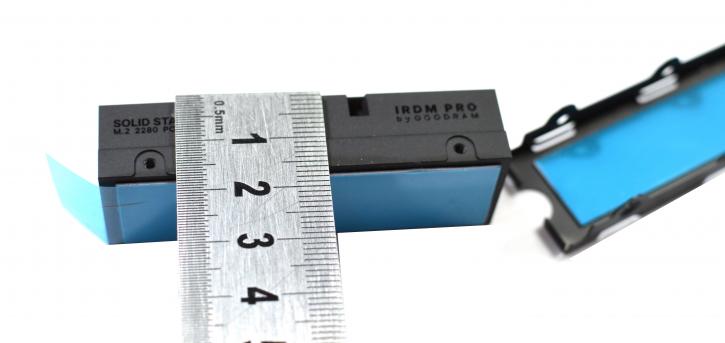
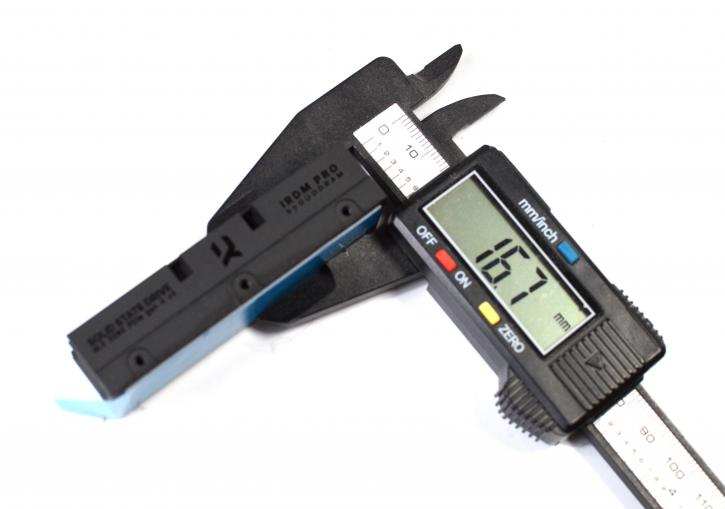
The SSD is 8 cm long, the standard size for M.2. In terms of technology, you can count on a traditional set of functions that have become an industry standard. You can manually update the firmware as available, and in the background, performance and consumption will be monitored by:
- Correction of ECC error codes
- TRIM commands
- S.M.A.R.T.
- Automatic SLC buffer
- Thermal-Throttling
- Reserved memory for Over-Provisioning
The 2 TB version of IRDM Pro offers 1.81 TB of free disk space, of which the "0.19 TB loss" is to some extent intended for a buffer that improves disk performance and durability. Speaking of the performance, this disk offers 7000 MB/s sequential read and 6850 MB/s sequential write while maintaining a random read of 650,000 IOPS and a write of 700,000 IOPS. The TBW is 1400 TB.
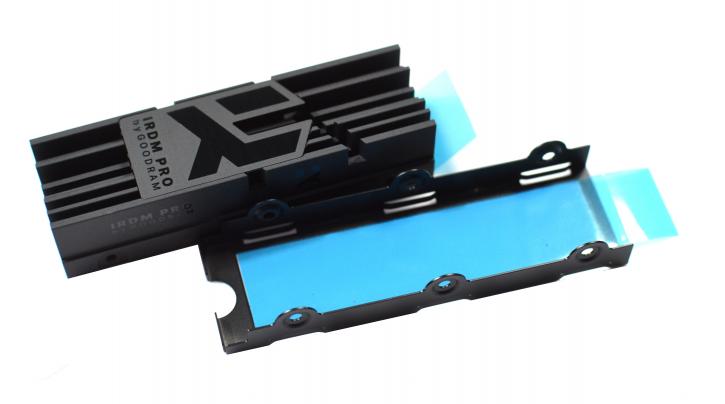
The provided heatsink looks attractive and should bring down temperature down. Still, fortunately, it also took care of the thermopad on the bottom of the cooling, which can be installed in a few moments. We insert the disc into the bottom part, gently press the top, and then tighten the screws - there is nothing complicated about it, but you have to arrange the connector properly. Let's head on to the practical part.
