Page 9 (Pics and Install)
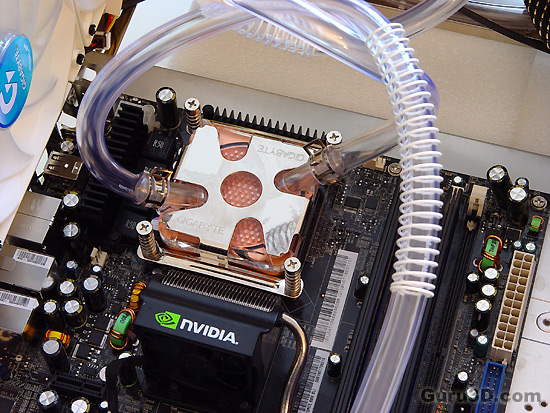
Once we have the CPU all lubed up we position the water-block on top of it. Now we simply use the extended screws with springs and mount the thing secure. I'd say a twist or ten ought to do it. When you feel there's enough tension on the springs you can stop.
That's it installation wise... as simple as that. It won't take you more then half an hour to do this.
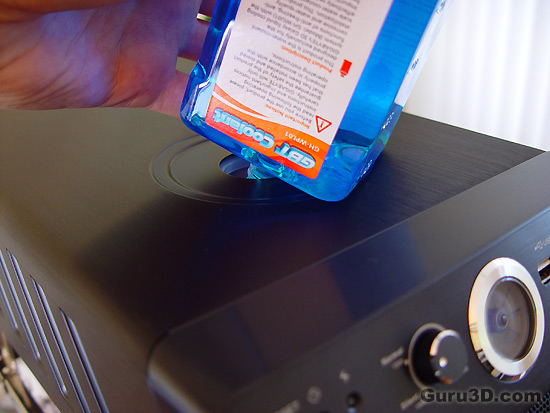
With the PC powered off we ill now insert one bottle of coolant; which is supplied with the package.
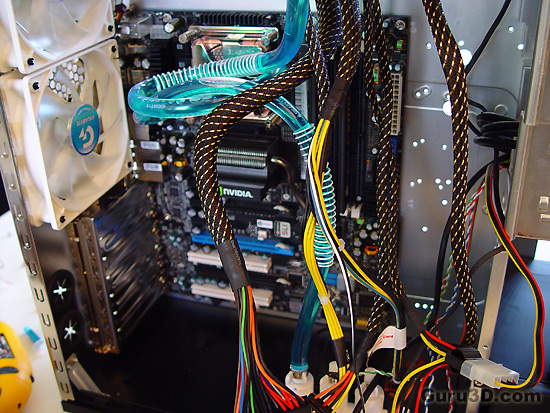
Now here's the thing, we only connect the pump (the molex connector to your right) to the PSU. The rest of the gear is not connected. We hotwire the PSU, it activated and we notice that the pump is working, we see water-flow and very important. You now check for leaks.
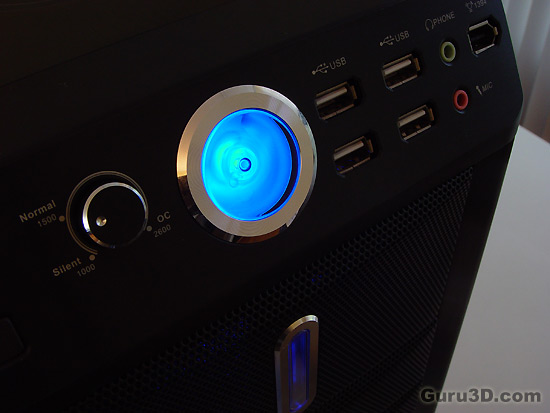
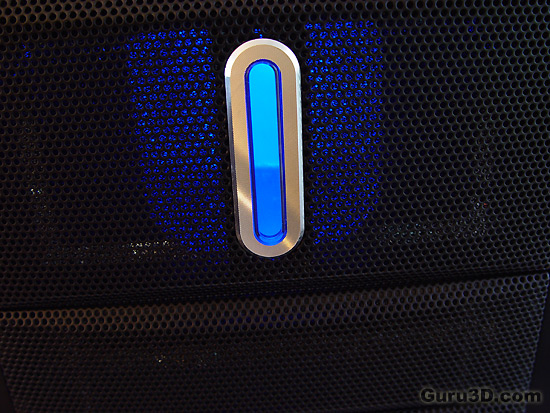
With the flow-indicator you can see if there's enough water flow. Cleary we have plenty.
Is the reservoir half full or half empty ? :) You need to fill it up with the second bottle of coolant. Once that has been done, again check for leakage. If you are good to go you can now power off again and connect the mainboard and the rest of the peripherals to the PSU.
