Product Installation
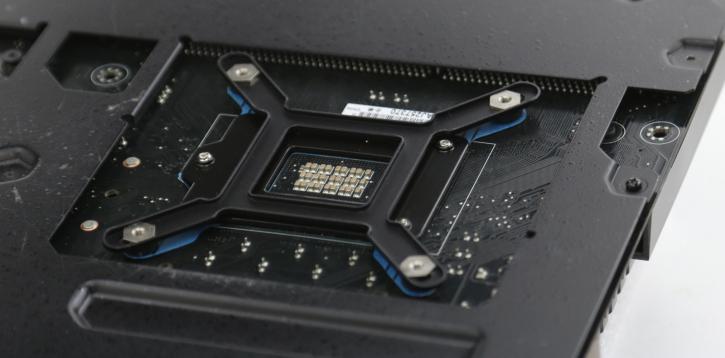
Mounting the cooler is an easy enough to accomplish, though the motherboard needs to come out of the chassis unless you have a chassis with a mainboard cutout for CPU cooling. Now you first prepare the backplate, nuts need to be aligned with the holes by shifting them into position. You can and should position the backplate 100% similar to shown above, that's the only right way. It's a new design bracket btw, sturdy and really easy to apply.
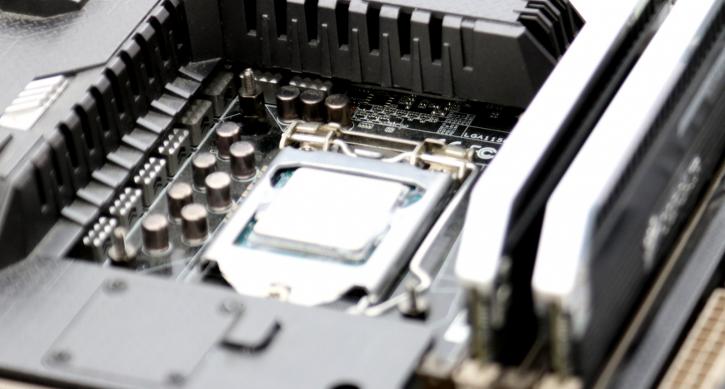
You should have already inserted your processor, applying thermal paste is not needed as the kit comes with TIM applied to the cooling block. With the backplate in place, we now install four standoff screws like shown above. The next step is to place the mounting bracket onto the top of the pump so we can screw stuff together tightly.
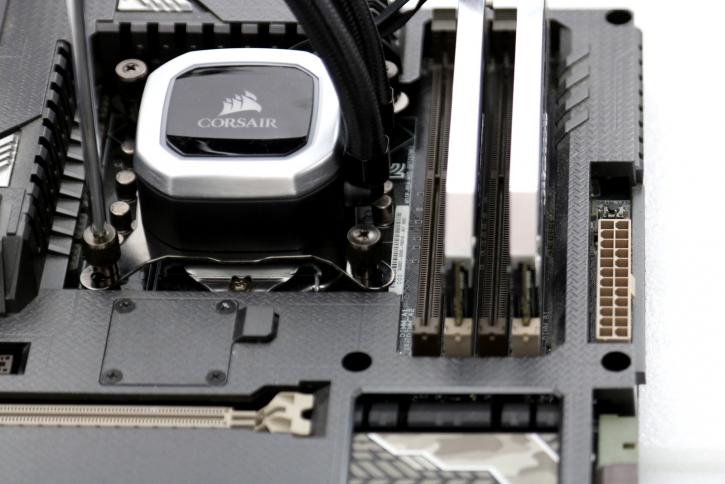
Once we seat the cooler in the position it aligns up with four standoff screws. With the help of a screwdriver, we can secure four thumbscrews. Turn them tight until they can go no further. Once seated you can now connect the CPU lead to your motherboard CPU FAN header.
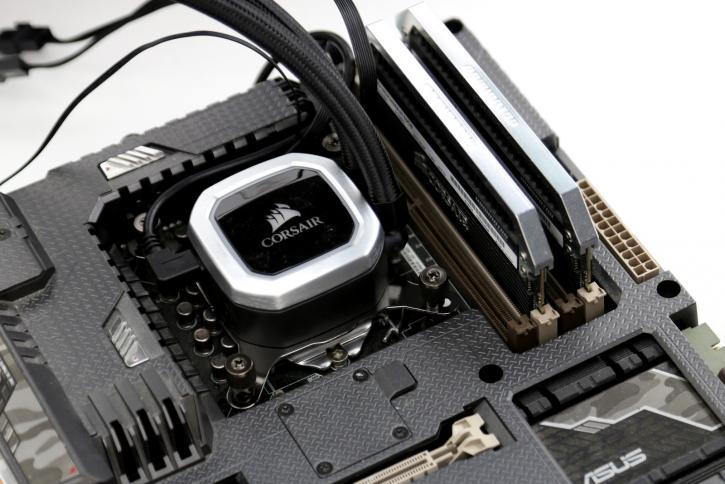
Don't forget, you need to connect the USB cable towards a USB block on your motherboard. Once the motherboard is out, this all is like 10 minutes work maximum, we positioned the cooler and are ready for the first test run.
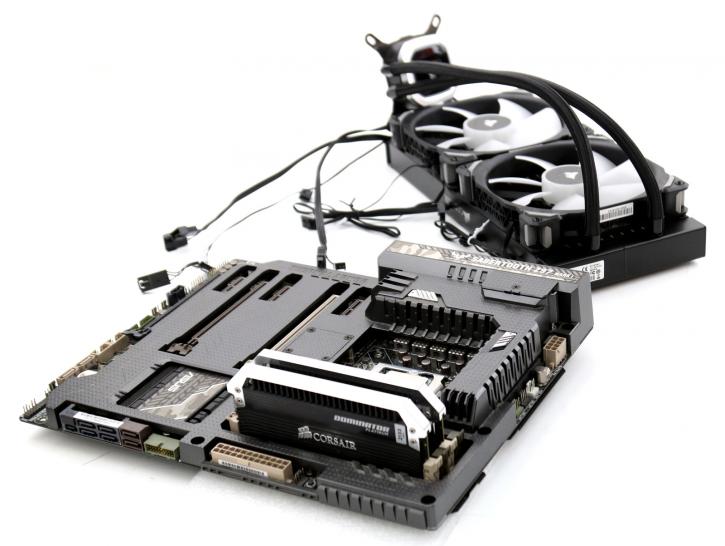
The downside is that there is a bit of cabling going on there with this cooler series, just take your time and hide them away as best as you can.
