Product Installation
Product installation
The installation process has been described in a detailed way in the included manual, and you can find it online as well.
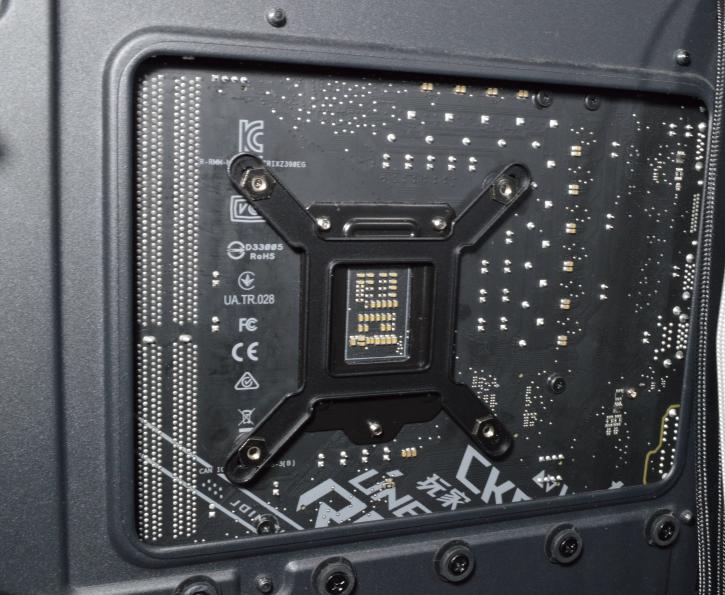
You start with the backplate. The nuts need to be aligned with the holes in the motherboard. Most modern cases have a big cut-out for the CPU cooler, so there should be no need to pull the motherboard out to install the backplate.
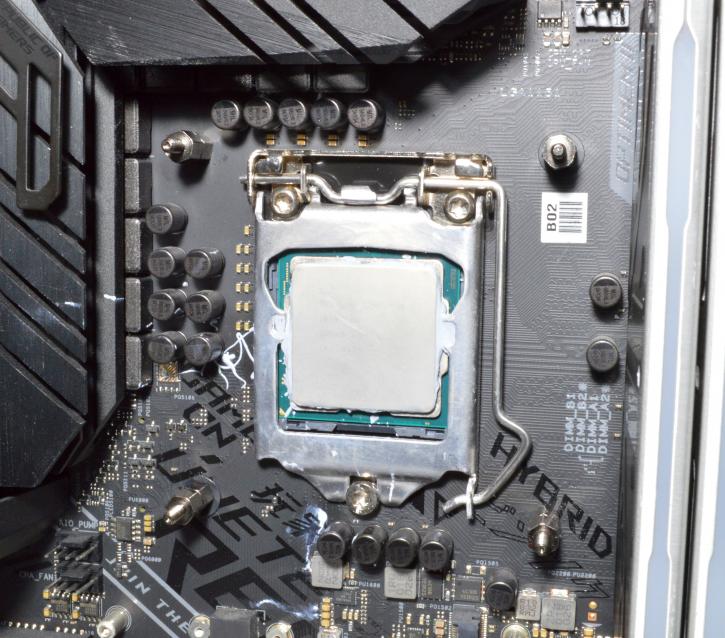
When this is done, you need to install four standoff screws. As the thermal paste is pre-applied, you can immediately proceed to the next step, which is.
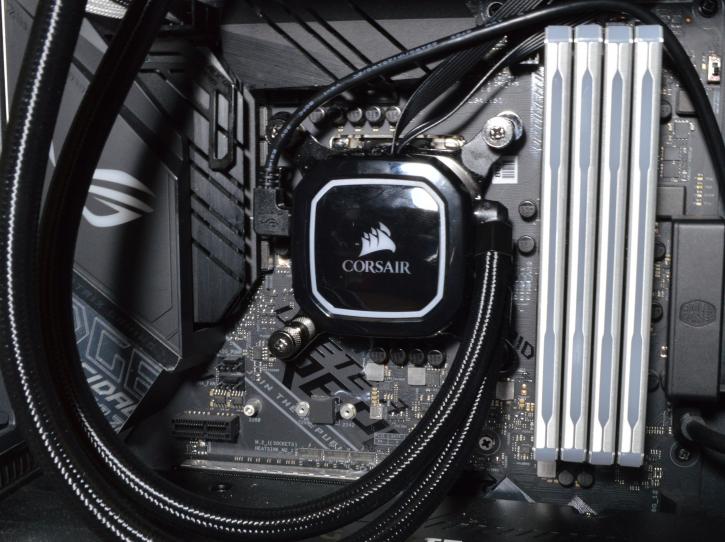
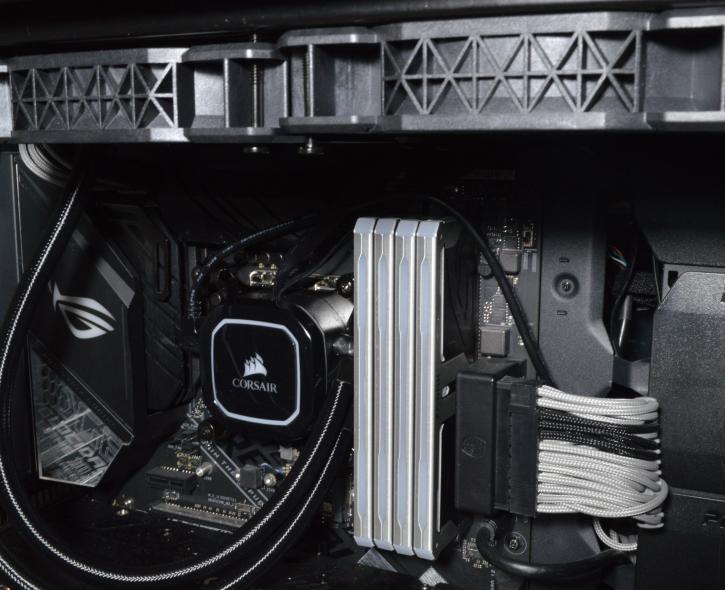
Securing the mounting bracket of the pump using the four thumb nuts, and tightening them down fully in an X pattern to ensure equal pressure spread across the CPU. Mounting this kit on a socket 115x platform isn’t harder than with other All-In-One products. It’s Corsair’s typical AIO installation process; nothing new.
For the sake of the review, we used Thermal Grizzly Kryonaut as a thermal compound. With the paste applied, all that needs to be done is to slide the CPU block into place and secure it.
