Product Installation
It is not an installation, it is an experience, right?
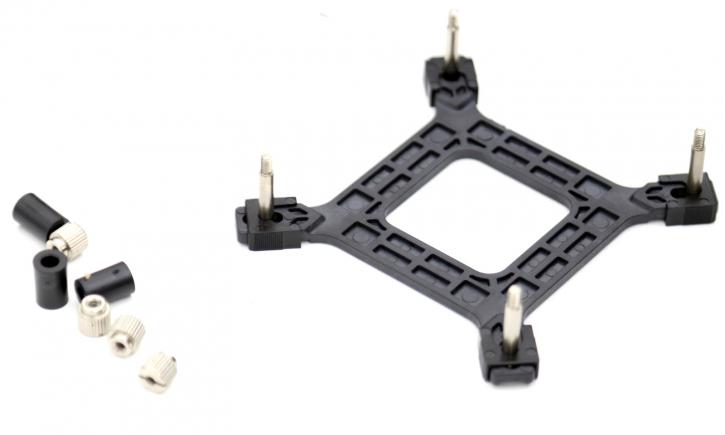
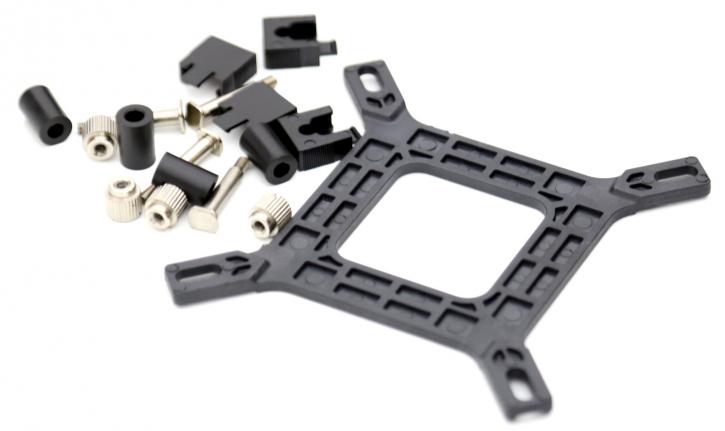
Mounting this kit on a socket 115x platform is much like with any other All-In-One product. First up is the backplate. push the screws through and place them into position, you lock them with the plastic inserts.
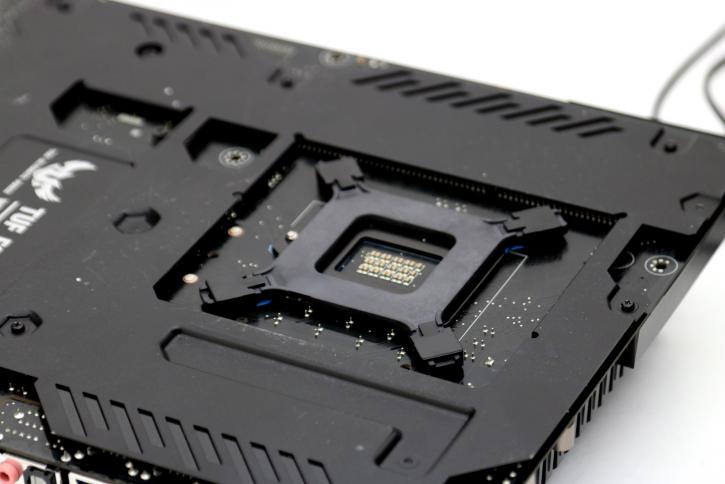
Align the magic four with the holes in the board. Next up is the mounting bracket that needs to be secured by a total of four screws.
Some plastic washers need to be placed over the four screws and then we can position the cooling block like so.
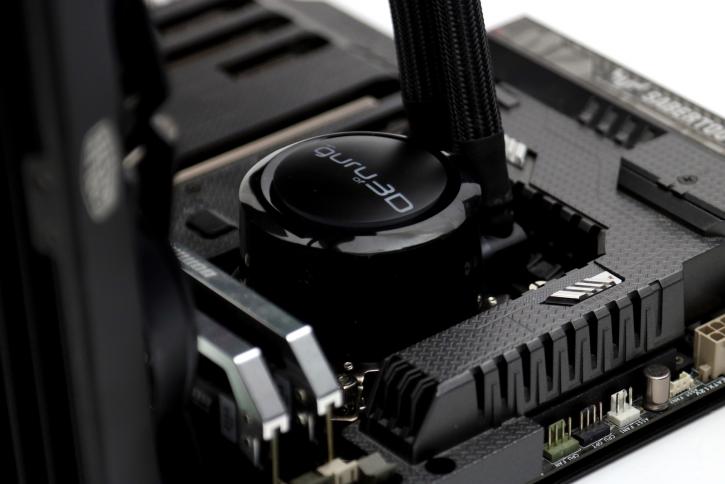
You will need a screwdriver, and tighten the screws diagonally. After that, connect the cables like the block’s power wire to the CPU FAN or dedicated PUMP header (as it is used to power the pump). The tubing can be adjusted a bit relative to its position. Another positive aspect is that there are not so many cables sticking out from the pump like, for example, however .... next page.
