Software Installation
Software Installation
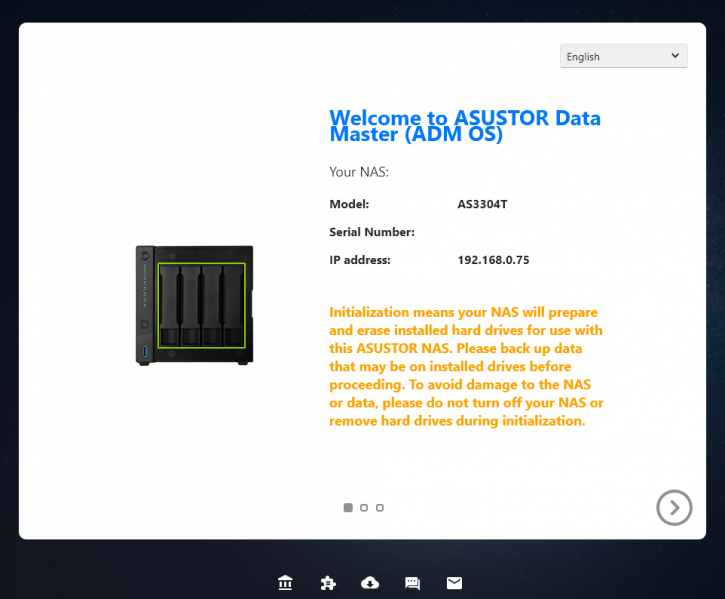
After installing your HDD/SSD(s), connecting the NAS to your Ethernet, and powering it up, within a minute or so the HDD LEDs will light up and you'll hear a beep. Once you heard the beep, it is ready to start configuring. The first thing you'll want to agree to is a firmware update to the latest revision. The latest ADM build is beta 4.0, which has many enhancements over the previous 3.x builds.
You can access the NAS directly from your browser. I assume that you already connected the NAS towards your LAN network. With ASUSTOR software you can seek the device, but really, the easiest way to find out at what IP the NAS unit can be found at, is to browse your windows network and click on the icon to access it.
My second and very easy suggestion is to install an app called FING on your smartphone. Once installed, scan your network and within seconds you'll find what IP the NAS is located at. The NAS accepts a DHCP lease and should be present. If not then your last resort is to alternatively install the software supplied on the CDROM on your PC, it will detect and install the device. But really, you can scan your network (use your smartphone and install an app like Fing). Once your NAS unit is listed with an IP you can access the NAS by typing that IP into your browser.
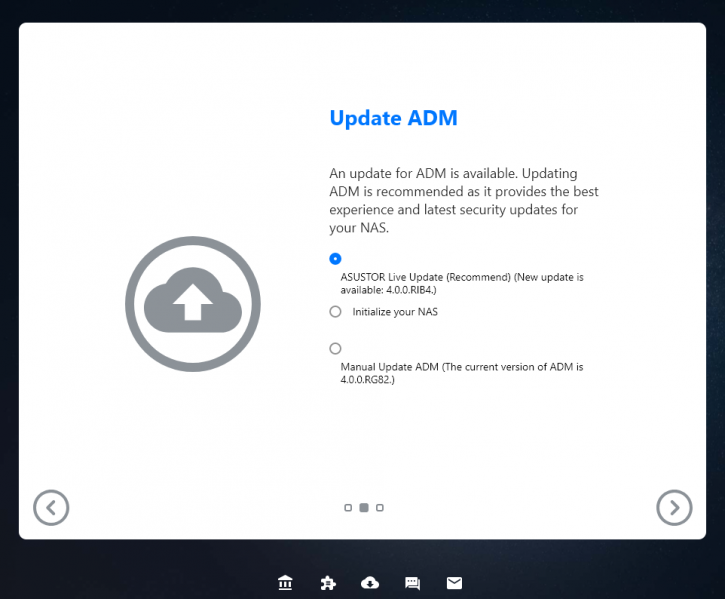
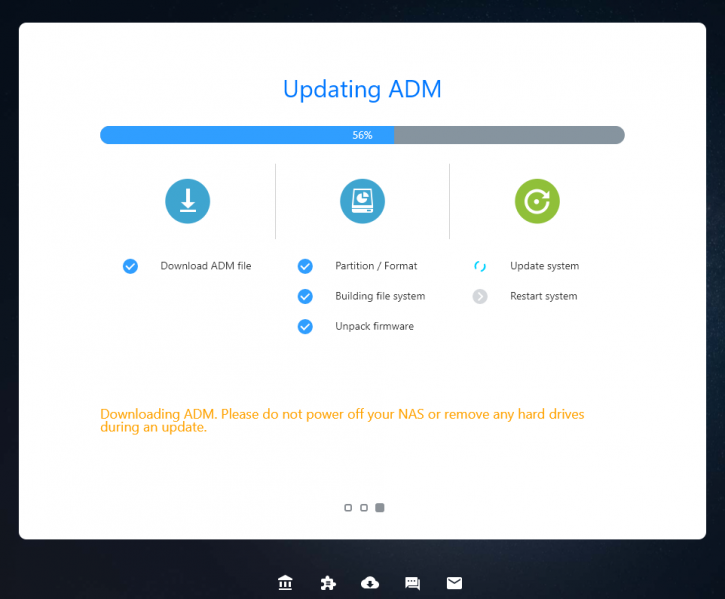
Once you click next, the first likely thing the NAS will want to do is look if there is new firmware (ASUSTOR calls their operating system, ADM) available. You should update, the Firmware will automatically download and install, a process that takes a few minutes. Guys, update your firmware to the latest revision when an update is ready. These updates not only introduce new software, they apply security and vulnerability fixes as well. If you make your NAS publicly available on the web through HTTP / ssh / MariaDB (mysql) or FTP then always update. Once your NAS has installed the firmware you'll hear a beep, then it will be rebooted and continue in your browser. If not, type in the local IP again e.g. 192.168.0.56 or whatever the NAS is located at. You can startup non-complicated 1-click install wizard, but if you have a bit of understanding about networking and NAS units, we do recommend a custom setup.
Typically I have one SSD installed for throughput testing, which always has been fast enough for Gigabit testing. However, with 10 GigE one, SSD is not fast enough. Security-wise, we'd advise you to set up a new super-user account and kill the admin account if you connect the box to an open network, for now, admin with your own secure password will be just fine. On the topic of routers; should you like to have your public web-content and, say, FTP available on the internet, then in the router setup open up TCP ports 80 and 21 for IP 192.168.x.xxx / 10.0.0.xxx after which your router will redirect all in- and outgoing requests to the assigned IP. Once the automated setup is complete the unit will log in to the admin interface.
Once the NAS went through a couple of setup stages we can now log in based on the logon/password we just created. We recommend you to register an account at ASUSTOR as you will want to have access to their excellent suite of NAS APPs. A quick check reveals that the NAS has successfully set up a 2.5 Gigabit connection towards our 10 Gigabit switch. That is a requirement, of course, your LAN infrastructure needs to be compatible. Over time when you need a new switch, simply already start thinking and upgrading towards 10 GigE devices. This will make the investment over time less painful for your wallet.
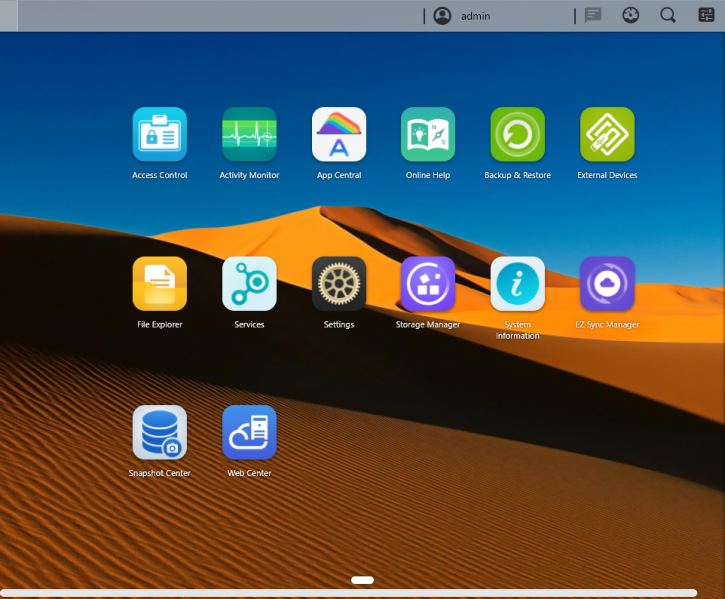
After the installation has finished, ADM greets you; you can now login, and you're welcomed by a beautiful GUI user interface.
