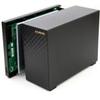
Product gallery

To install the storage units you need to remove two thumbscrews at the backside. You then push the shell backwards and then towards you and it can now be removed.
Inserting and removing the HDD/SSD is a very simple and smooth process, this unit is hot swappable meaning you can change/remove/insert storage units even when the unit is powered on. If you opt a big HDD, everything we know is supported including 8TB HDDs. There are two trays where you can install your HDDs.
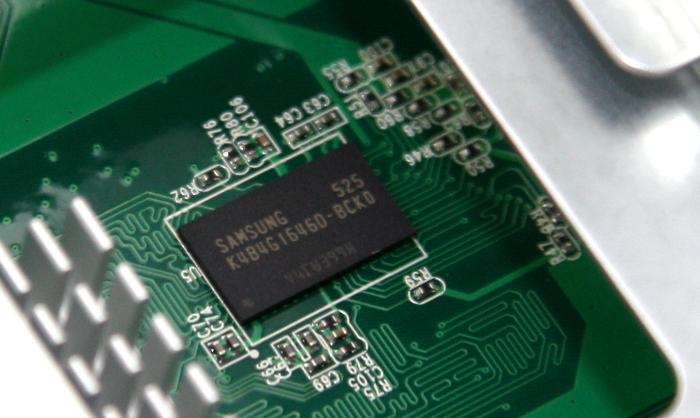
Zooming in at the PCB, that would be the 512MB DRAM system memory chip. SMT, thus no slots or upgrade compatibility to expand your memory. It is (as we learned) surprising to see how well this unit handles with only 512MB memory. The clever caching and low volume size applications work great.
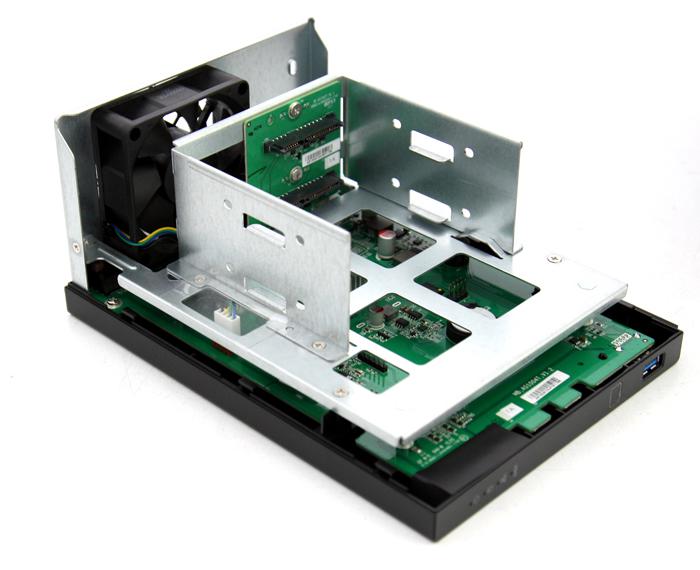
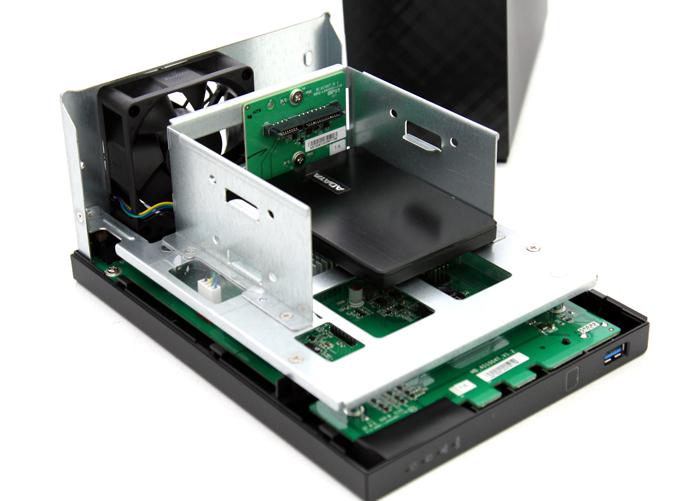
Once we open the unit up, we see it's really a small form factor PC. The unit is basically based on three components, a motherboard with memory and CPU, the SATA bridge with connectors and the drive bay.

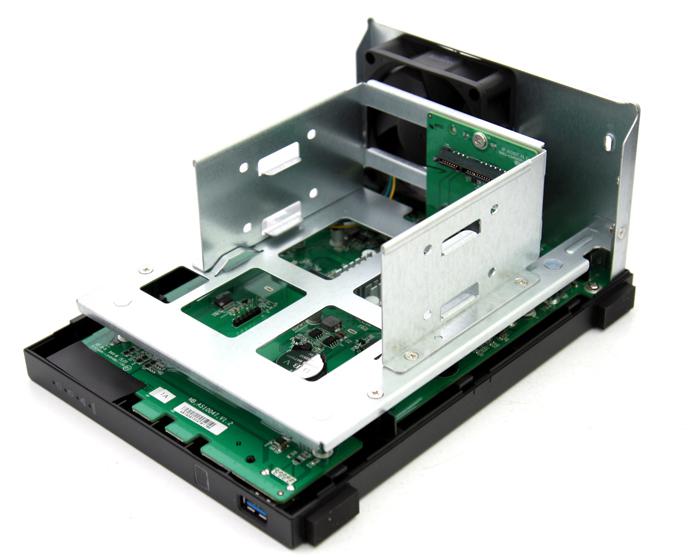
Here you can see the SATA3 bridge, just slide in a 3.5" HDD and then mount it with two supplied thumbscrews. The NAS rests on rubber feet which will help against resonating noises. The loudest thing you'll hear from this NAS is in fact the purring from your HDD. The NAS itself is totally silent (aside from bootup).
For our testing we are mounting an SSD as we do not want any kind of HDD to be a bottleneck in measuring performance in IOPS, Reads and or writes.
