Page 9
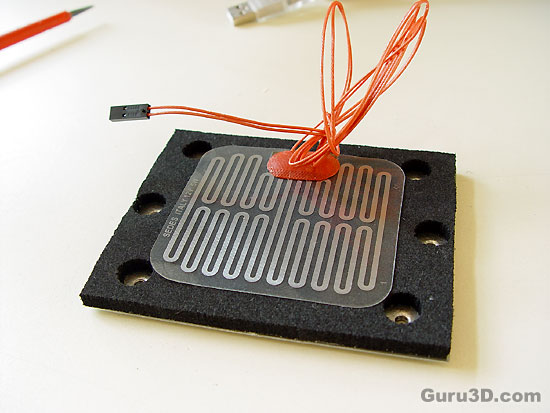
We take the mainboard backplate, mount a insulation pad on it and stick the backplate heater onto it.

Do not forget to insert a small spacer/washer in each of the holes used when installing the Backplate on the Motherboard.
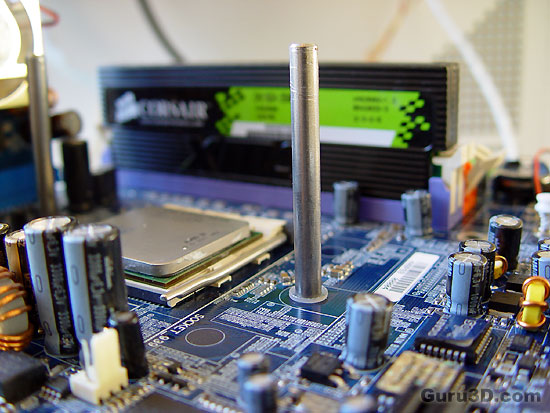
Now we mount the backplate at the back and install a washer on each guide. The following step is that we install these guides in the backplate through the motherboard. Secure the backplate to the motherboard by tightening the guides 'til the spacers touch the backside of the motherboard. Do this until all two or four (depending on the mainboard socket) guides are installed.
This was an unbelievably irritating part as the guide did not easily mount into the backplate.
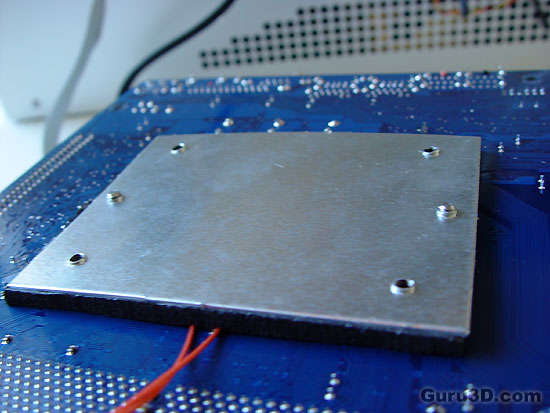
Here we see the backplate mounted properly on the backside of the mainboard. Right .. onto even more bloodcurdling stuff .. prepping the CPU and CPU socket as we need to grease it up.
