Product Showcase
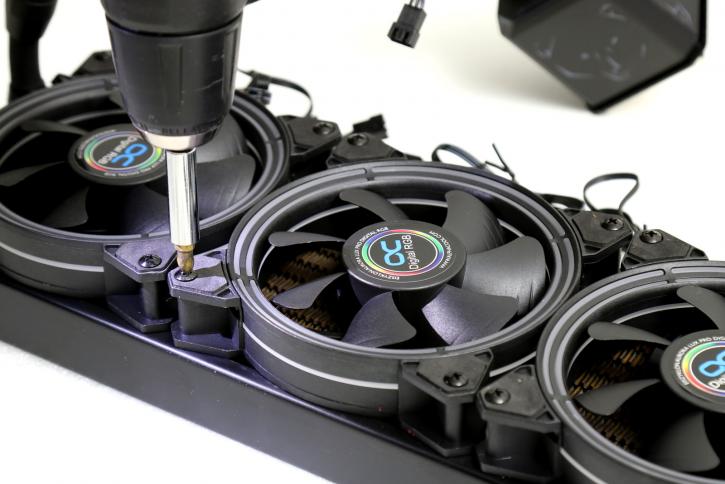
So here is the phase where we slowly start assembling a test setup. First, we mount the fans on the radiator, four screws each. The fan corners are made out of rubber, not hard plastic. This greatly helps against vibration etc.
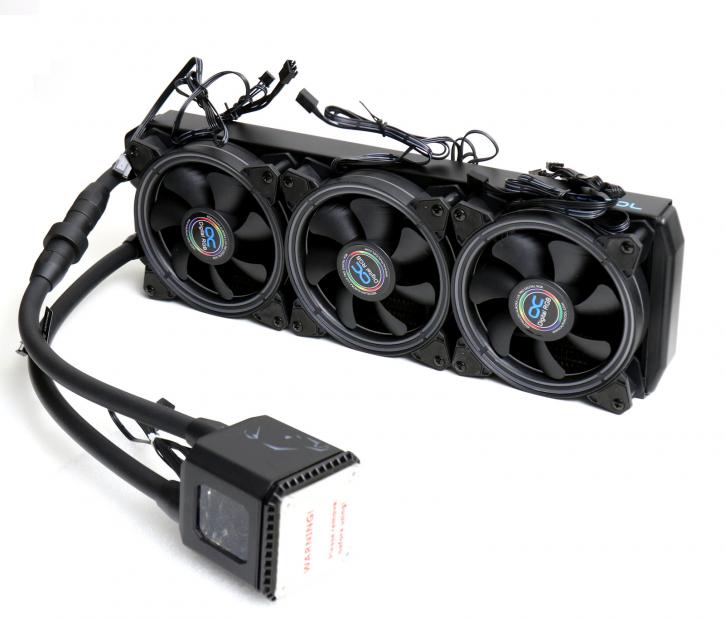
Once done, this is what the unit looks like. You need to decide where you'll be positioning your radiator and how the tubing and wiring will be managed. The fans have connectors you can merge together with an included PWM cable hub, this leads towards the CPU FAN header on your motherboard (or whatever source you like to control the fans from). For this kit please understand that the motherboard controls the PWM fans. As stated the RGB wiring is simply put, a lot to deal with.
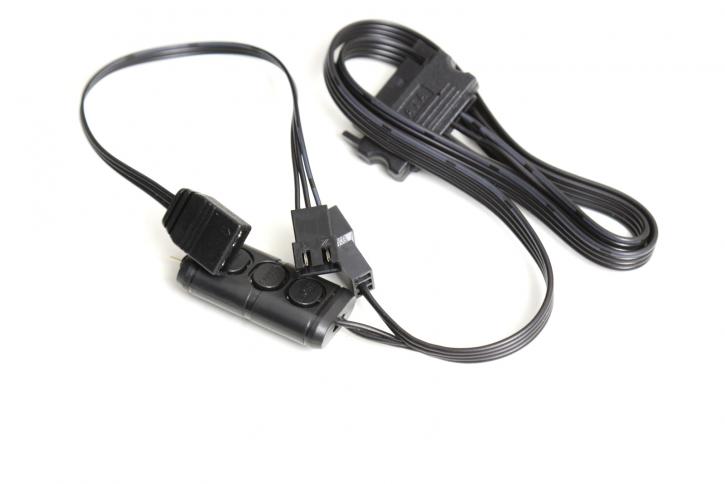
On the RGB side of things, you need to connect the pump and all fans to the above RGB HUB, which could alternatively also lead towards a compatible motherboard addressable header. Would you not have one, no worries, the device to above is a small RGB controller with a plethora of nice RGB options, terrific even. This one adds really good value to this kit.
Yeah, so that is a quick release, and this is what I like about the Aurora kit, later on you could add in say a graphics card cooling block. It is positioned nicely up top out of sight for the bigger part.


