6
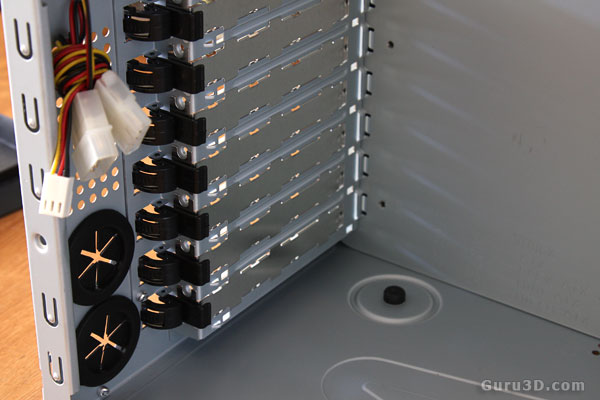
When we move to the back of the chassis we can see the tool free clips to secure any installed cards. It works simple and is effective. You just push down a clip and it will lock itself secure.
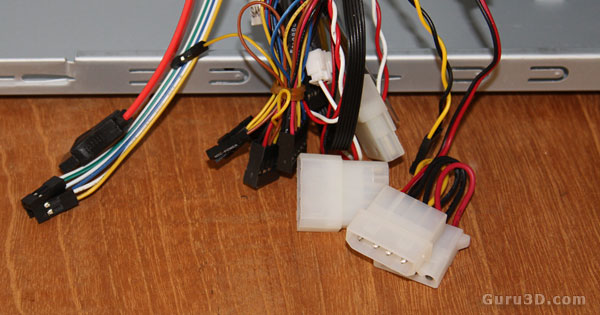
Wiring looks a bit messy but we do need to talk about it. You'll spot a couple of Molex connectors, of course these are used to power up the front LCD panel and LEDs. Mind you that for the fans you can use Molex and 3-pin connectors, meaning the fans are PWM controlled, very important as if you need a little more silence you can control these fans. Last but not least, have a look at the photo below.
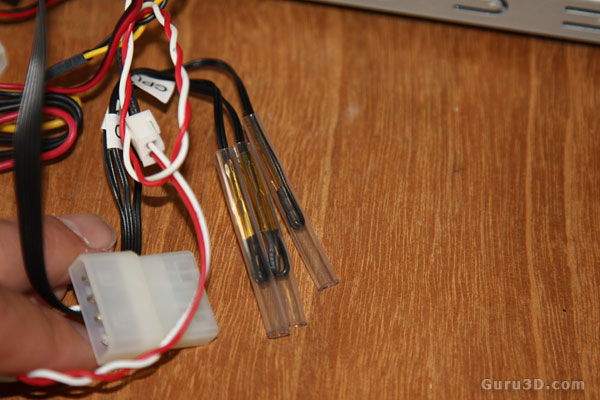
these are three thermal sensors. Place them strategically on your HDD, processor, memory or whatever you like to measure. The front display LCD will display the temperatures. It's a nice touch for a budget chassis like this we think.
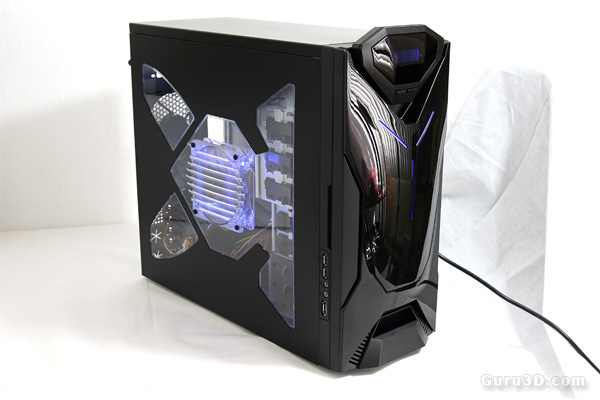
Right, we moved the chassis into our photo studio. Here we have installed a fanless power supply, hotwired it, activated all fans, front panel and LEDs as such we now have a working chassis here. The overall impressions once powered up are pretty good really. Nothing to extreme or flashy and the noise levels are really acceptable as well.
