
Product Installation CPU Cooler
Product Installation CPU Cooler
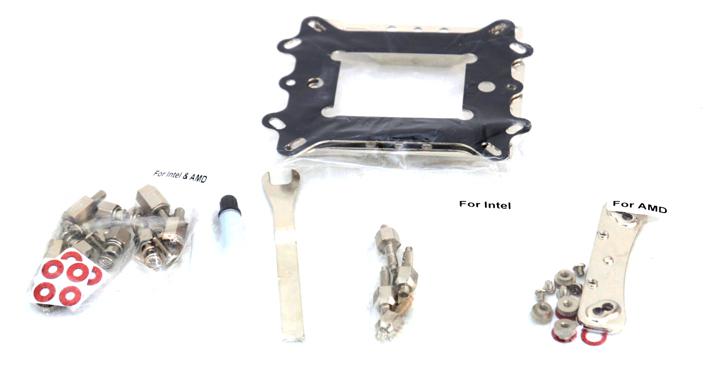
It is time to install the cooler, installation has a twist as there is a base plate. So here is the phase where we slowly start assembling a test setup. Included is all you need.
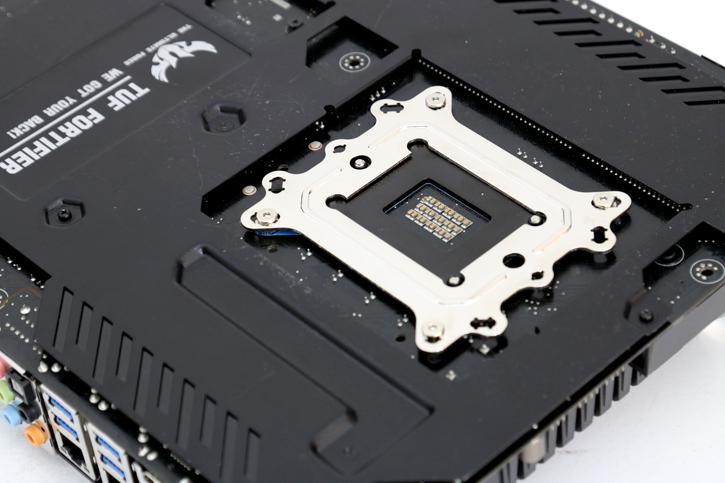
Mounting the cooler is a not a rather handy thing to do, though the mounting kit is sturdy, and easy enough to install however you will run out of space to work with fast, we' ll show you that on this page. Though the motherboard needs to come out of the chassis unless you have a chassis with a back-plate cutout. Now you first prepare and insert the back plate Socket 1150 in our case. Just make sure the three gaps/holes are aligned with the motherboard socket screws.
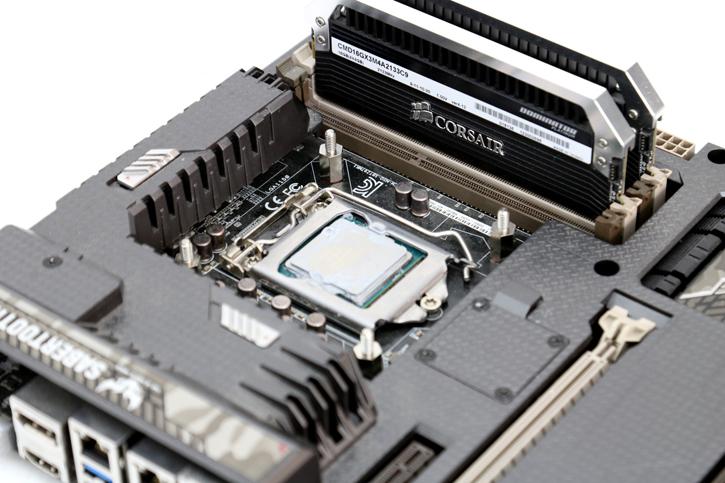
You may already apply a drop of thermal paste (included, and place the thick black risers/standoffs over the screws, that secure the back-plate sturdy and in place. On the risers we now seat a base plate, this will be used to mount the cooler onto. Just secure it with the four included screws.
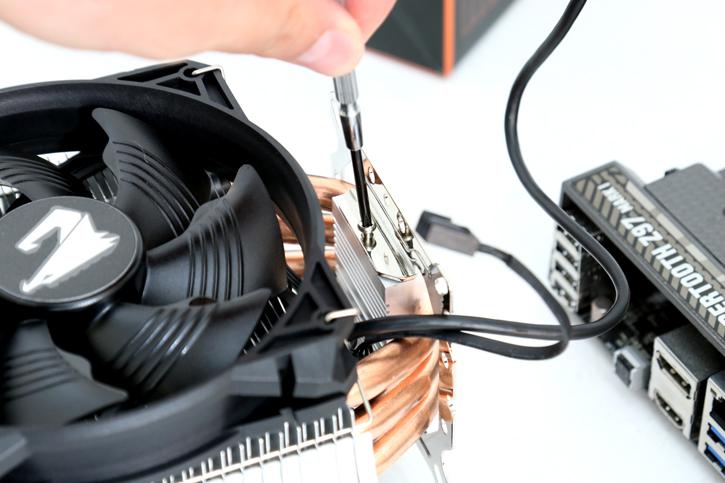
This horizontal bracket we push through the cooler mounting block, and then is secured with two screws. Here is a problem, we feel that each side of the bracket should have gotten two screws as you can literally wiggle the CPU cooler due to the two screws. This is a design flaw (we feel). Once we seat the cooler in position (remove the fan for installation) you need to align it with the screw threads. With the help of the supplied tool we can secure the screws, just align the fan blades a little and you can secure the cooler.
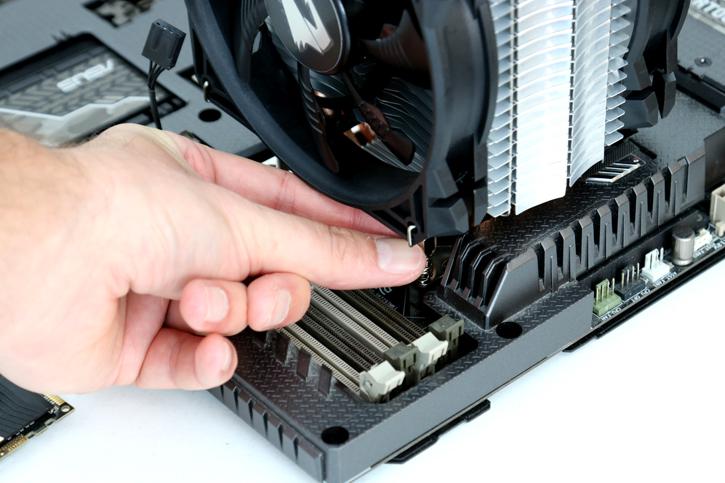
As you can see the Sabertooth plastic shielding is blocking a 90 degree angle mount of the CPU cooler, that DIMM area as well is running out of space. Not good.
