Page 10
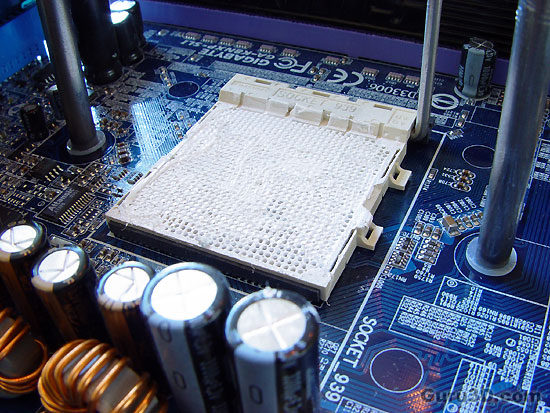
Yes yes .. you see that right .. this Socket 939 is completely lubed with thermal paste by yours truly. You can't use enough lube people, don't be shy as Asetek delivers plenty of it :)
This step is actually optional but highly recommended by Asetek. You prepare the socket by applying some of the supplied heat conduction compound on the components inside the socket. This may look rather chaotic but it has to be done to prevent condensation.
You should use dielectric thermal compound as supplied with this kit ! Again, you'll get plenty of it.
Oh dear that's disgusting isn't it ? ... Asetek recommends lubing up the CPU pins as well. Well okay .. there we go.
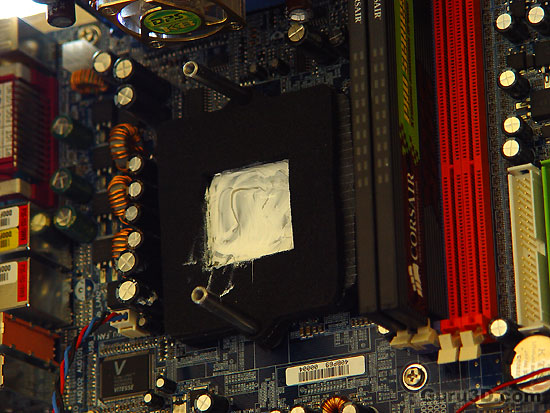
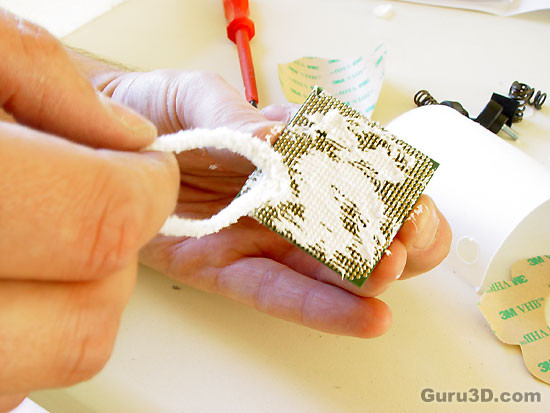
We now prepare the socket by placing the insulation around the socket and obviously install the CPU in the socket. And yes .. again we'll use some thermal compound here on the heatspreader of the CPU.
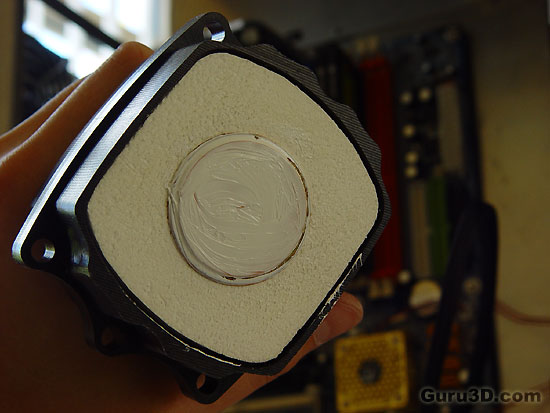
Seriously it doesn't stop ! Don't be scared using it. Here we have lubed up that Evaporator chamber slash Clamshell right before we mount it on top of the CPU.
Each CPU kit has got its own instructions on how to properly assemble the Clamshell. In our case, we used a Socket 939 kit and followed the installation guide. Start installation by sliding the Clamshell over the metal guides around the motherboard's socket.

Put the springs on the guides. Put one washer on each thumbscrew. Install a thumbscrew in each guide. Now tighten the thumbscrews one turn at a time until they are all touching the top of the Guides. Please check if there is good contact between the two. To be able to check that, you can uninstall the Clamshell and check for a full imprint of the CPU on the Evaporator. Once satisfied, reinstall the Clamshell.
We have now mated the LightSpeed with the CPU .. *phew*. But we are not there yet ... here comes the electronics part.
