Page 3
Installation
Once we have unpacked the kit and we install the HD (make sure it's set to master), simply connect the IDE cable and power connector. Now we secure the HD with four screws at the bottom plating, then close the device. Connect it to your network and enable power.
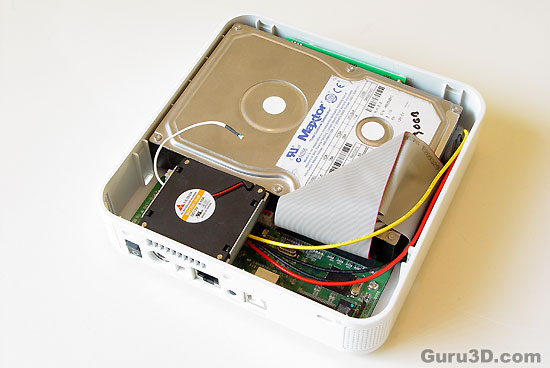
Here we see the HD we just inserted. it's a pretty tight fit.
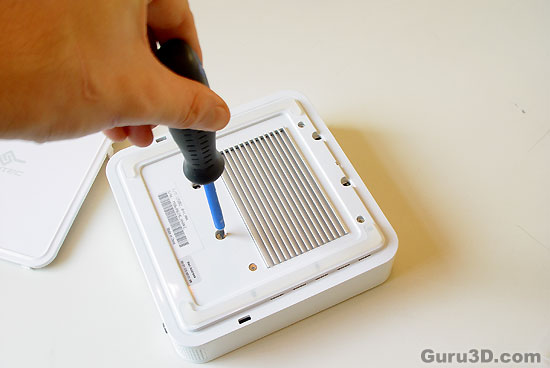
You secure the HD with four screws at the bottom plating, here you can also see a small heatsink which is to optimize cooling for your HD. Quite a nice detail.
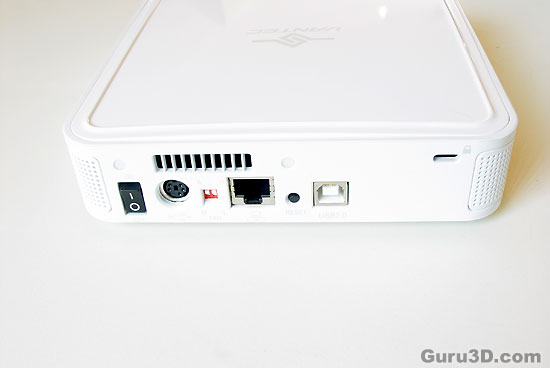
On the backside we see the on/off switch, 4-pin power connector. Two micro switches to control rotation speed of the active fan. LAN port, reset switch and USB port.
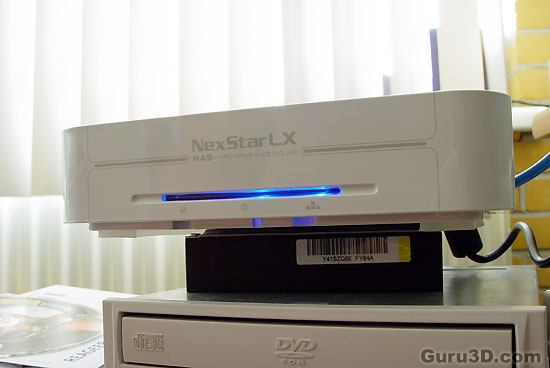
Once we're done we can connect the device. It's alive, IT'S ALIVE !!!
