Noctua NH-D15S CPU cooler review -
Product Installation
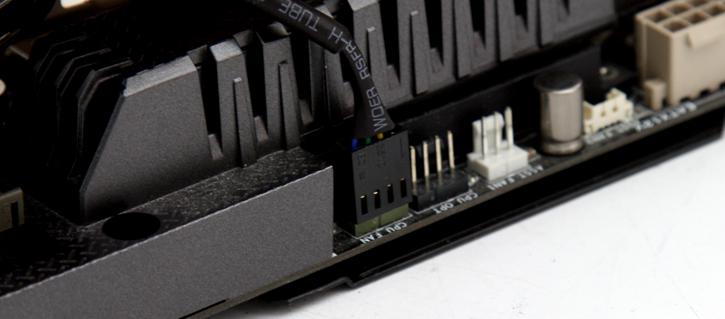
Once seated you can now connect the fan power cable to either your motherboard CPU FAN headers or a FAN controller. So yeah, once the motherboard is out, 10 minutes work maximum, we positioned the cooler and are ready for the first test run.
It is totally up to you how you want to position fan (front/middle/back), obviously we'd recommend it to be seated in the middle. Alternatively you can add another fan later on, some clips for mounting are included as extra.
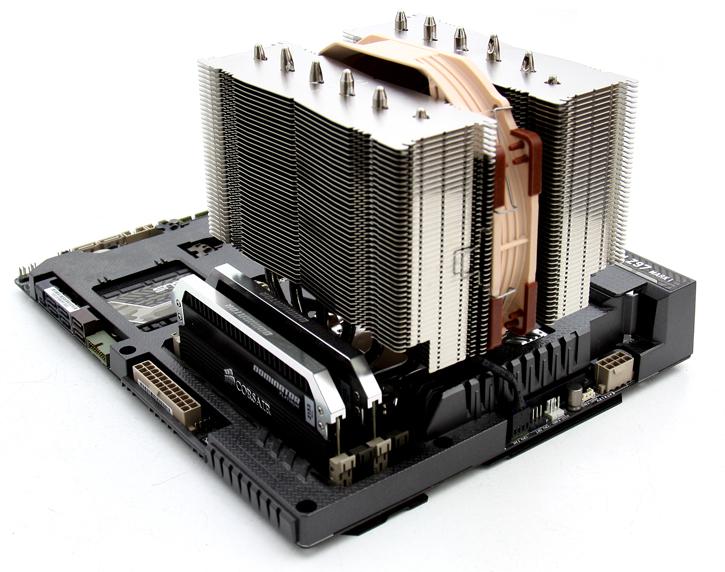
Above the finished setup - an incredible silent product that can even cope with a Core i7 4790K and a nice overclock as well.
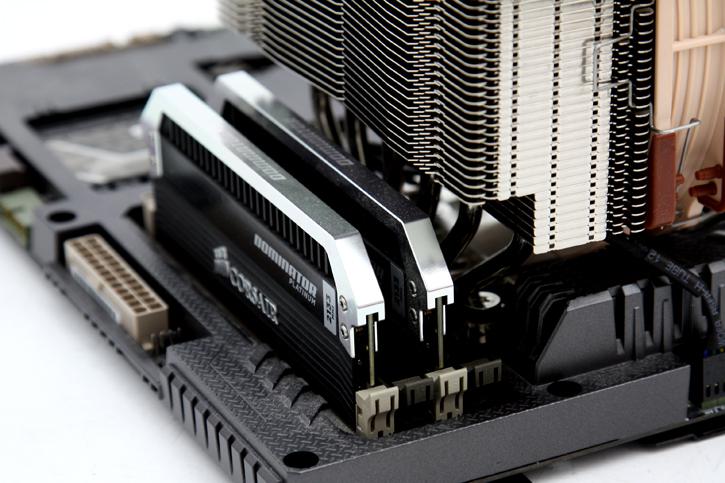
I positioned the heat-pipe direction towards the DIMM slotts, as you can see, all DIMMs can be installed as the asymmetrical design includes spacing for the DIMM slots. Great stuff. The opposing side has the same thing, handy for X99 platforms with DIMMs on both sides.
Today we are reviewing the newest Noctua cooler, it’s NH-U12A. There is little need to introduce the Austrian company as it’s one of the most recognized in the market. The official...
Noctua NF-A12 and P12 Redux Fan Group Test Review
Noctua recently released new 120mm fans in a wide range of configurations. The NF-A12 series, however, has been a fan series they worked on for years! In this group test, we'll put nine Noctua fans...
Noctua NH-U9, U12S, U14S TR4-SP3 Threadripper cooler review
We test and review we take three Noctua CPU coolers to the test, specifically design for Ryzen Threadripper for X399 motherboards with Socket TR4/SP3. All three coolers tested have recently been intr...
Noctua NH-D15S CPU cooler review
We review the Noctua NH-D15S CPU cooler, the Mack Daddy of Noctua coolers now is available in an S model, the silent version. The D15S is basically your D15 yet with one fan. As we learned it help...