Page 3 (Pics)
The Photo shoot
On the next few pages we'll show you some photos. The images were taken at 2560x1920 pixels and then scaled down. The camera used was a Sony DCS-F707 5.1 MegaPixel.
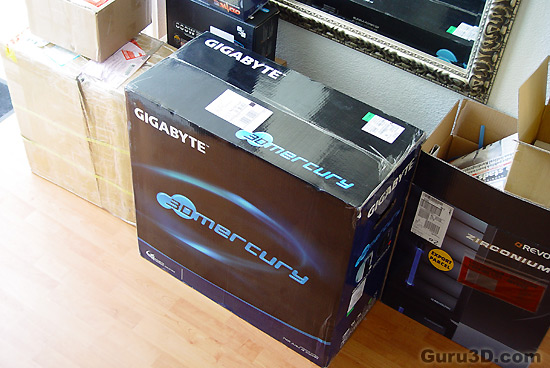
Here you can see the packaging. The photo does no justify the sheer size of the package, and trust me... the UPS guy did not look too happy [Ed - Do they ever when going to your place!?]. The chassis is very well packaged, there's no way you'll find any scratches, a good amount of detail went in there.
Once unpacked we can see the 3D Mercury in all it's glory, a slim yet deep design. Appealing to the eyes for sure. Notice that the chassis is a little deeper and higher compared to your average big-towers. Gigabyte opted for a 10% deeper chassis in order to create more space to work in.
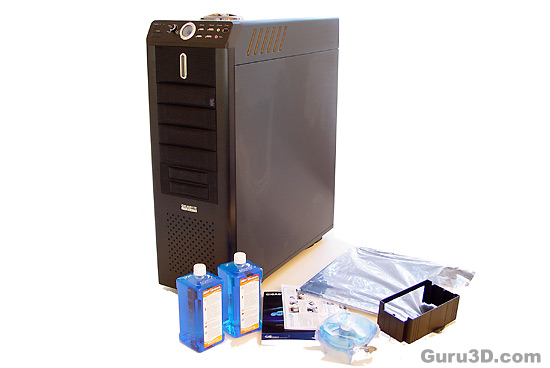
You'll receive coolant, manuals, LOW RPM LED powered CPU cooler (for aesthetics only), PSU bracket (longer PSU will now fit in the case) and all the way in the back, a steel mesh window which you can swap for the plexi-glass one if you desire that.
The rest of the stuff is packaged inside the PC, we'll show you later on.
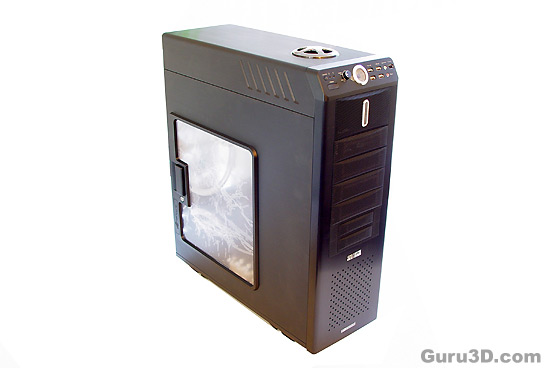
Here we see the left side a tad better. Plastic protective layer is still on the window btw.
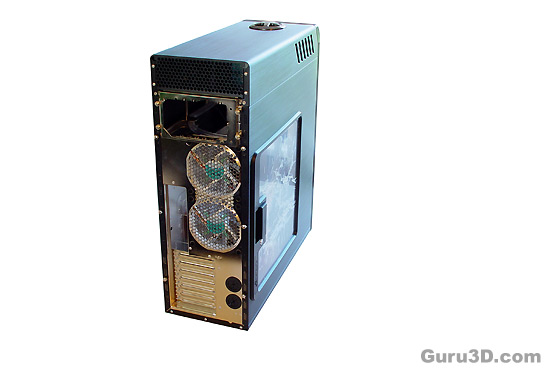
On the backside you can see how tall the chassis actually is. In the upper compartment the water-cooling unit is enclosed. Below it you can place the PSU, even lengthy ones. Moving a little downward we can see 2x 120mm fans equipped. These are low-noise fans with blue LEDs in them. At the frontside of the chassis a 120mm blue colored LED fan can be found as well.
