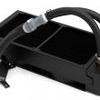
Product Showcase CPU cooling (installation)
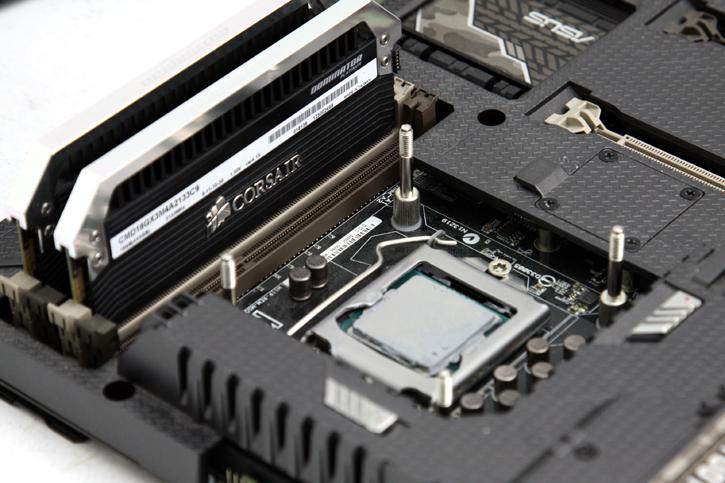
With the back-plate and mounting pins installed we can now place a drop of included thermal grease (TIM) on the CPU and put the cooling block in place. EK includes a small tube of pretty good TIM, so you can use that.
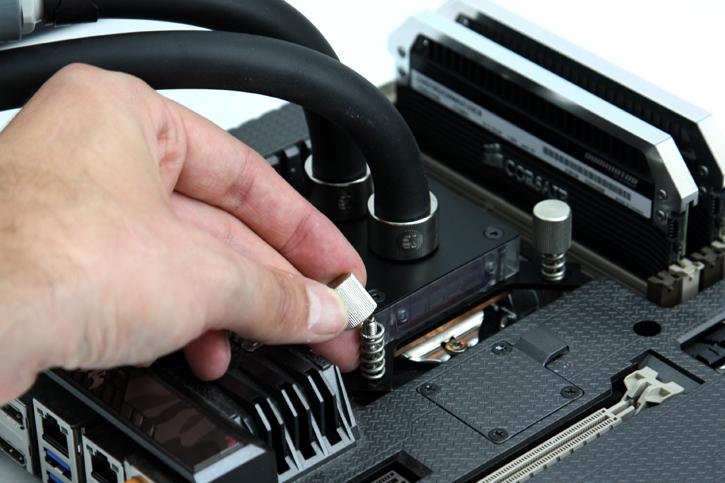
Installing the CPU block is nothing more than lining it up with the mounts and securing four thumbscrews + springs. These have spring tension. Simply turn them until you feel they cannot go any further. This can be a little hard going, don't be afraid to use some grips for a couple of turns but do make sure they can't turn any further.
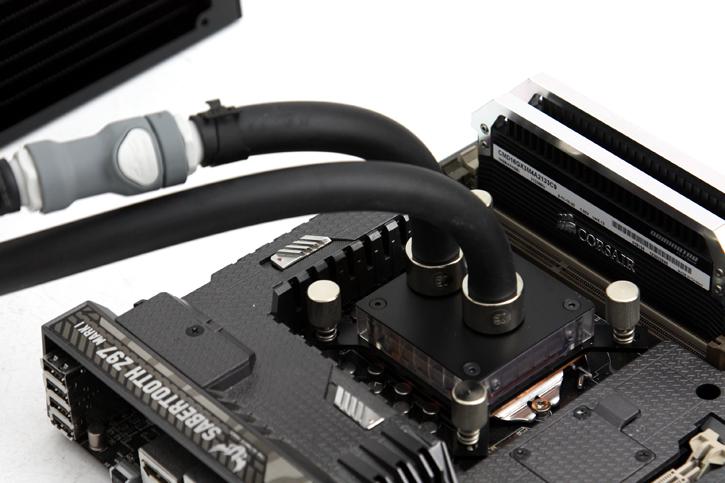
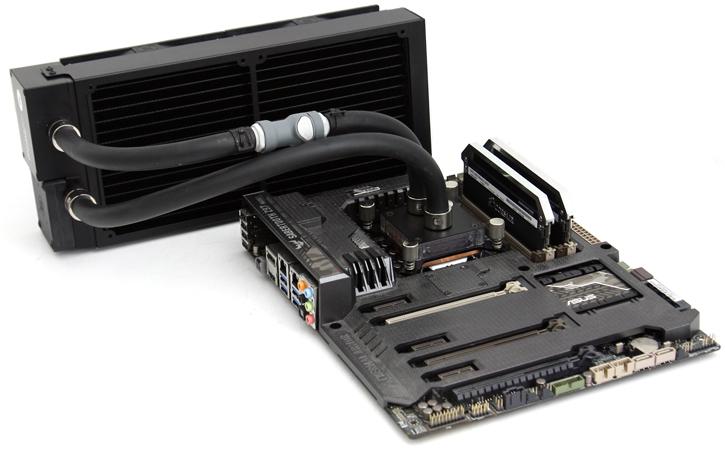
And there you have it, one installed cooling block with proper fittings and thick tubing.
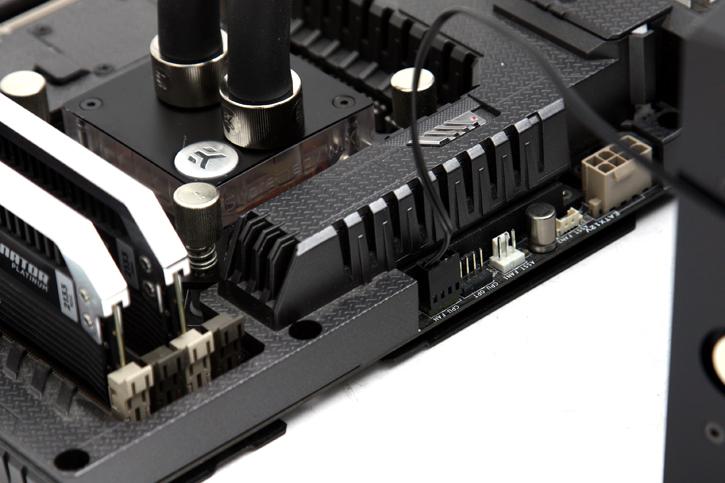
The fan header cable here is now connected to the motherboard. There is one more cable that leads to an unused SATA power connector where the pump retrieves its juice.

And yeah, that's basically it, installation wise. This unit installed inside a chassis would look tremendously good being all black in design and with the lack of many cables. We like it very much. For the initial part of this article we test the CPU only.