Page 6

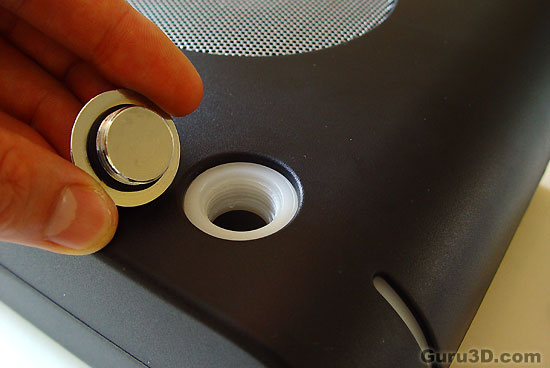
Adding water itself then, just above the slot is the metal reservoir cap. You can remove the metal cap using a large flat-head screwdriver or a even a coin, and water can be poured in there easily as it is a wide opening.
Let's move onwards to the actual installation. I read somewhere that Corsair states it can be done under ten minutes. Well .. not really, as you'll probably be busy for half an hour but still, it's a fool proof installation. Basically you need to take the following steps if you are upgrading your system with this new cooler.
- First remove the existing processor cooler
- Eradicate thermal compound off the processor
- Apply a new layer of (included) thermal compound
- Assemble the Nautilus 500 (quick connects & clamps)
- Route tubing (shorten if needed)
- Install PCI Bracket With tubing installed
- Mount the water block onto processor
- Fill Nautilus with bottle of Corsair COOL Coolant
- Top Nautilus reservoir with distilled water (or bring water to the boil, cool it down and use that)
- Plug in the Nautilus 500 (4-Pin Molex Connector and 2 fan headers)
- Power on the Computer
- Top Off With More Distilled Water as water is replacing air in the loop
- Check for leaks
Let's look at it in detail.
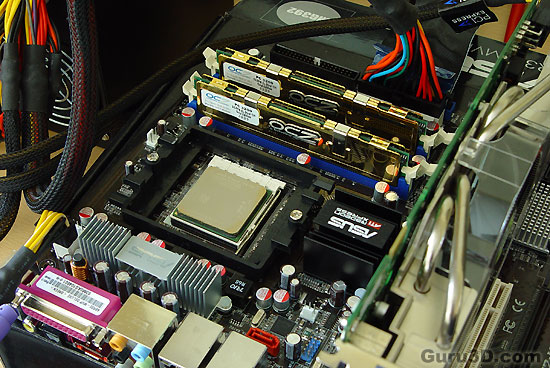
Crunch time! First off there is no need to install a mainboard backplate .. yay ! So you do not have to remove your mainboard and that's good stuff folks ! First thing on our list is to remove the old cooler and clean your processor from any residual remains of thermal paste.
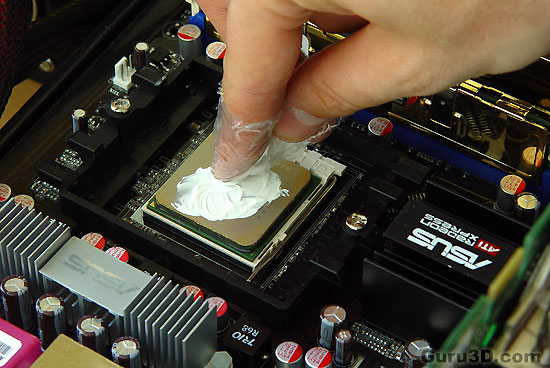
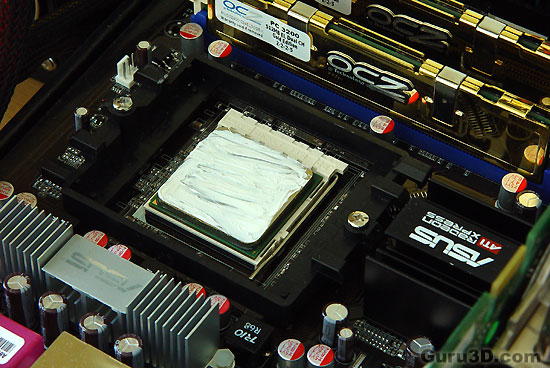
Now apply some new thermal compound, this is what I like to call my finger condom method. A small drop of compound is applied and with a bit of plastic over my finger a smear it out evenly over the processor.
Try it, it works really well.
